Asian Inspired Coat Rack
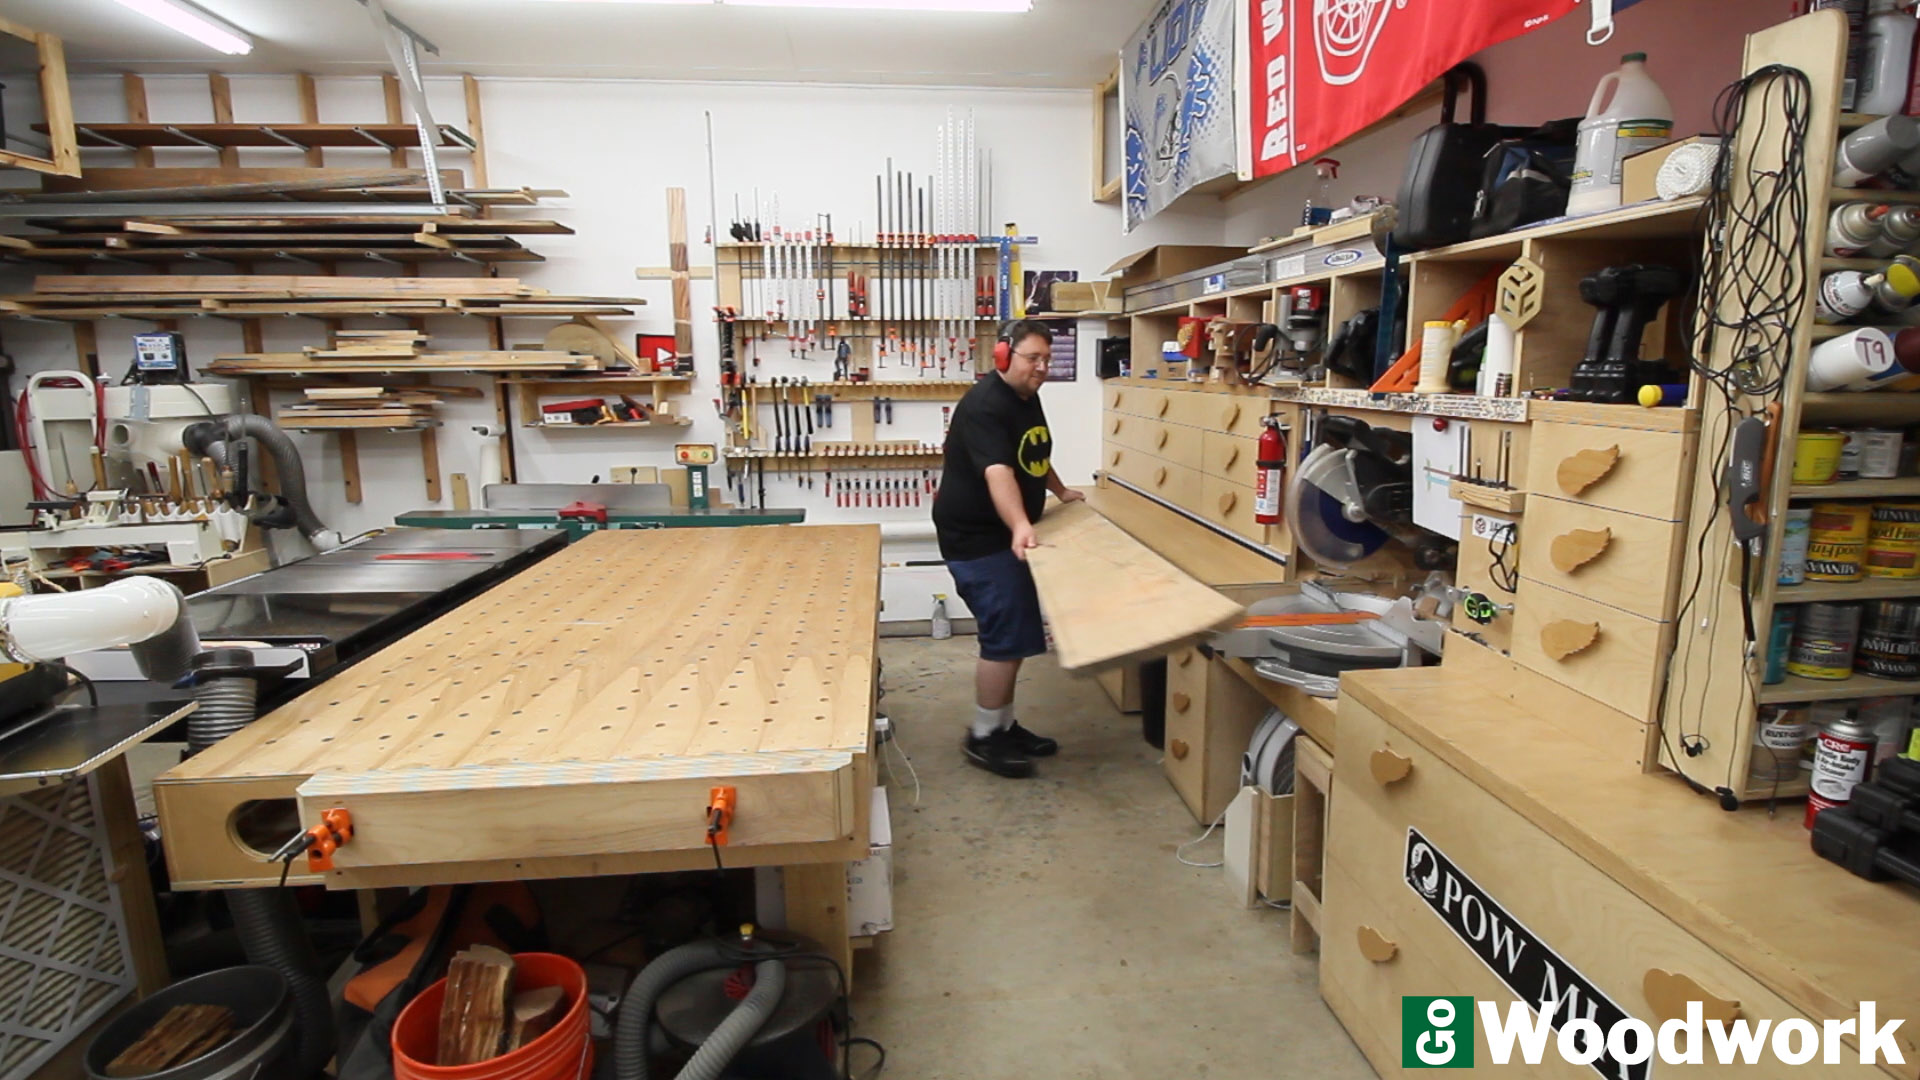
Last week, I spent the day at Jay Bates’ workshop in Mississippi. We had lots of great laughs, plenty of sawdust made, and it’s been the highlight of my year so far. I was not sure if we would do any video projects while I was there but we decided to do some (look for some more of these soon!).
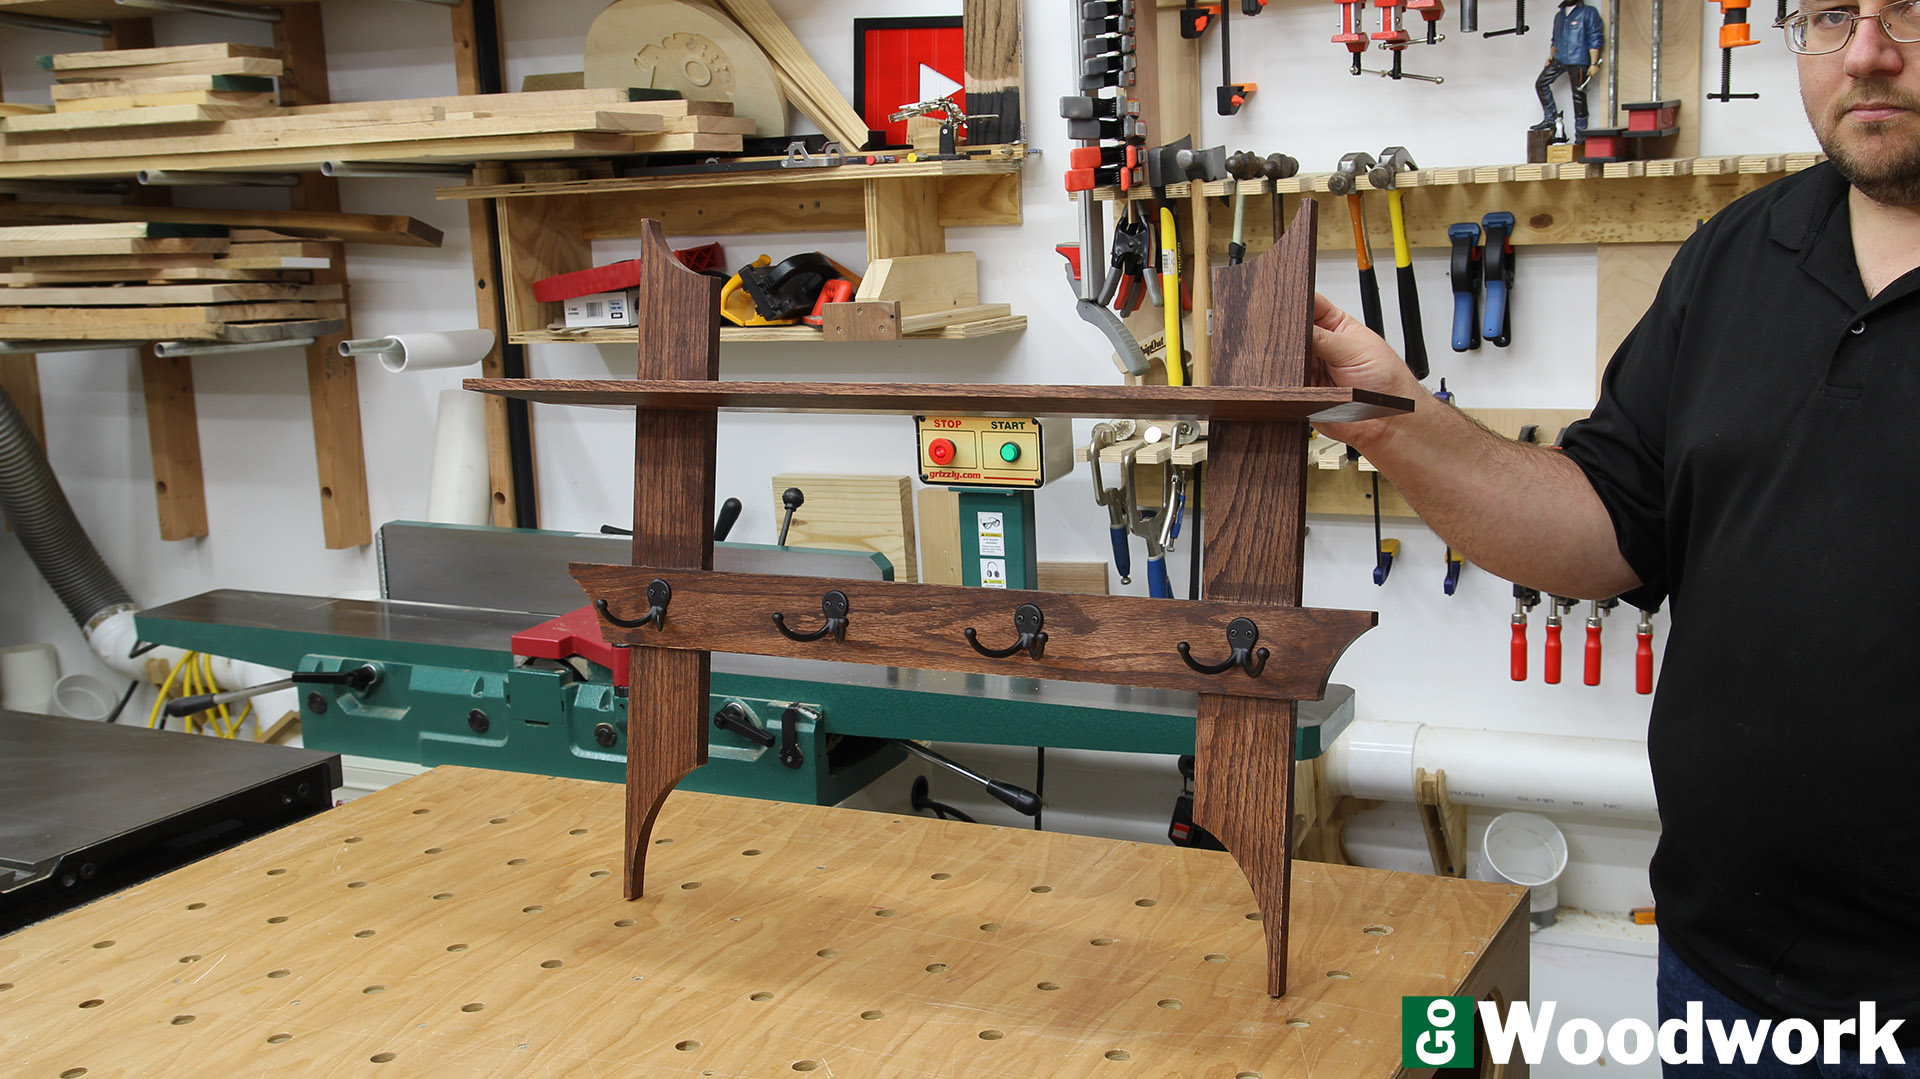
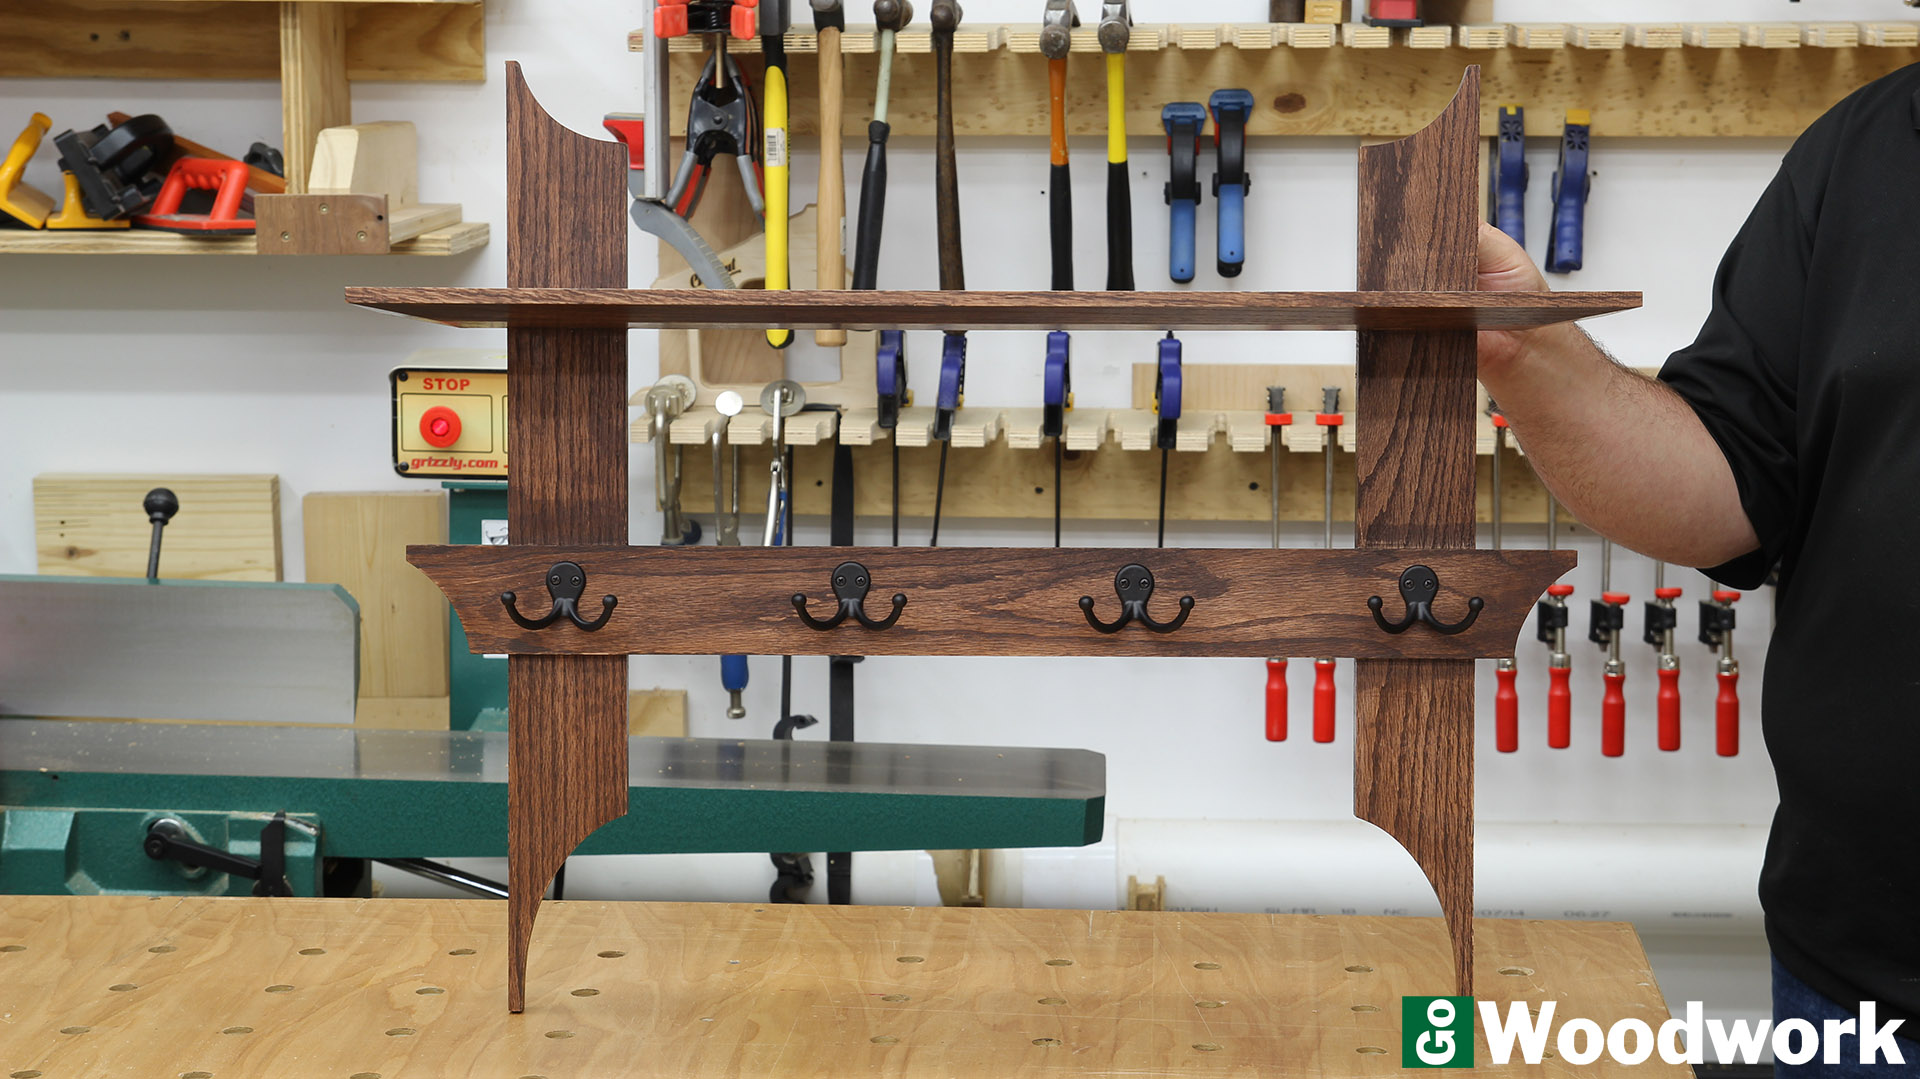
After several years of using the 3M Command hooks near my front door, I knew it was time to get something more sturdy and visually appealing. We came up with an Asian-inspired design while keeping the build incredibly simple. There is a free SketchUp file download for this project at the end of this article.
Everything was cut from a single piece of rough-sawn red oak. We chose this because there was an abundance of it ready to be used and that since it is an Appalachian hardwood, it would better go with materials more likely to be seen at my home in Ohio.

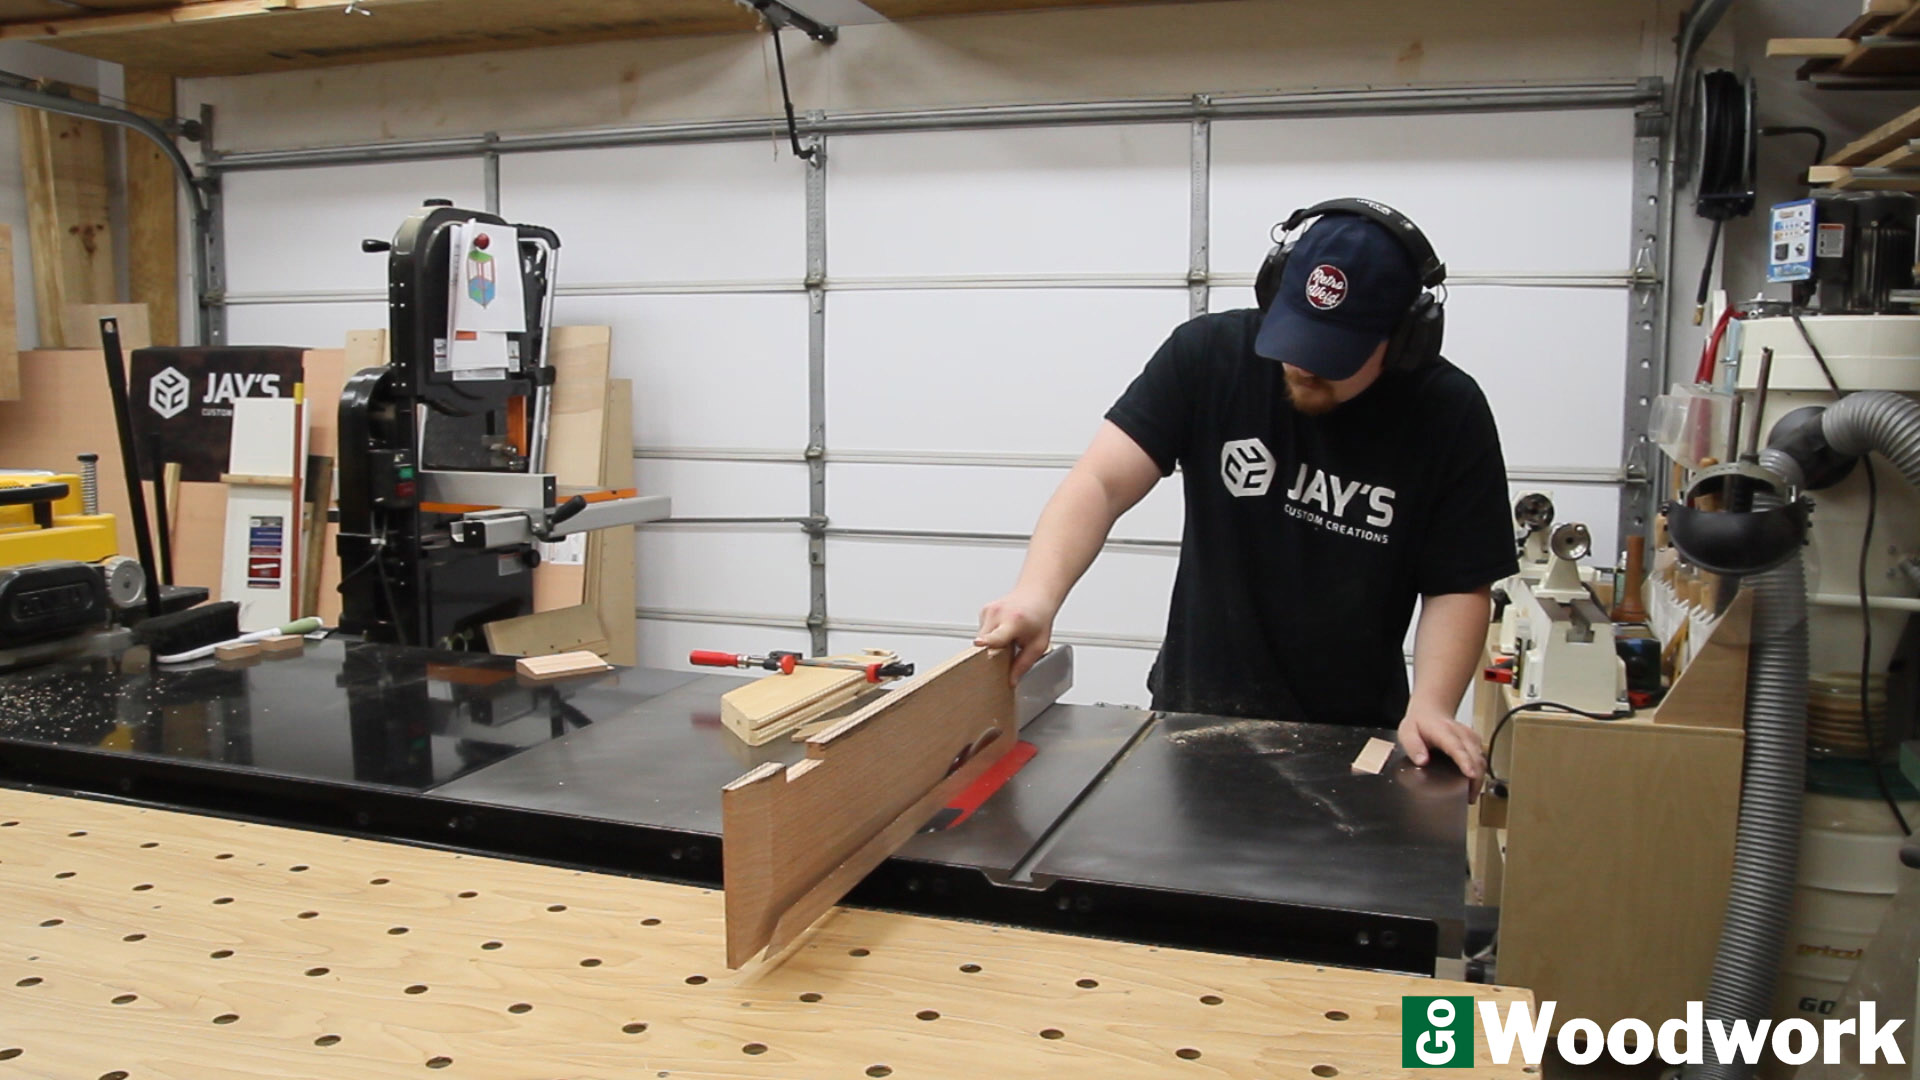
After laying out the pieces according to my cut list, I used the sliding miter saw is the key to working with wider material safely. Of course, a circular saw will work although it is less convenient.
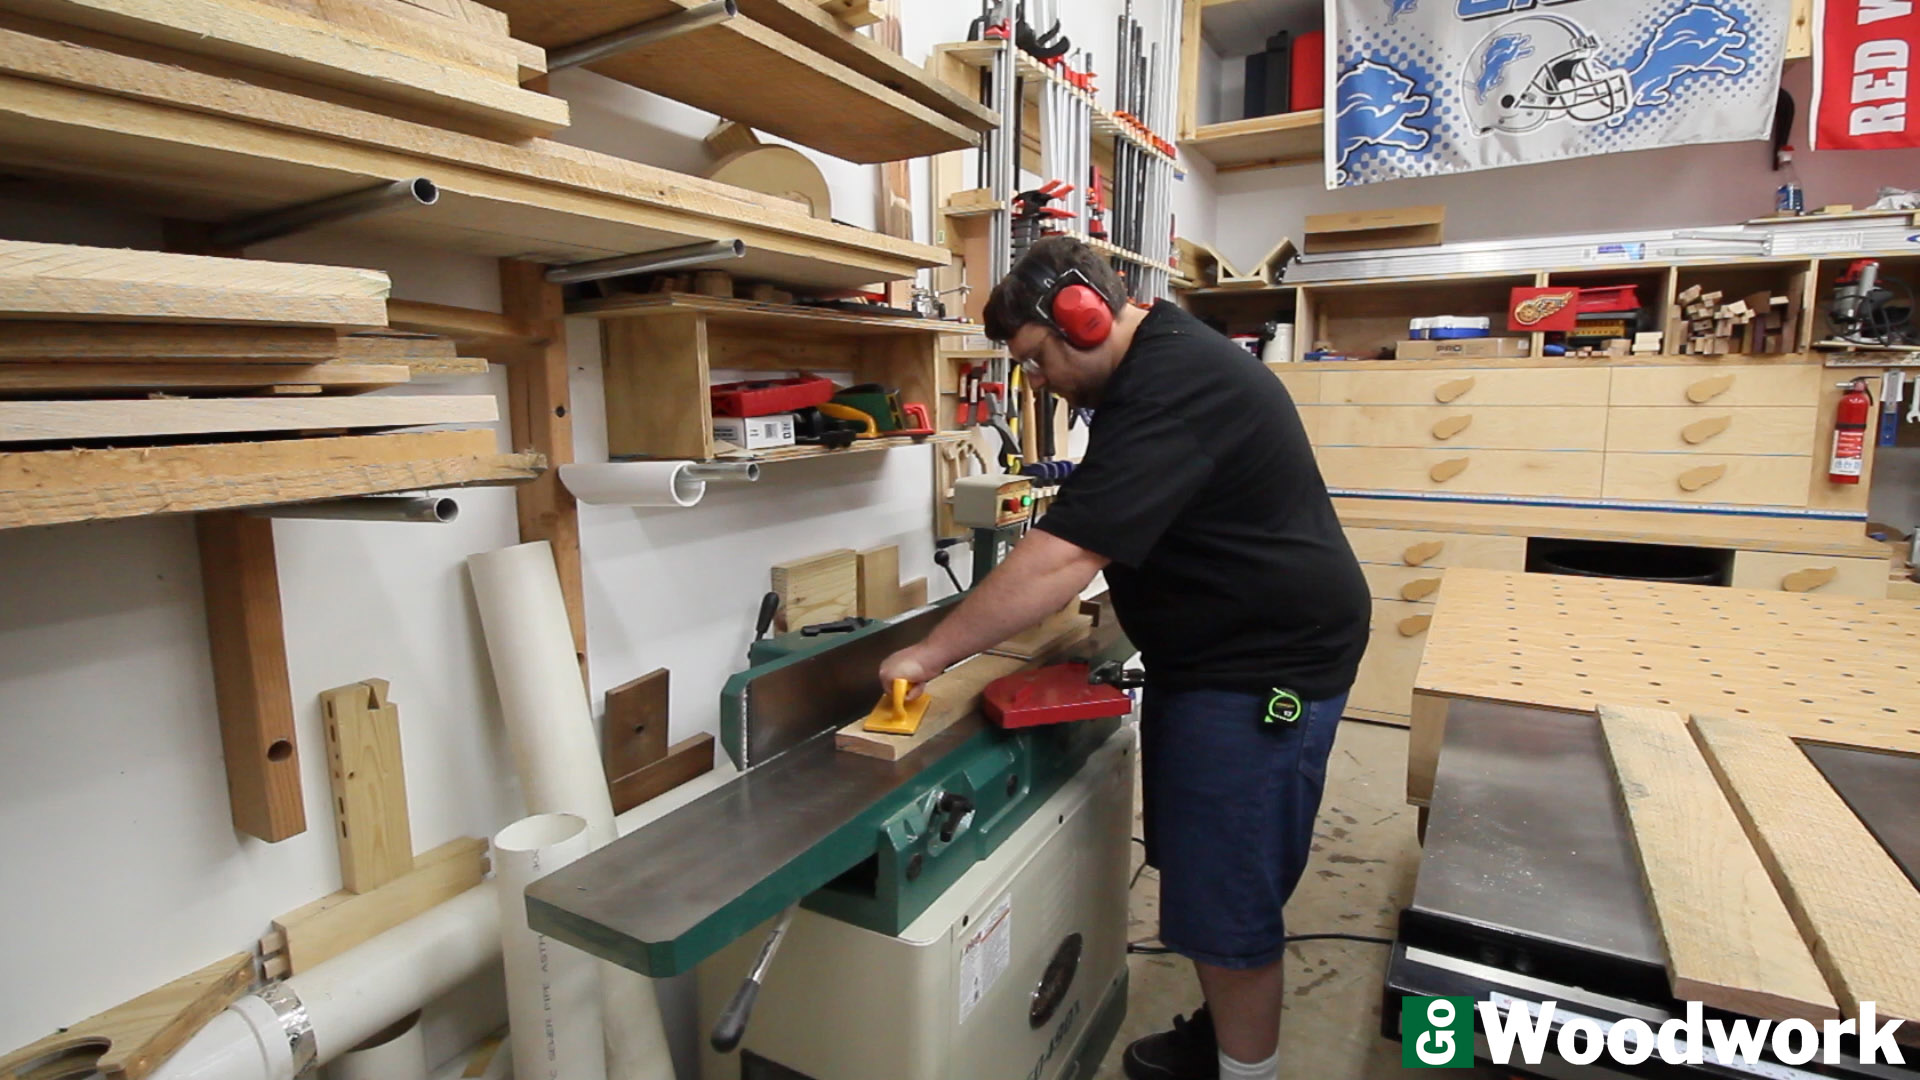
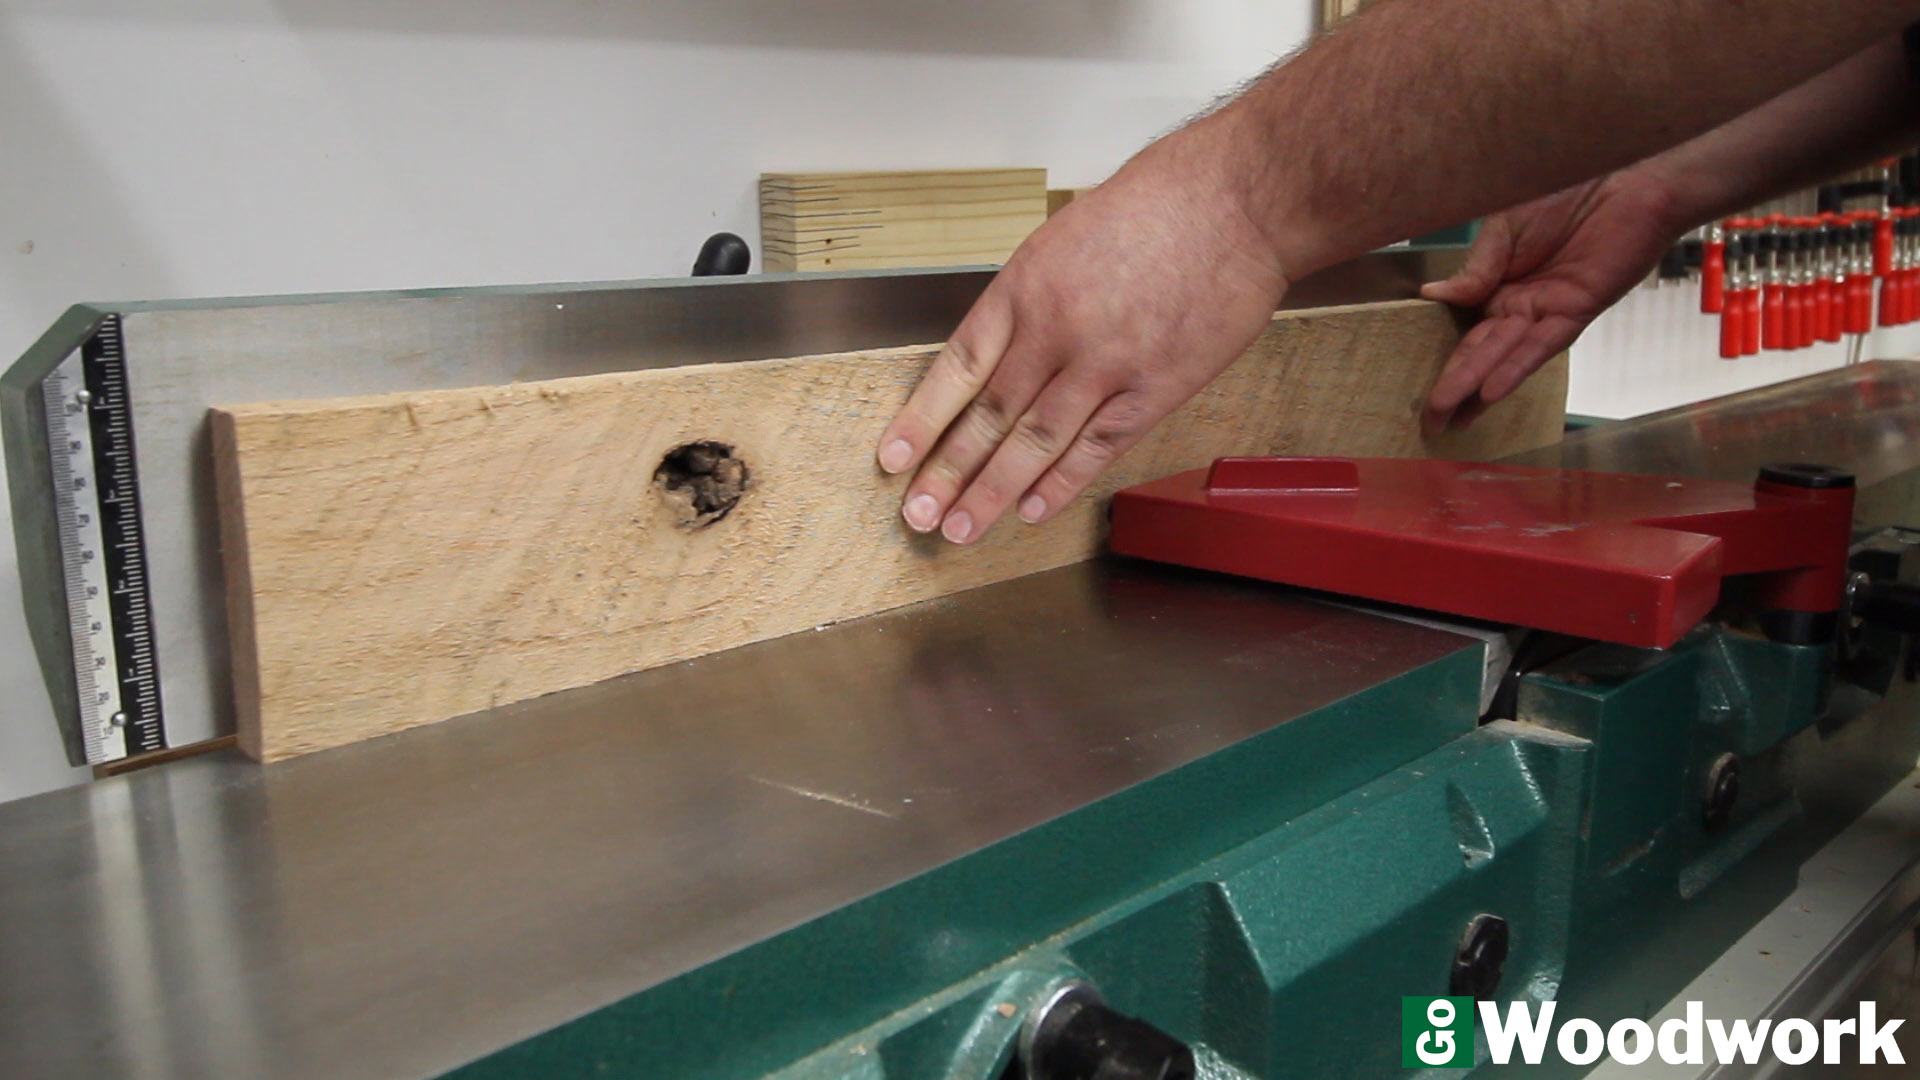
I jointed the boards to get one flat and one side square. It wasn’t until I was already jointing this board that we realized there was a huge knot on the back side. There was enough material leftover that we put it aside and used another. I’m sure it could have been stabilized with some expoy but I would rather not take the chance.

After jointing, Jay ripped the opposite face so we had two sides and a bottom all perfectly square and ready for the planer.

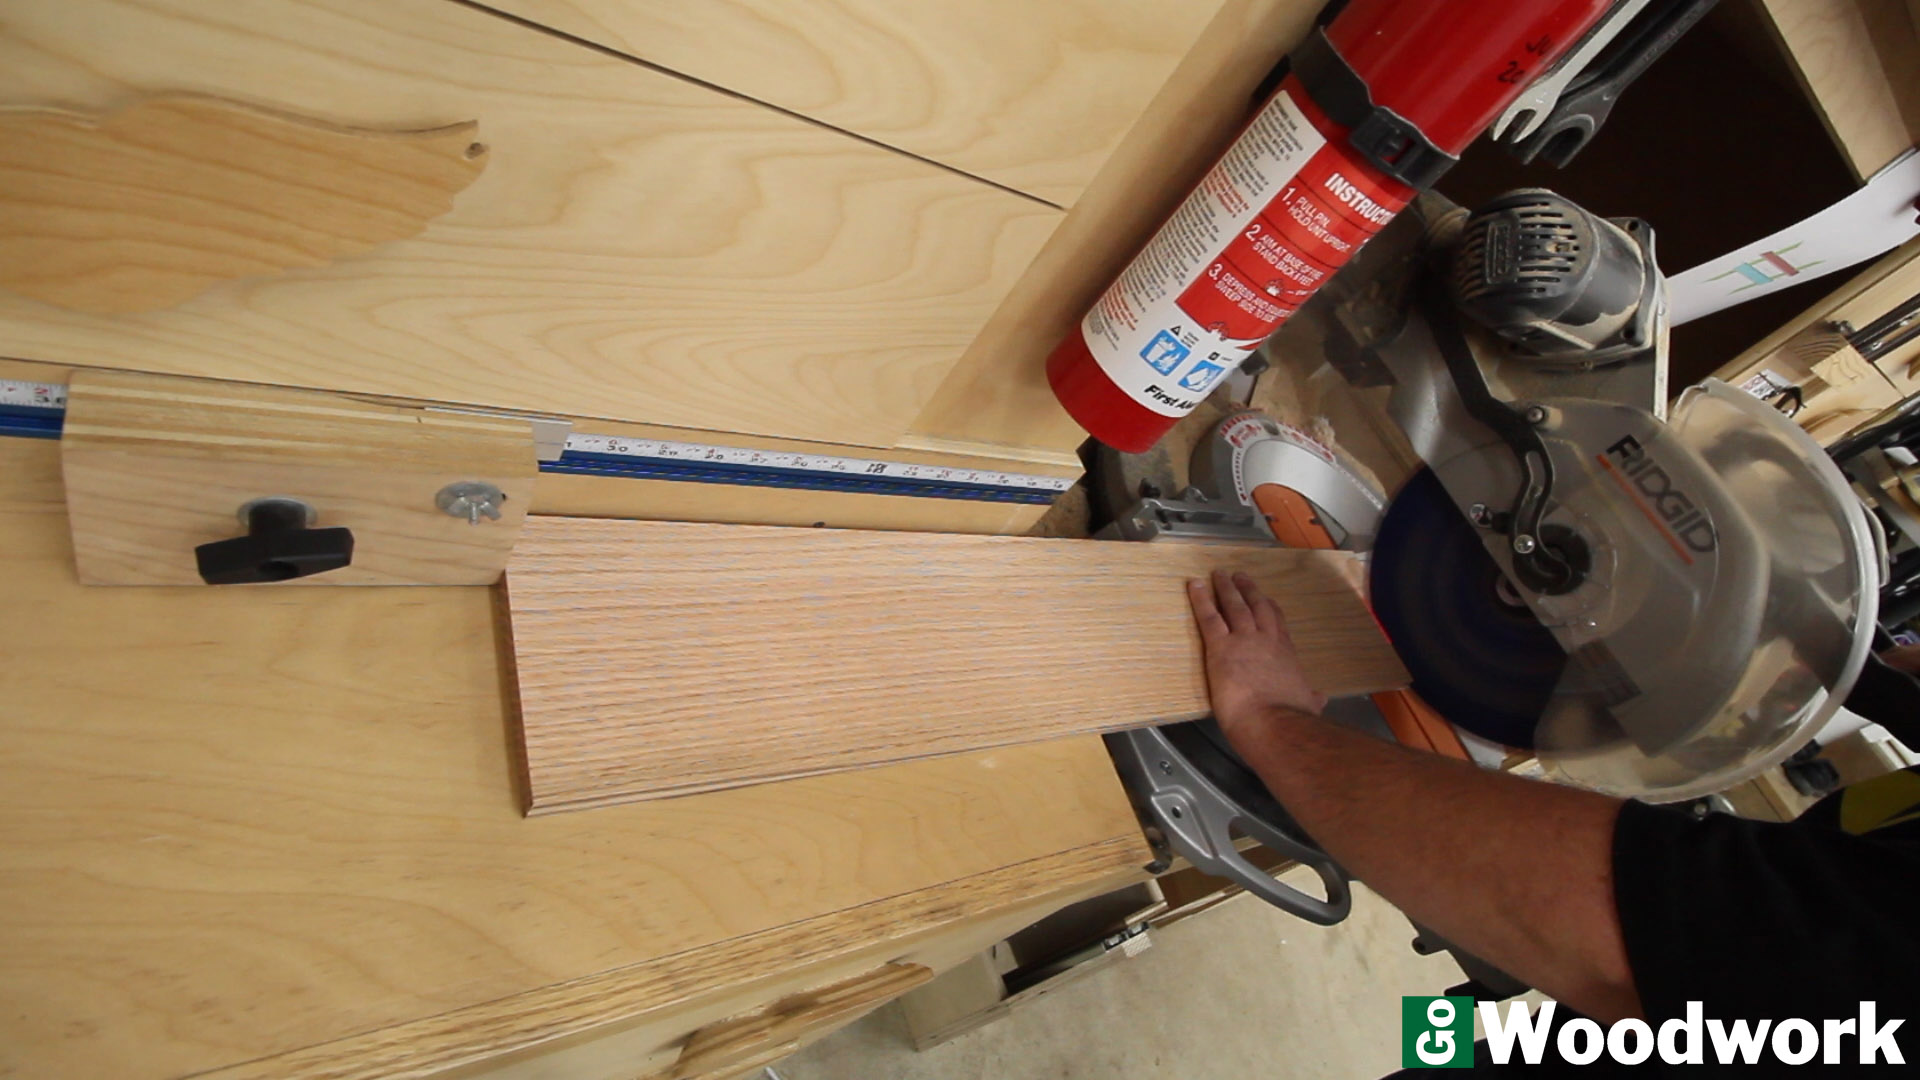
We ran the boards through Jay’s yellow aircraft carrier………well, planer, and then cut everything to final length at the miter saw.
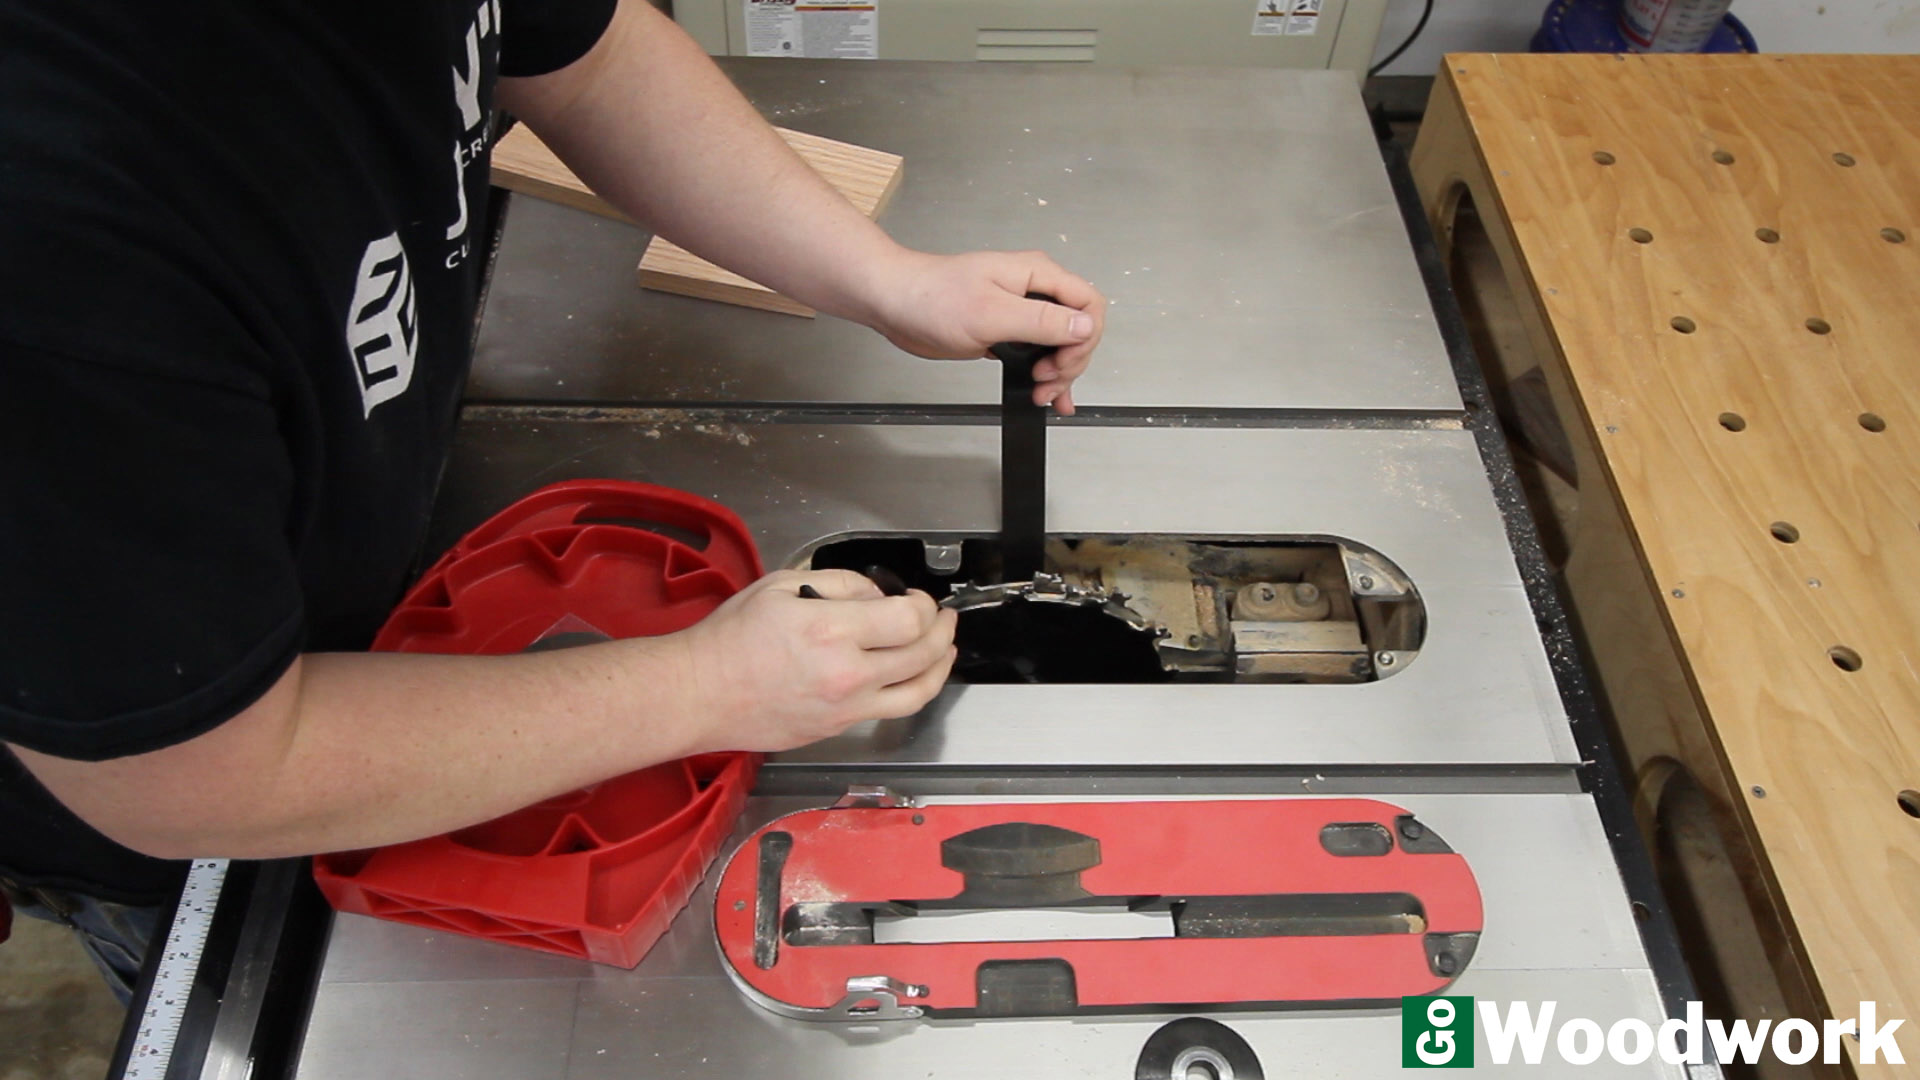
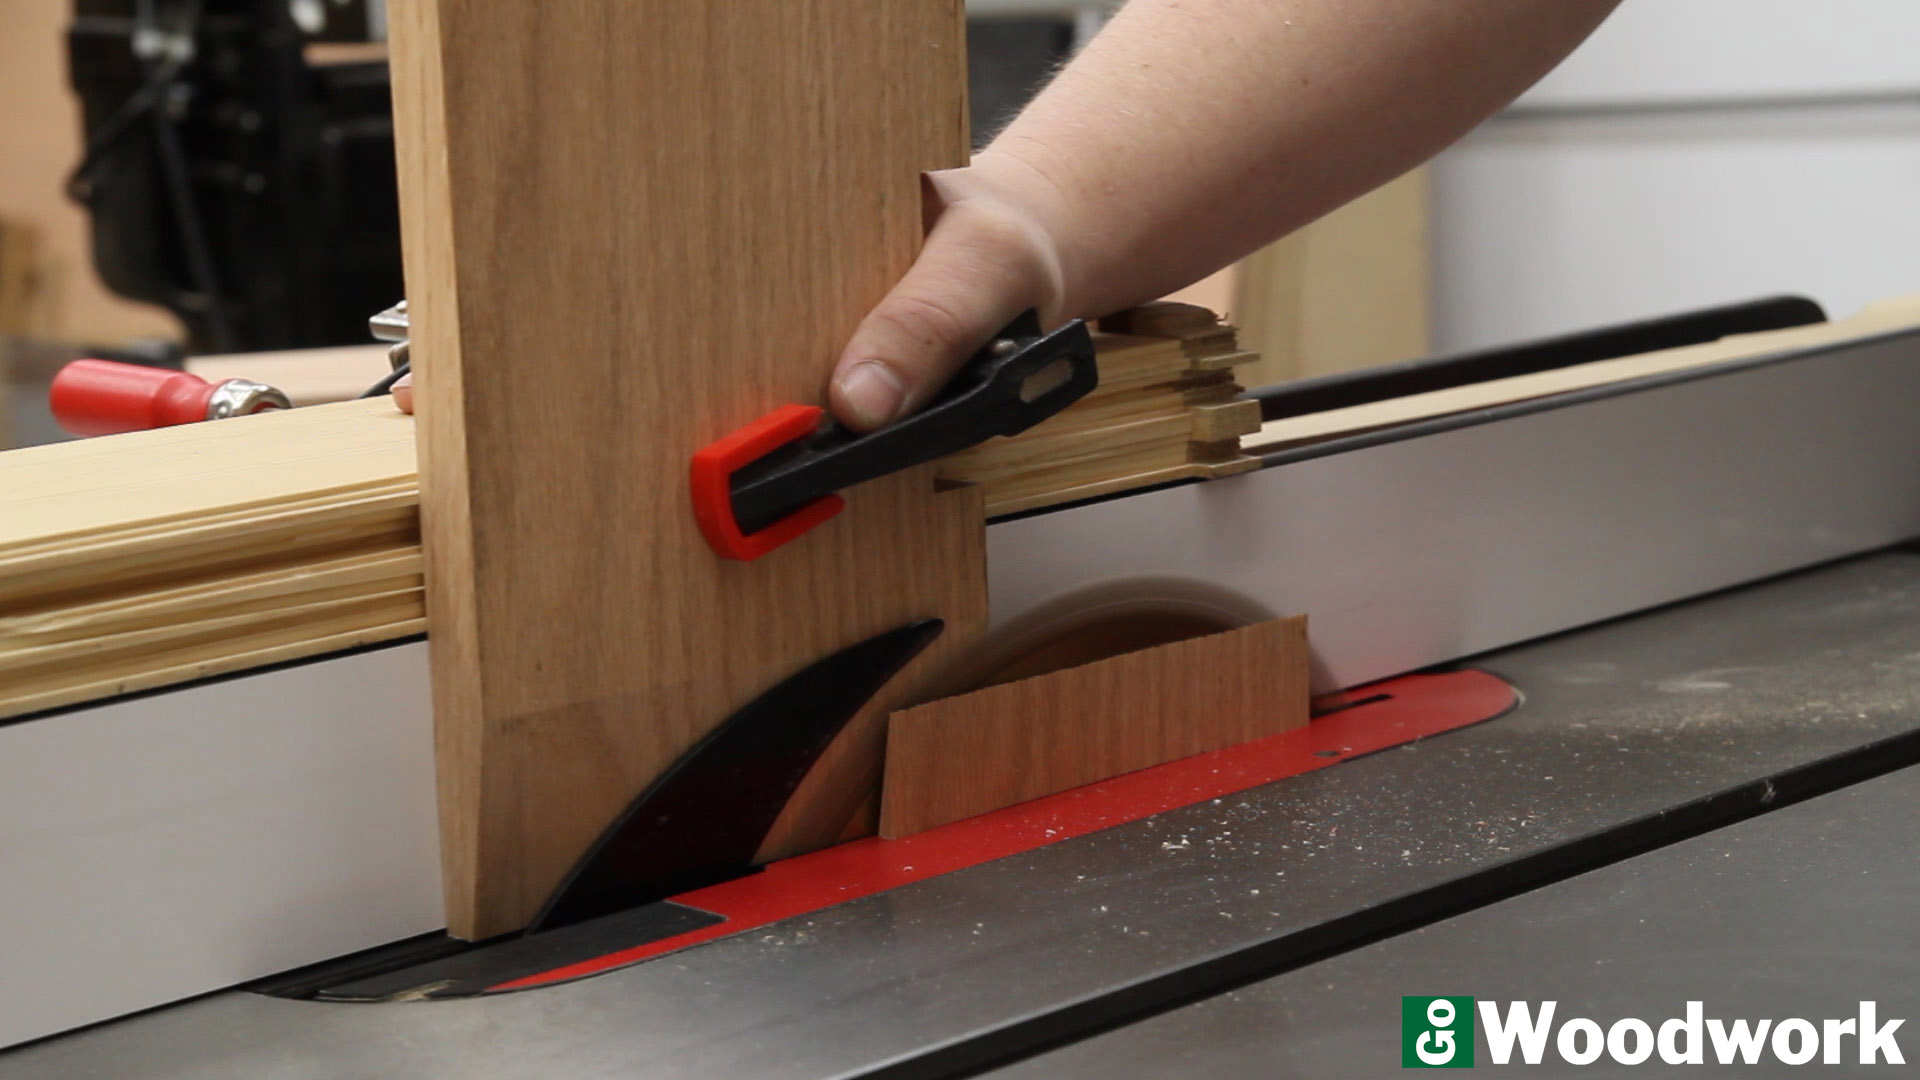
Everyone who knows anything about woodworking is aware of the safety features of the SawStop and most of us have seen the hot dog video. What I rarely see is actually changing the blade out for a dado stack. Changing the cartridge and adjusting it properly took less time than it did to get the dado stack installed itself. This saw is really a no-brainer when it comes to safety.

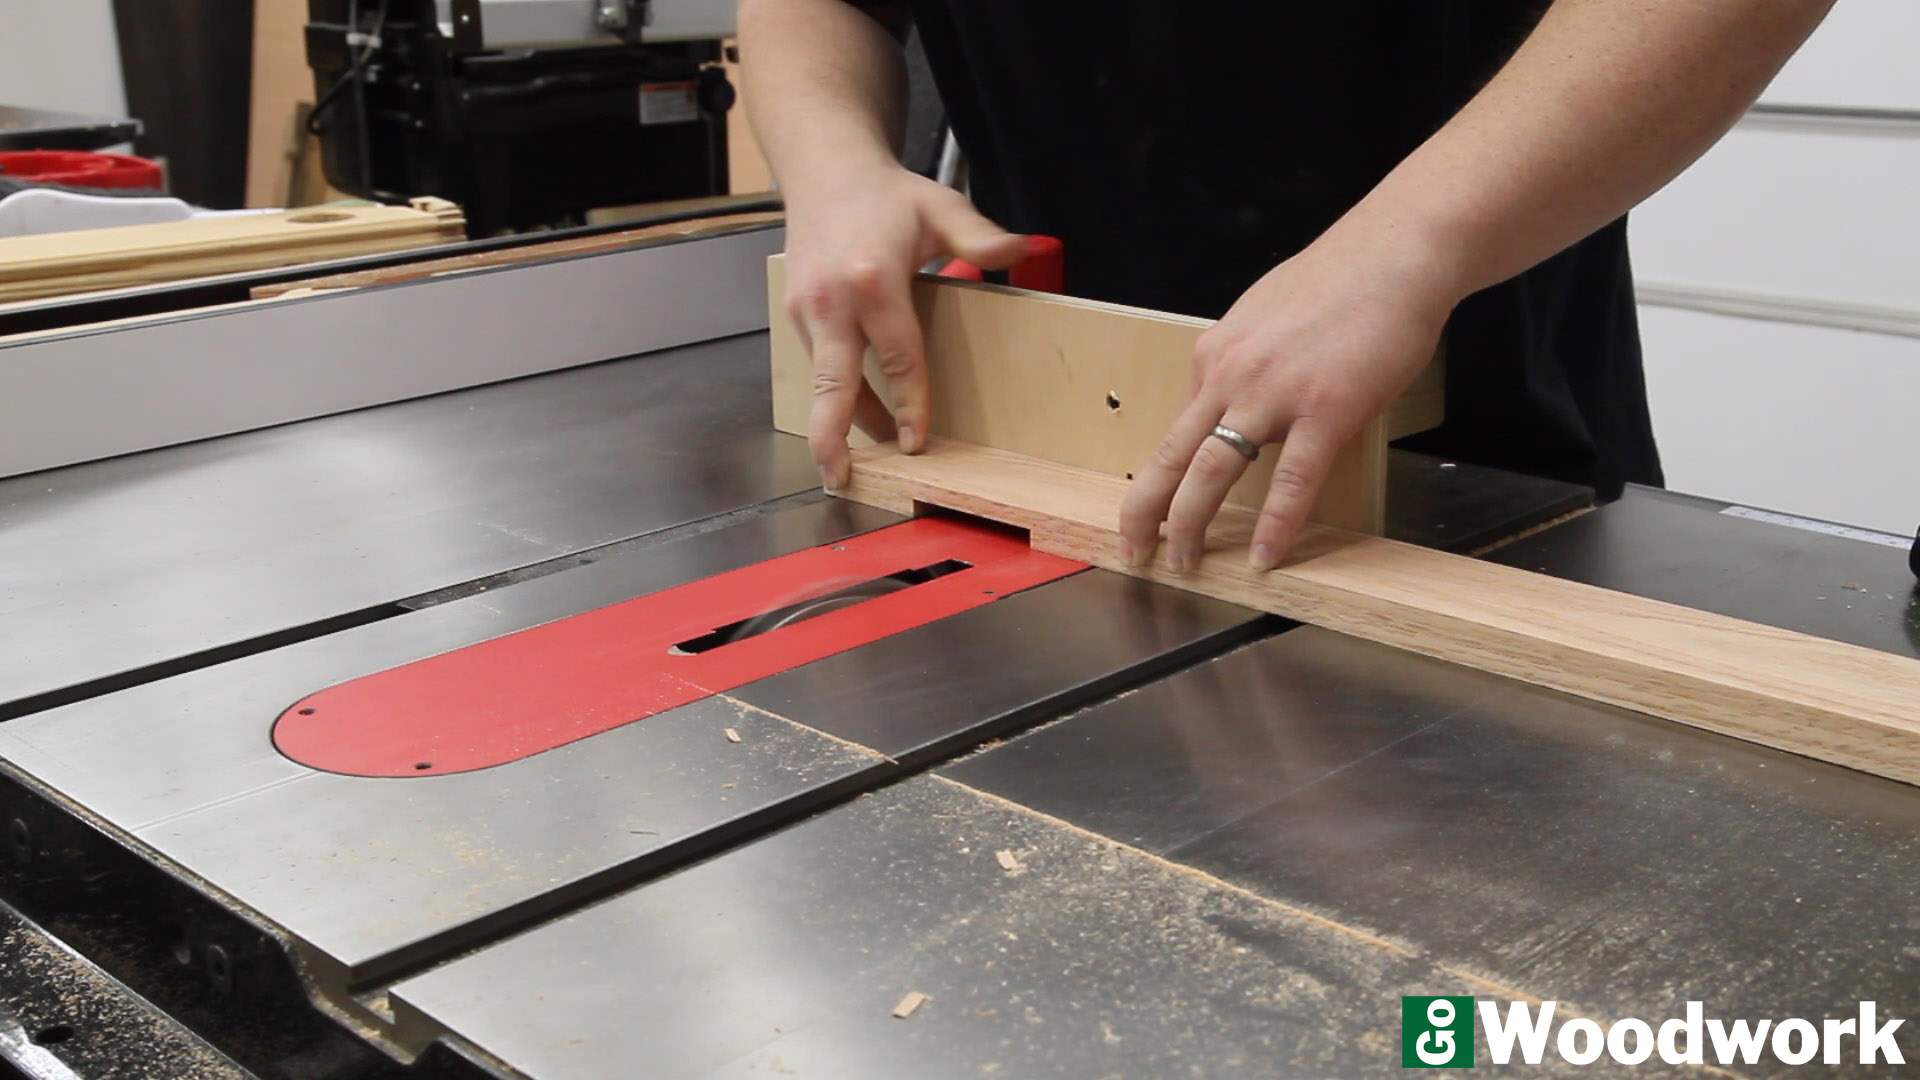
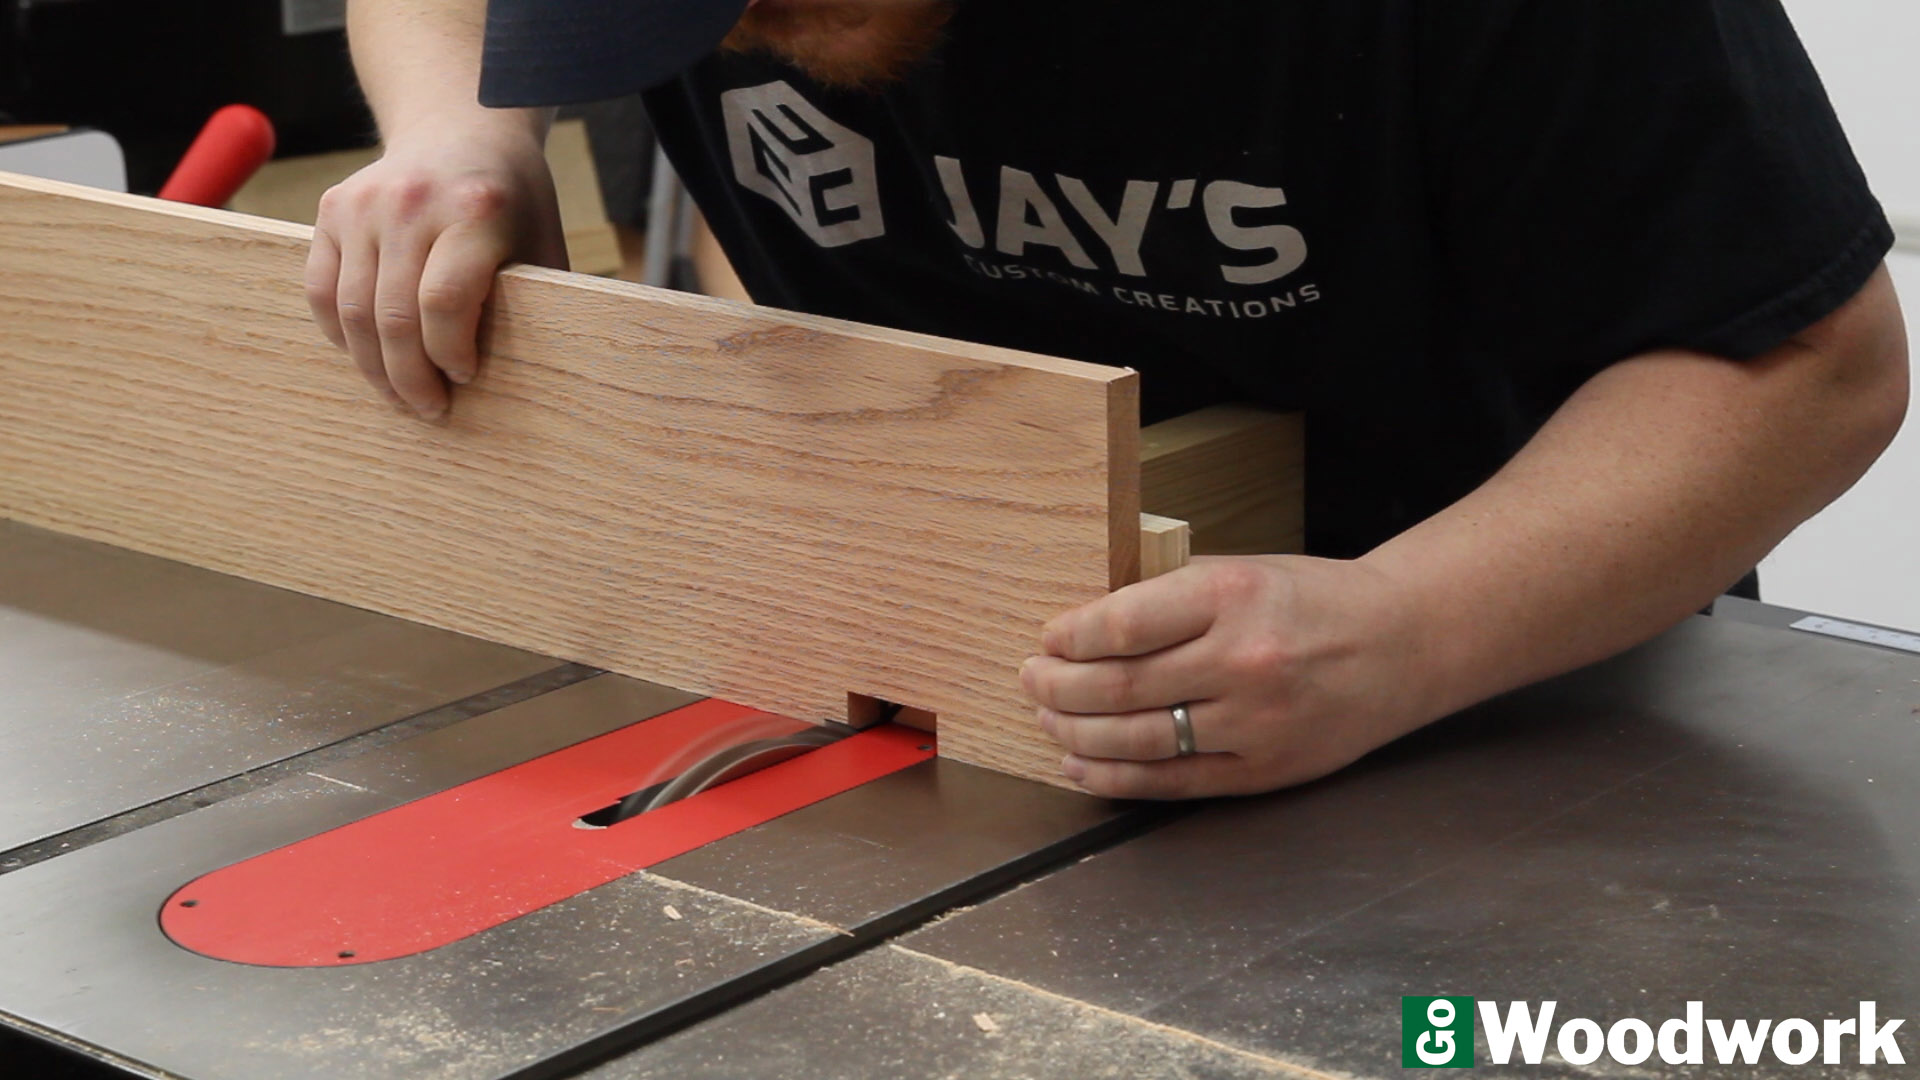
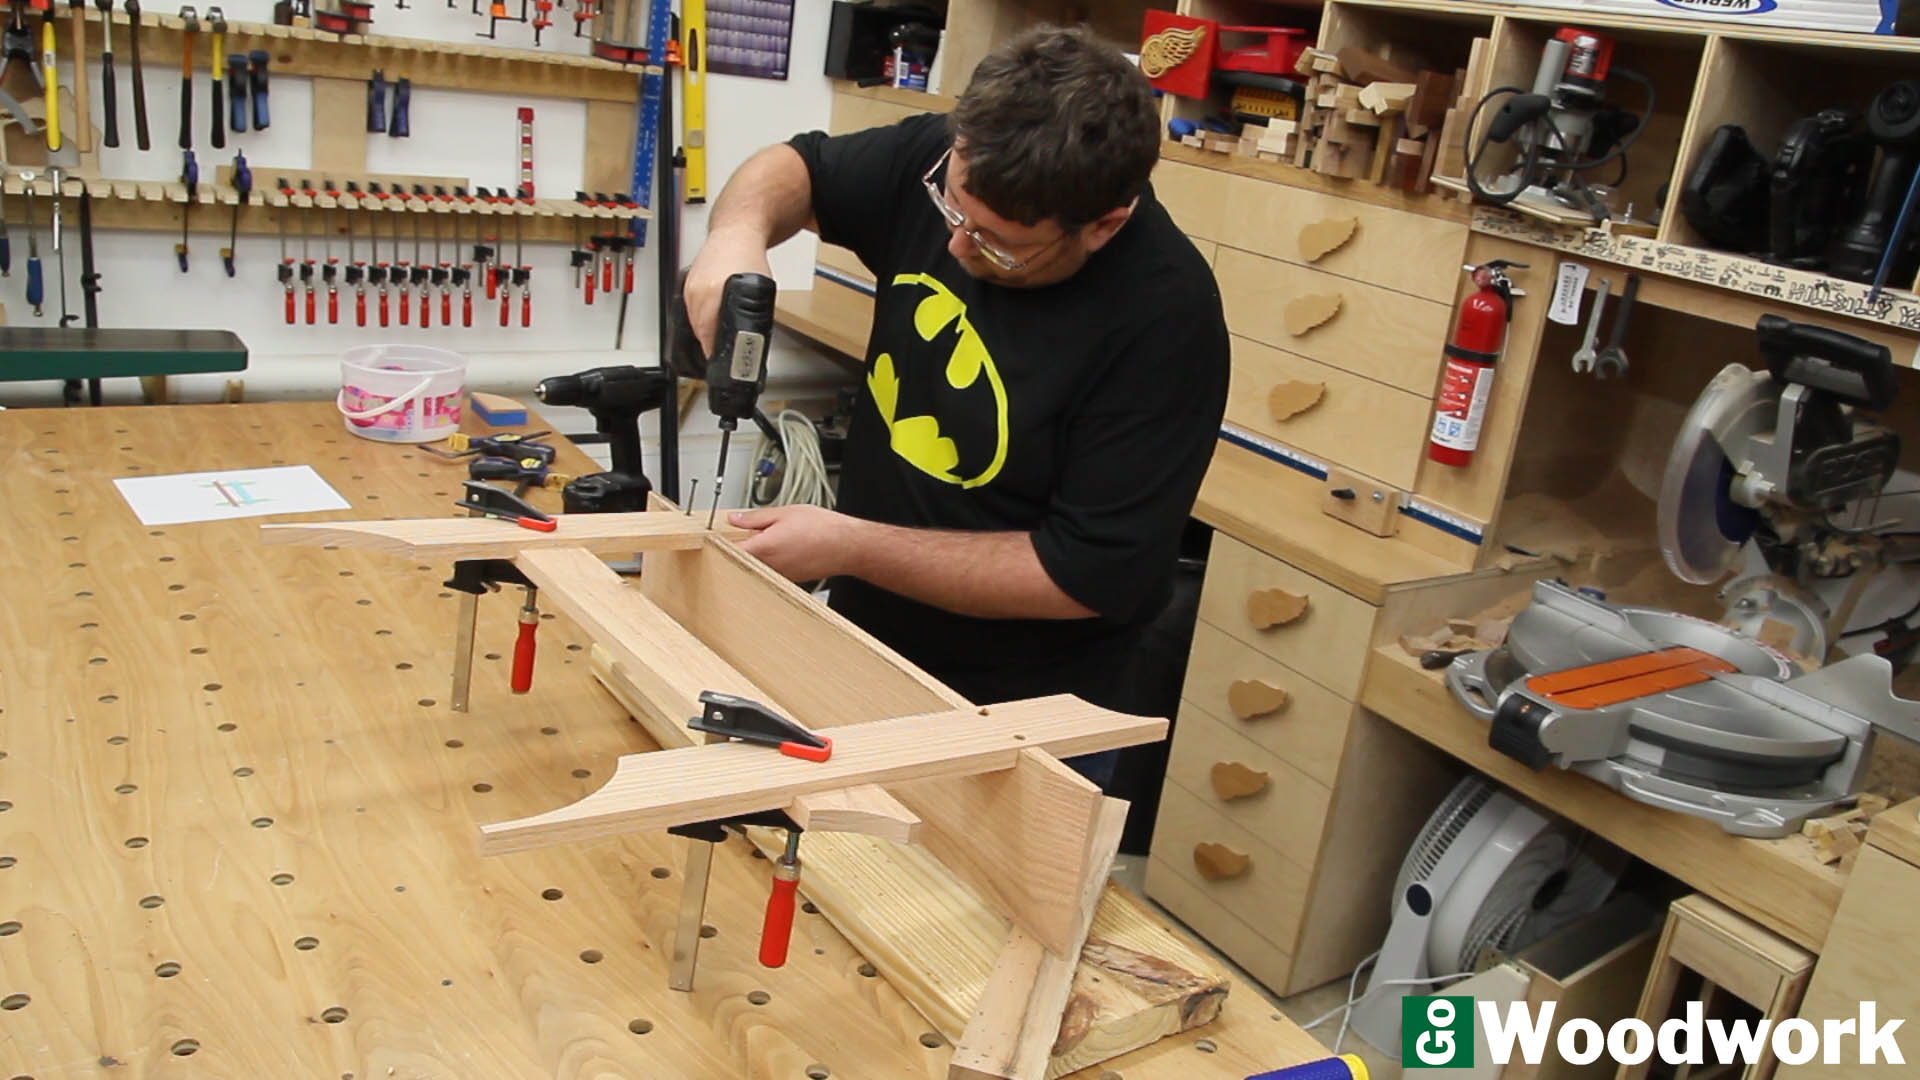
After a quick test piece and some adjustment, the dados were cut in the uprights to accept the lower rack of hooks. Note: there is not a mating dado on the uprights as we decided to leave them proud by the thickness of the remaining material. This first gives an unusual look to better work with the curves of the uprights and the bevel on the shelves but it also raises the rack of hooks piece off from the wall so any inconsistencies of the wall is virtually eliminated when mounting.

When you don’t have a French curve template of the right size, we improvised. Using the lathe shield, we were able to get a perfect curve on our template.
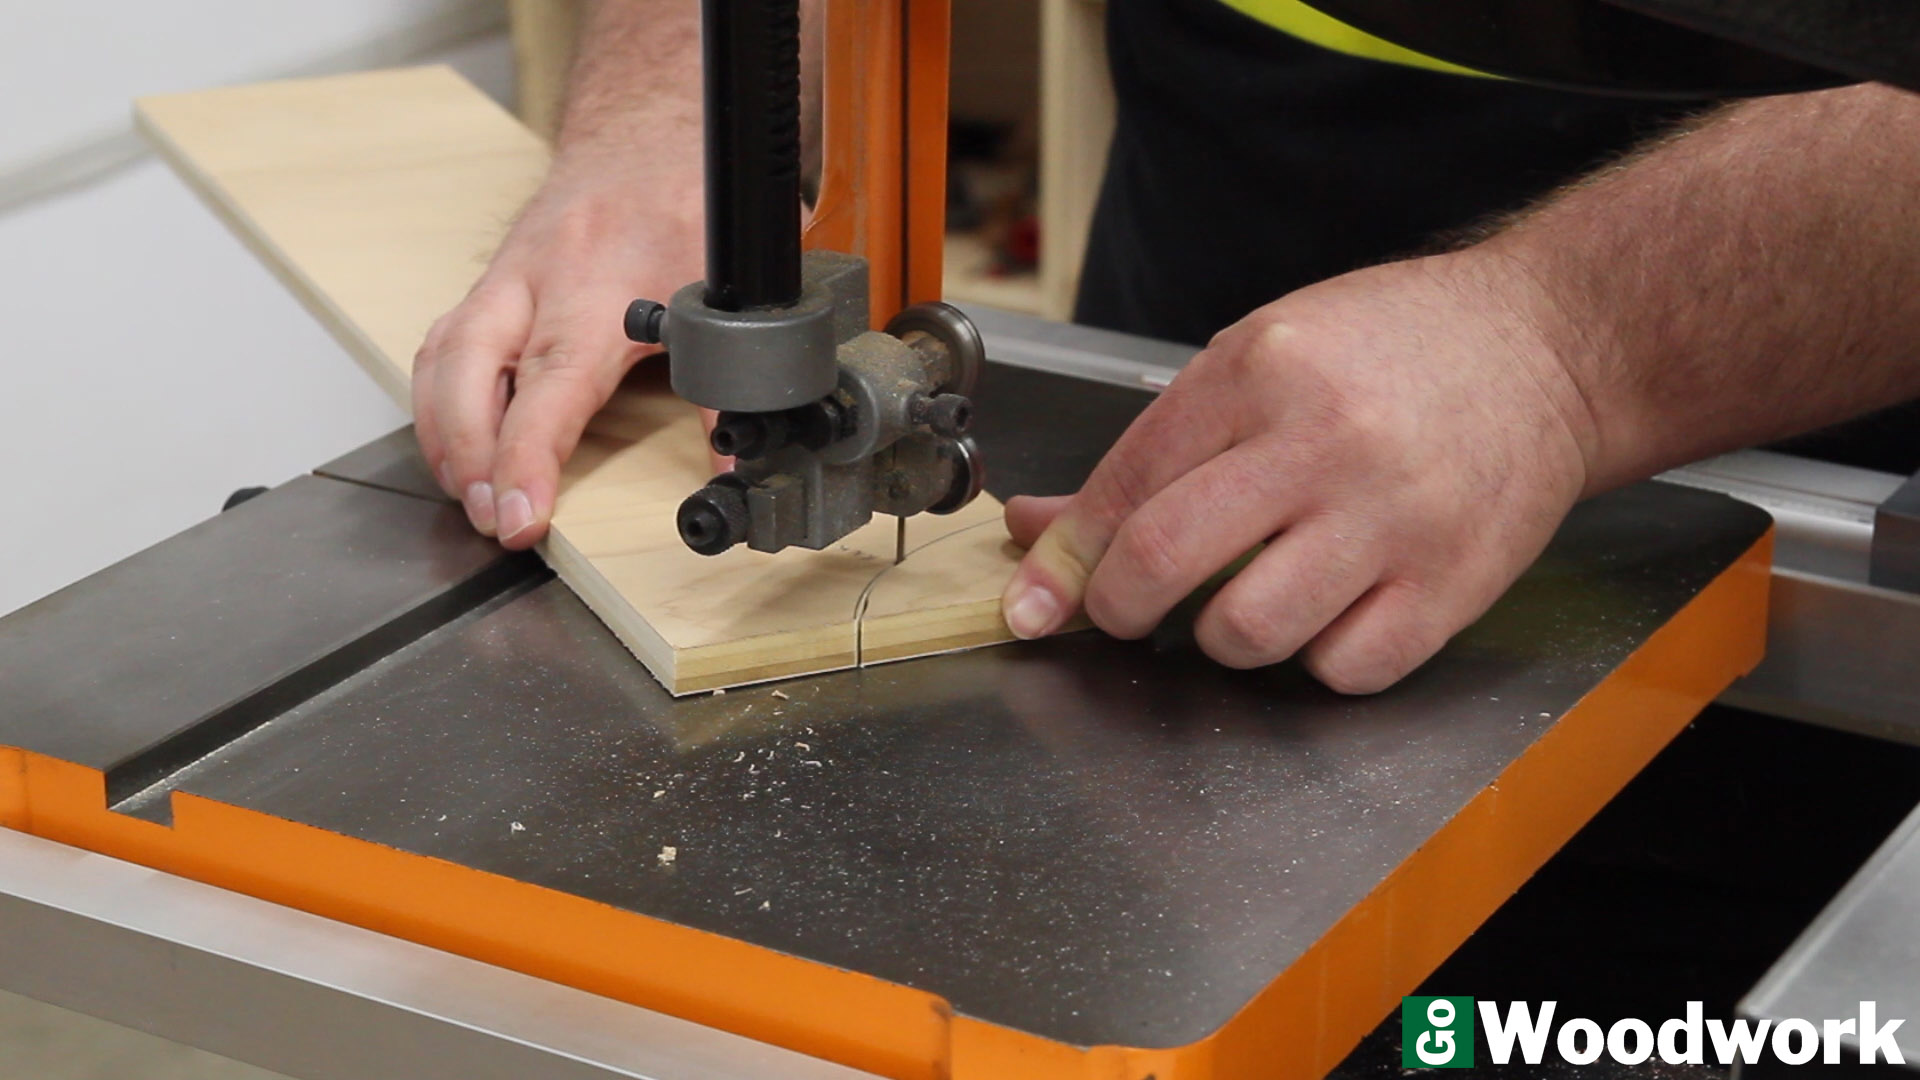

After cutting out the template, I used the oscillating spindle sander to work up to the cut out line and smooth out the rough spots. This gave us a perfect curve that we could duplicate to the uprights.
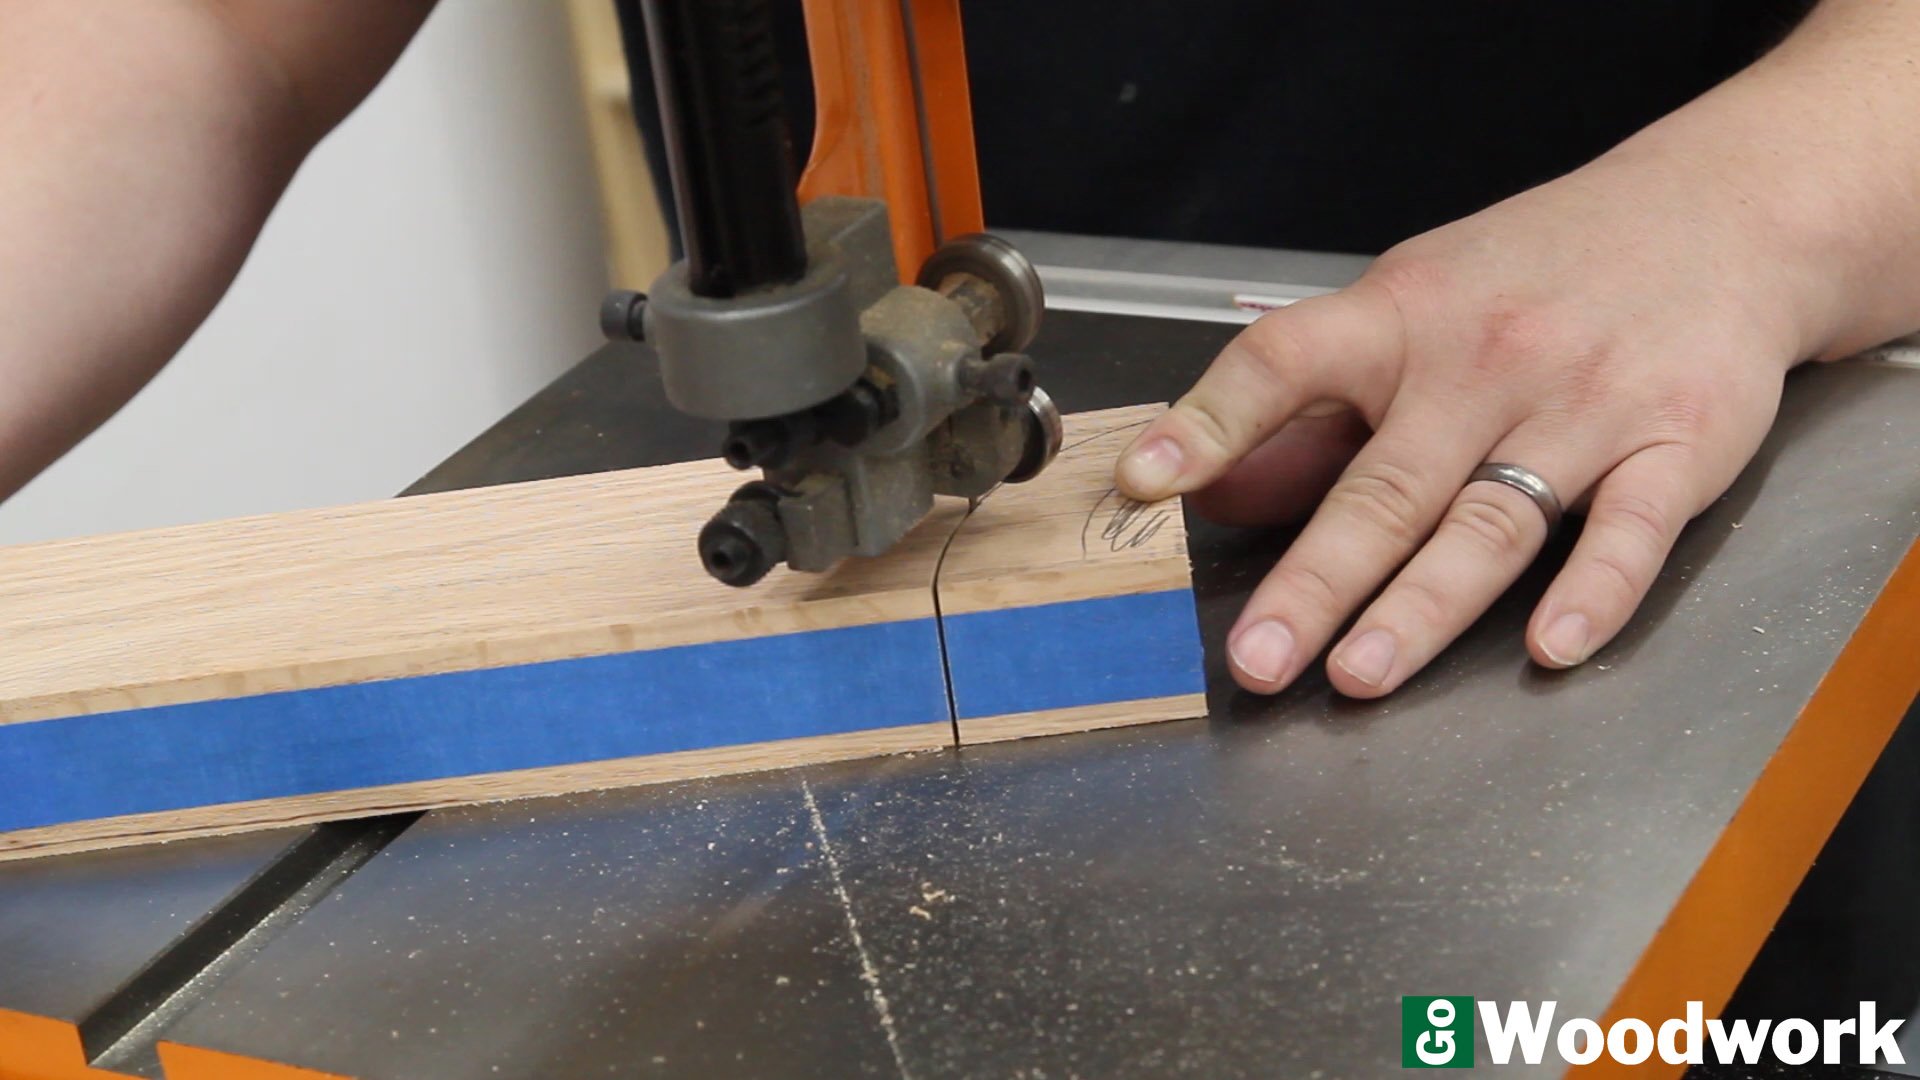
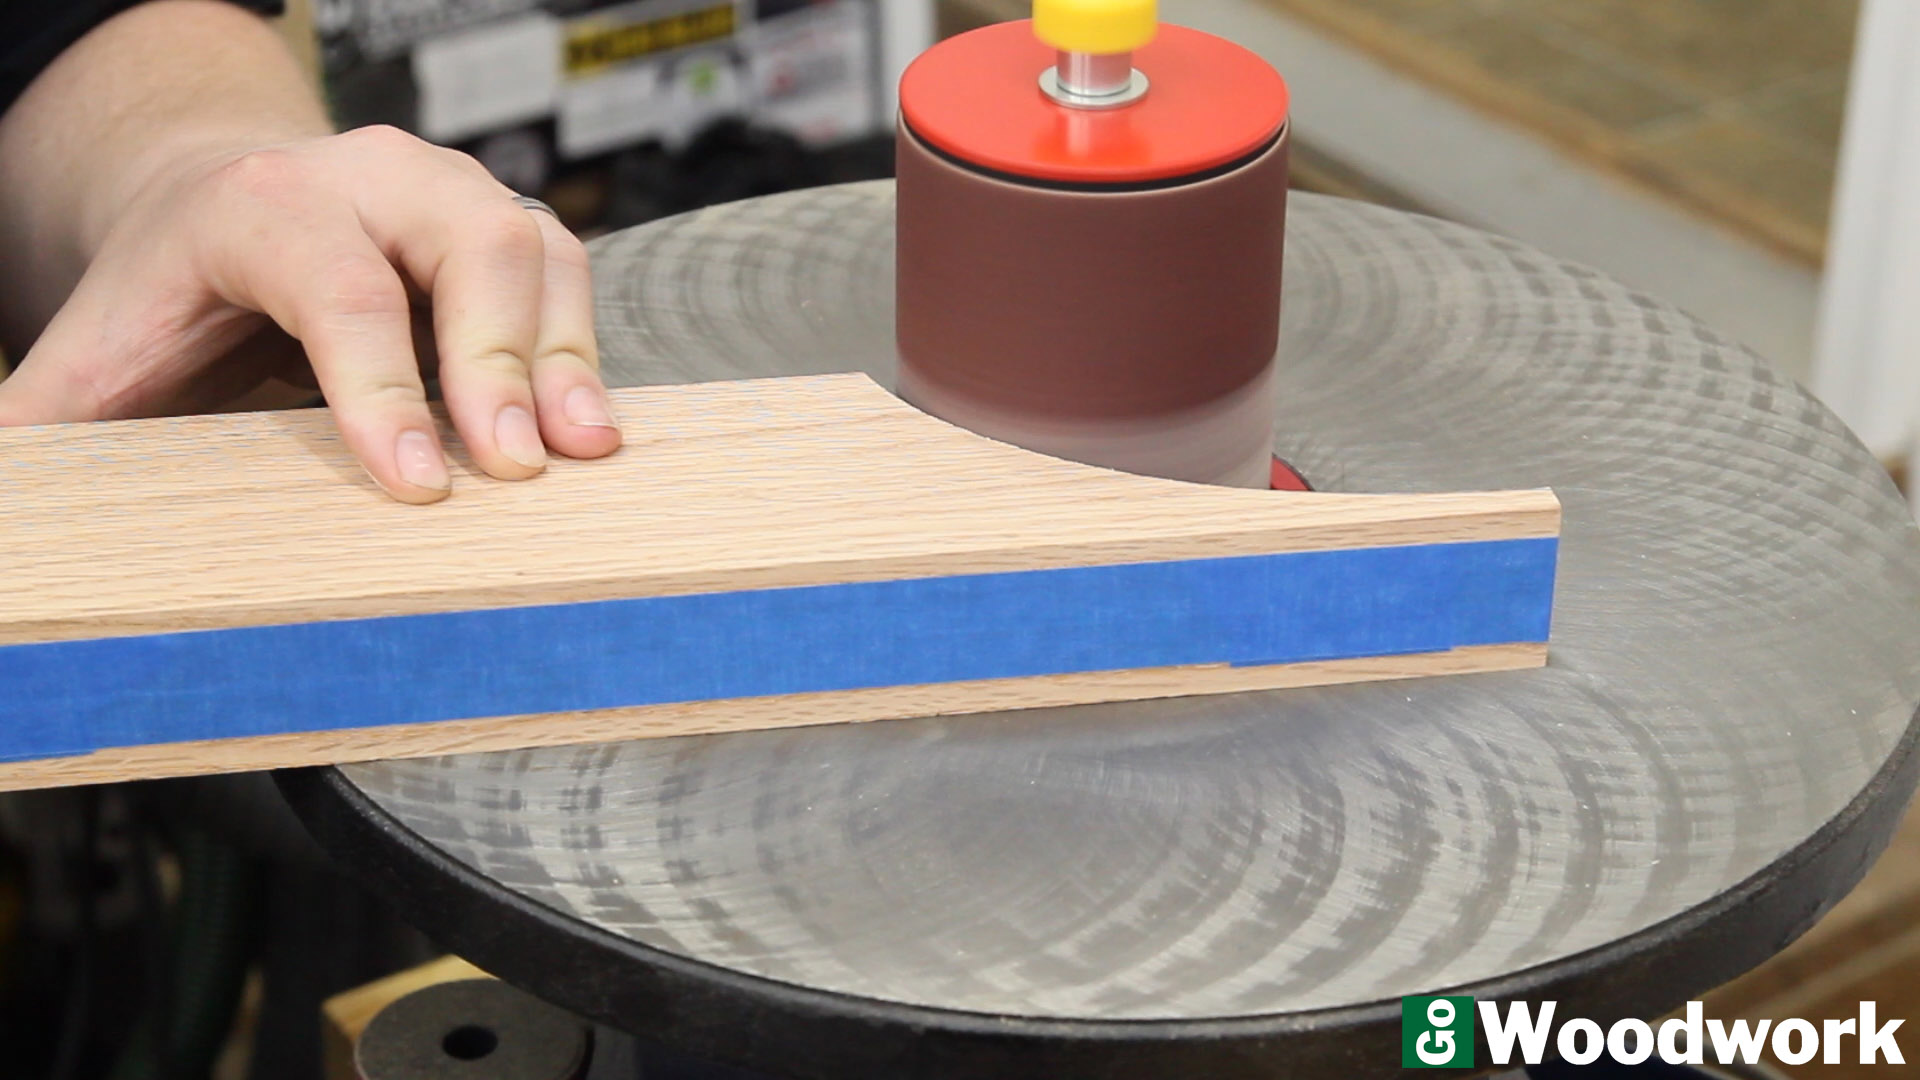
Just as with the template, they were cut out (this time taping them together to get more repeatable results) and then finished them with the spindle sander. While it is a specialty tool, it sure as to heck beats using a drum on the drill press.
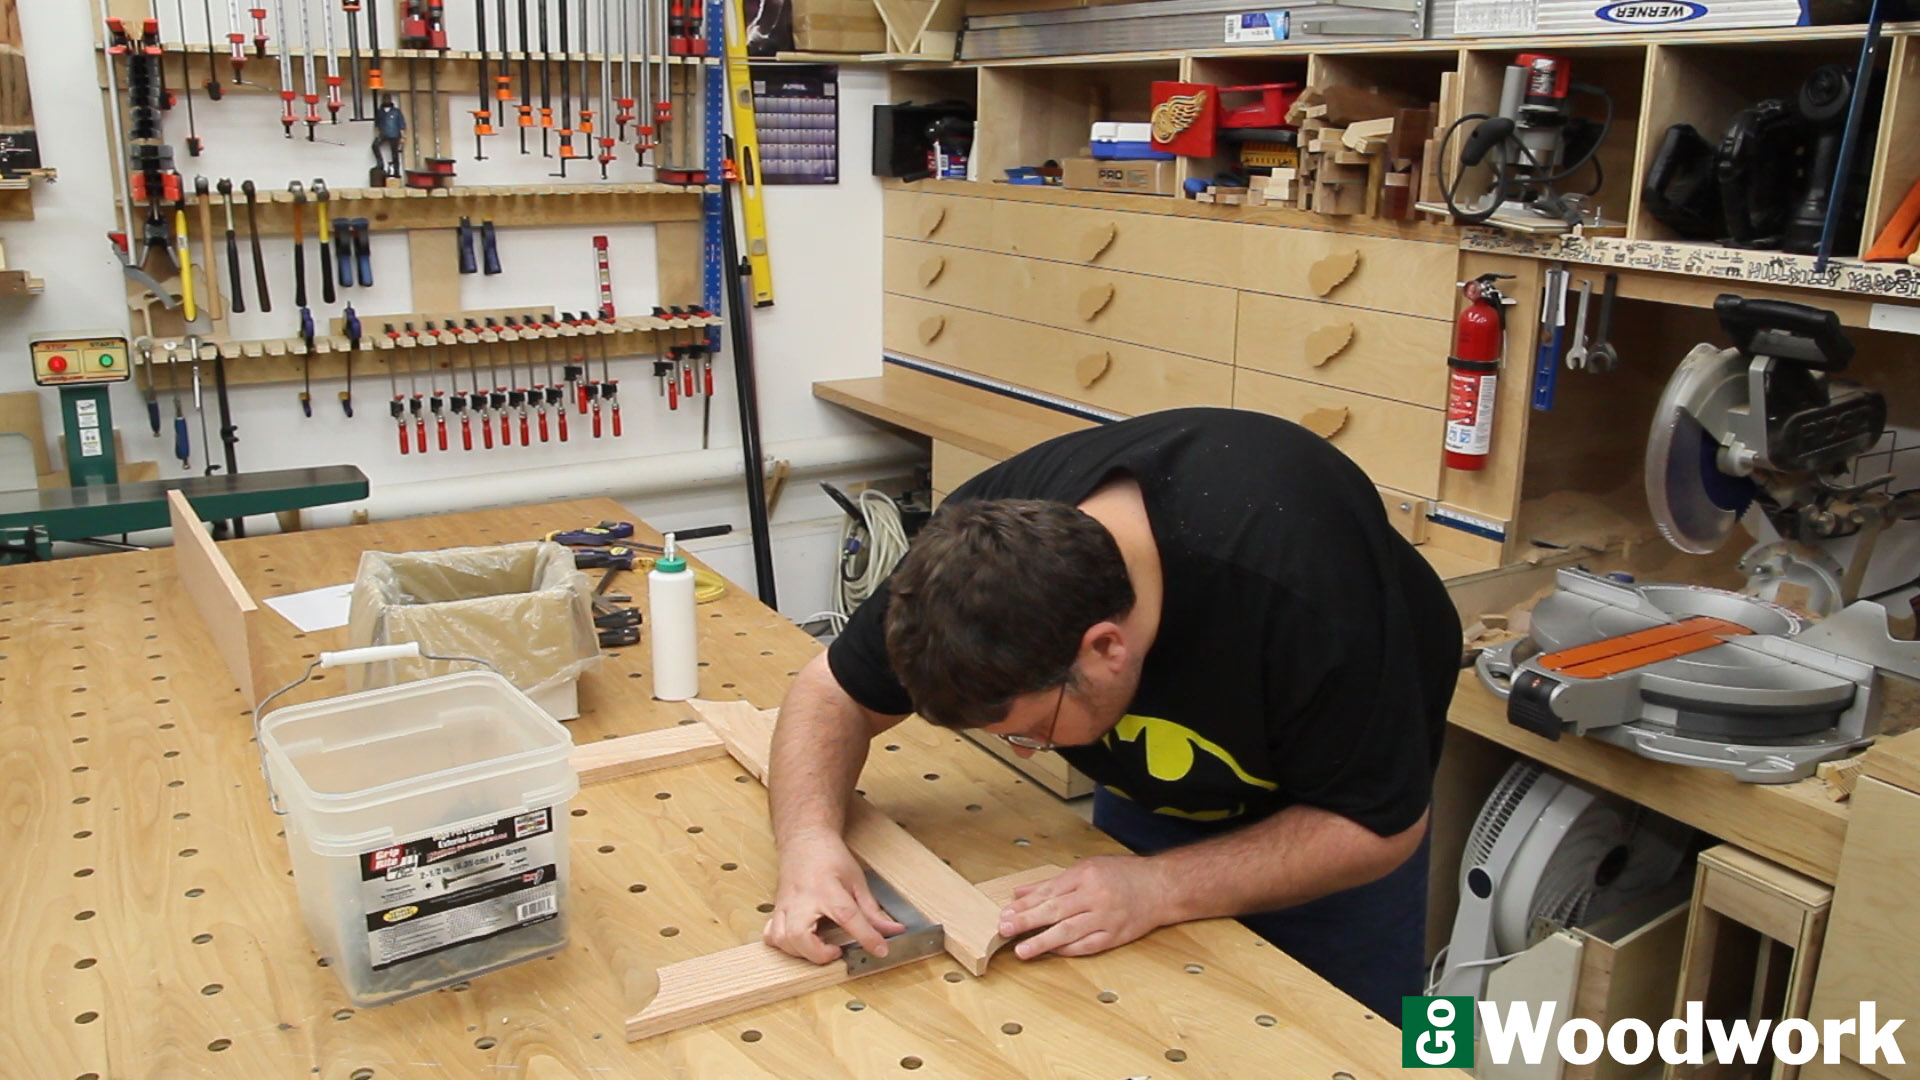
The bottom rack was glued on ensuring that it was square to the uprights. Boxes of screws were used to temporarily clamp it together and then F clamps were added a bit later on.
The dados were added to the shelf. Like the other horizontal piece, it was left so it was slightly offset so there rear of the shelf wouldn’t touch the wall when being mounted.
In keeping with the “dojo theme” of this project, a bevel was added to the bottom of the shelf. Of everything in this project, this is what set it off as a finishing touch.
The shelf is attached with long screws. Since this will not hold much weight, I opted not to use glue.
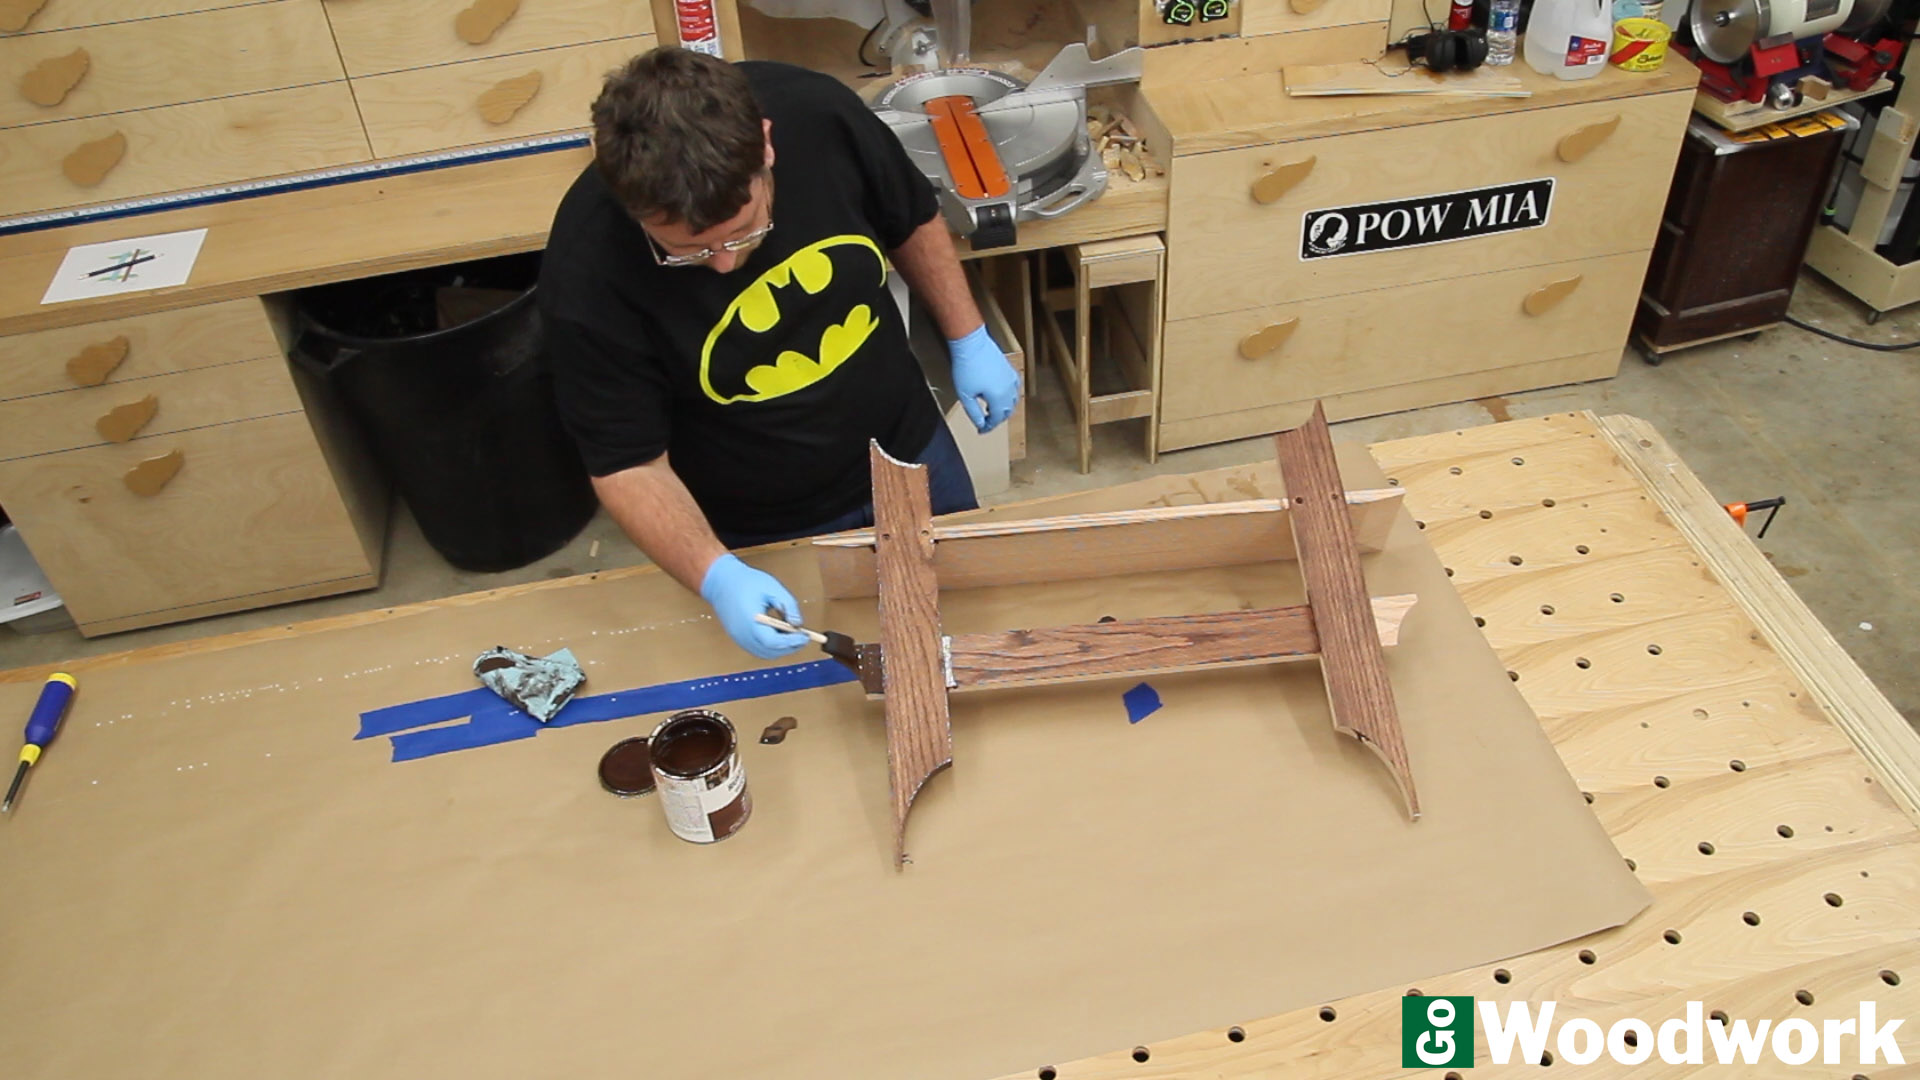
To match my existing furniture, I chose Rust-o-leum Carrington finish with shellac as a sealant and then buffed it with steel wool and paste wax.
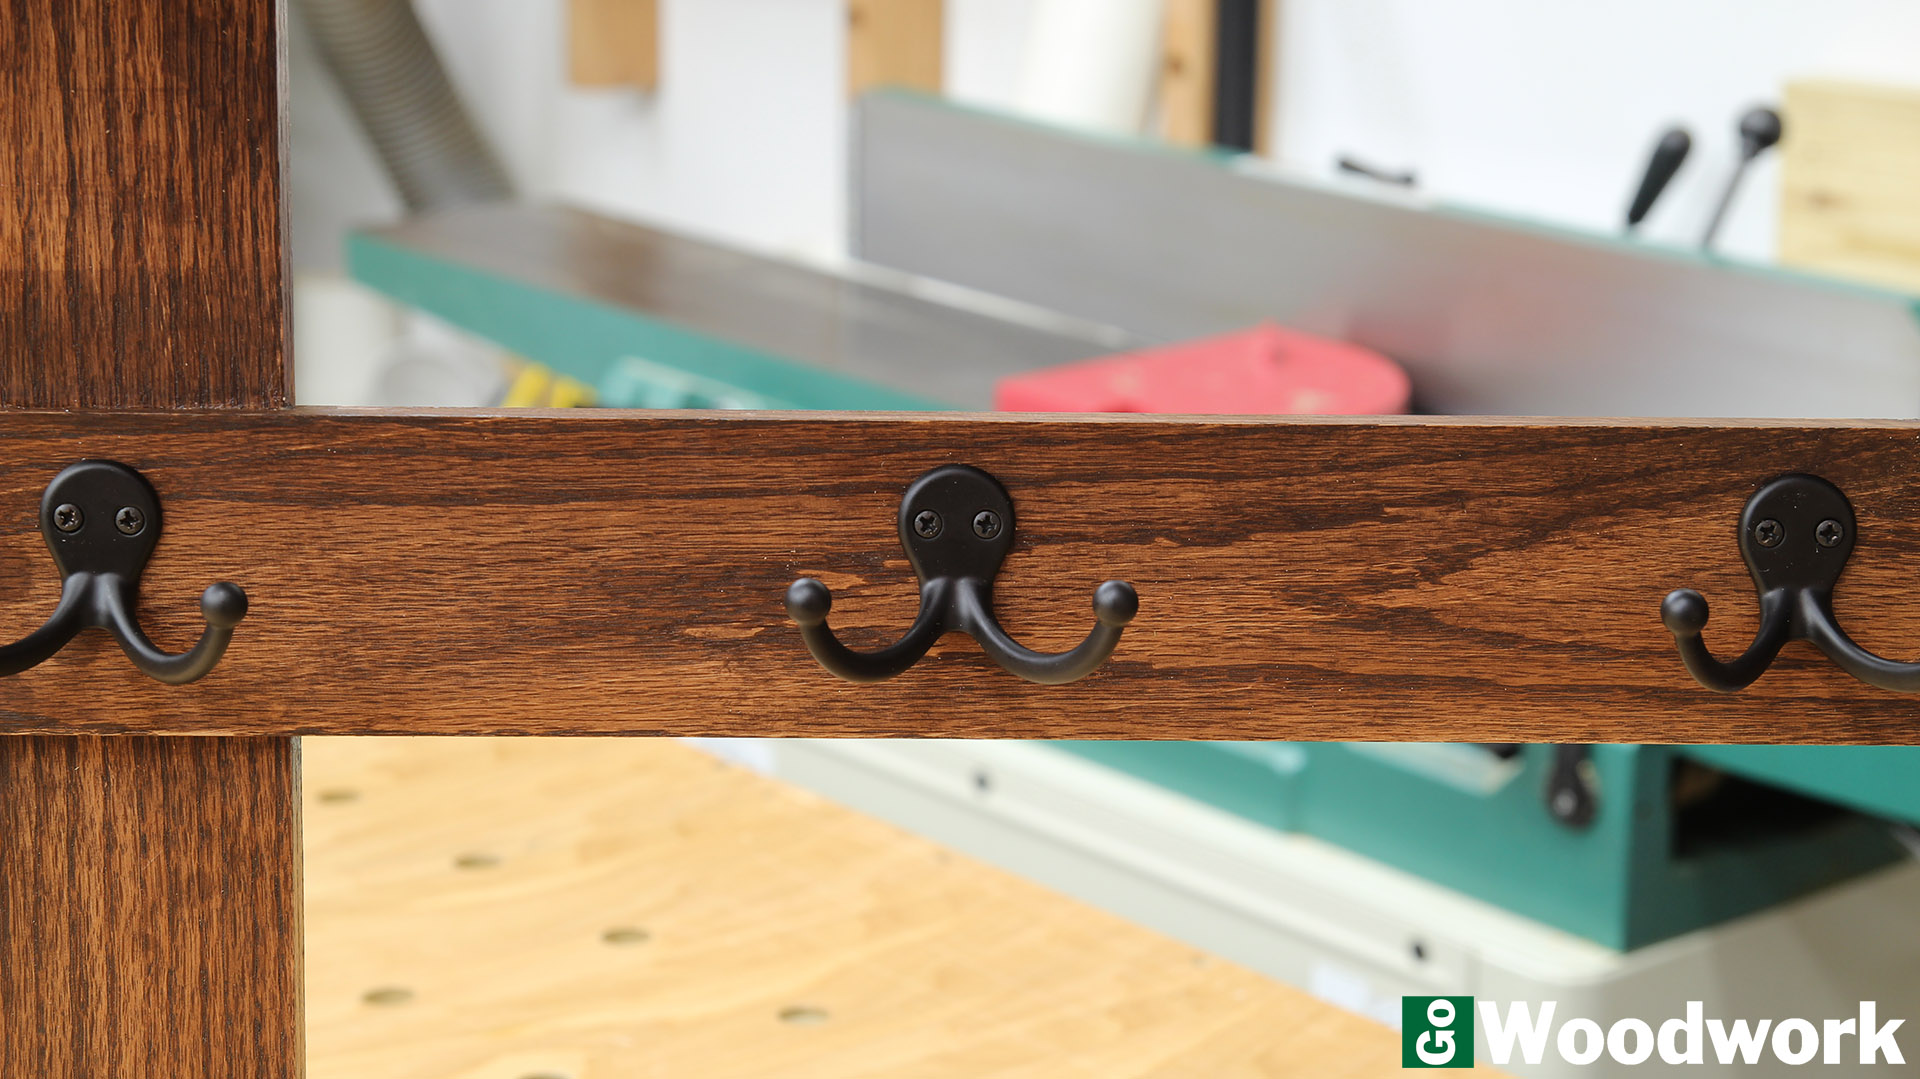
I found these hooks on the clearance rack and they worked perfectly.
Mad props to my friend Jay for letting me take over his workshop and make something I desperately needed!
Free SketchUp plan: Coat Rack (1286 downloads)