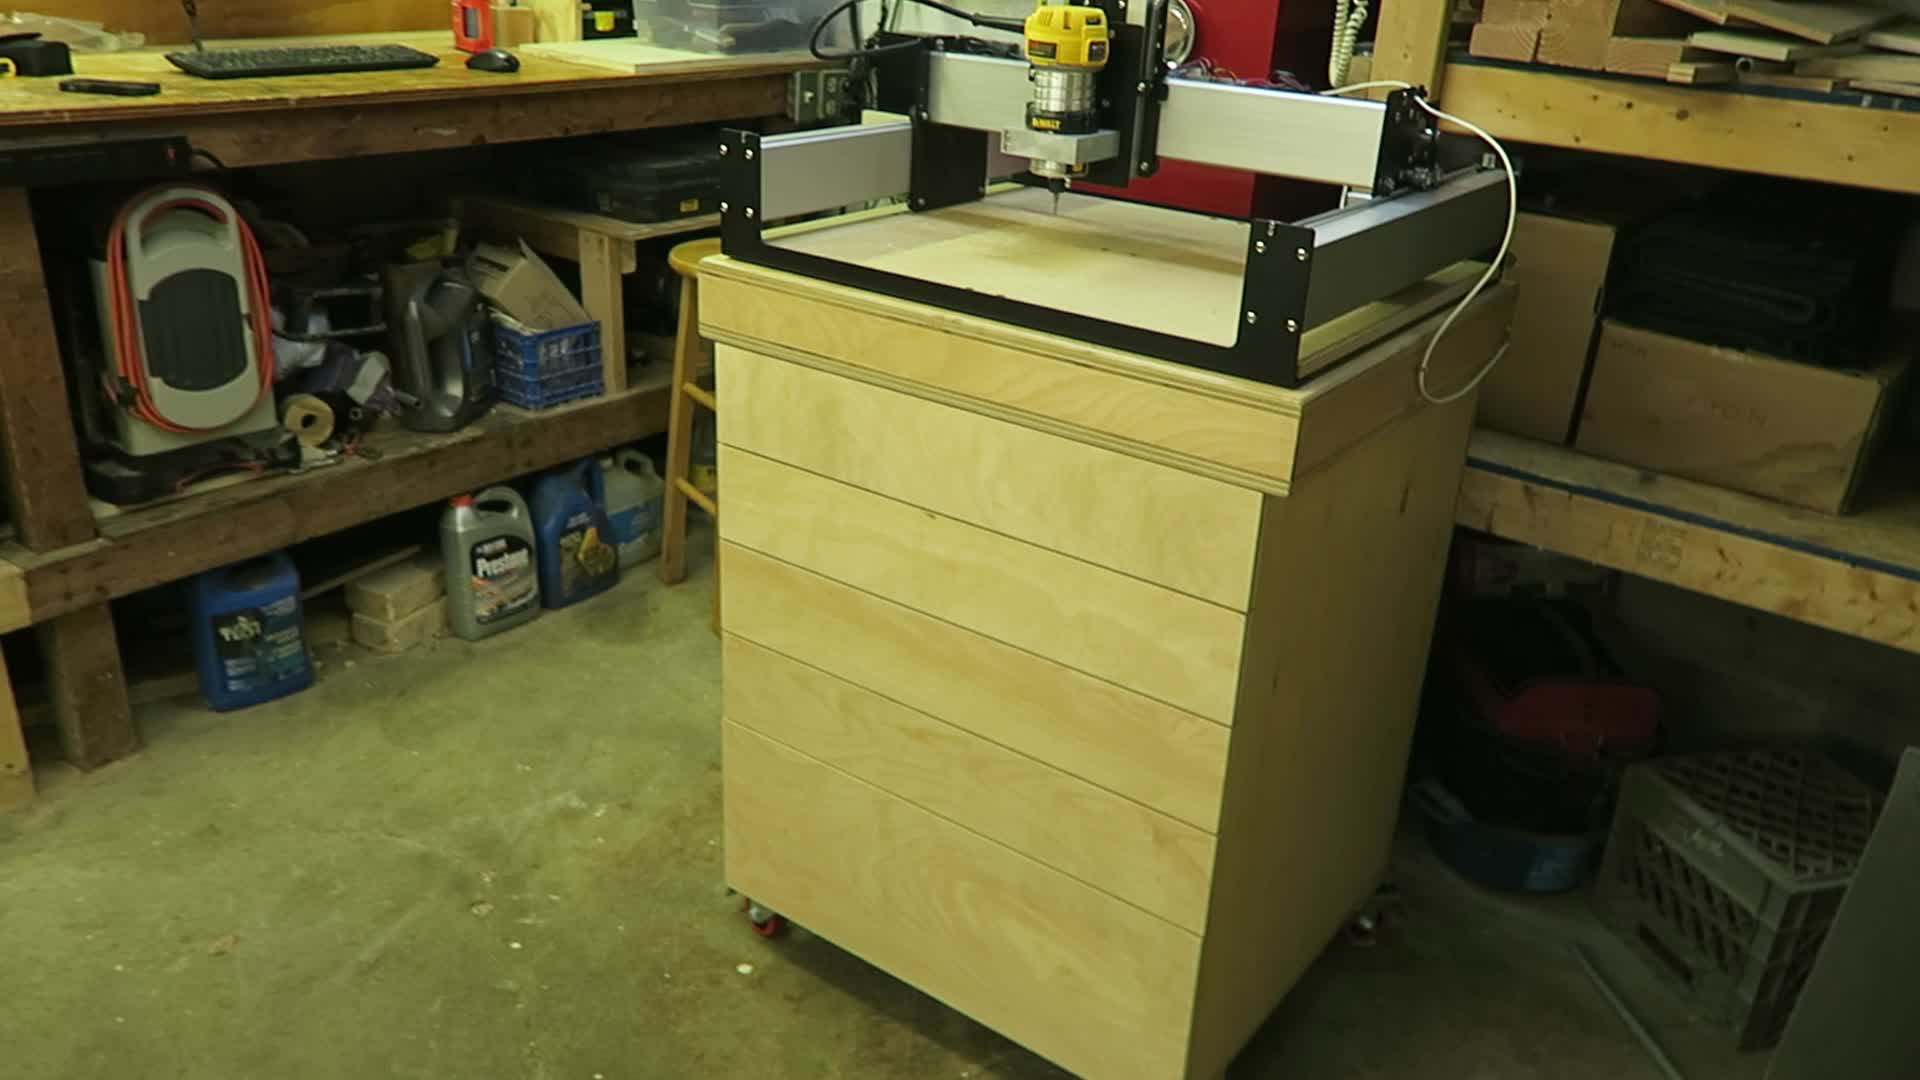
Shapeoko 3 Table & Cabinet
Earlier this year, I was able to get a Shapeoko 3 from Carbide 3D. For months now, I’ve used it setting on my Torsion Box Outfeed and Assembly Table but that made my table saw relatively useless without the hassle of moving both the CNC and the notebook I used to run it.

I have always been terrified of drawers because they usually involve some amount of precision when being built and I’m usually not that precise. I decided to up my game and take on building a mobile cabinet with some bonus drawer storage. Some future shop furniture will involve removing two metal cabinets currently jammed full of things before I can build a miter saw station so having some extra storage right now is a great bonus.
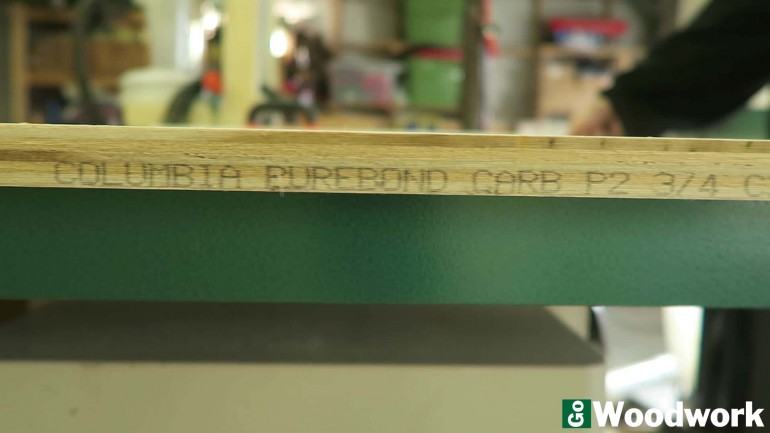
This entire project was made with PureBond project panels from Columbia Forest Products exclusively from the Home Depot. Made in North America using soy-based resins which means no formaldehyde rubbish to make you sick.

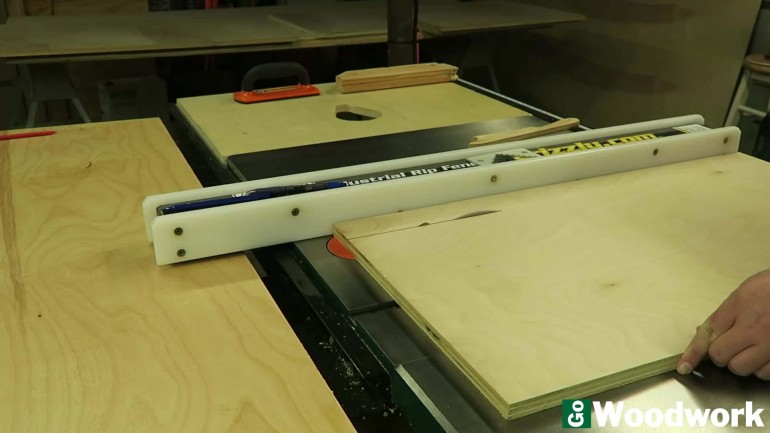
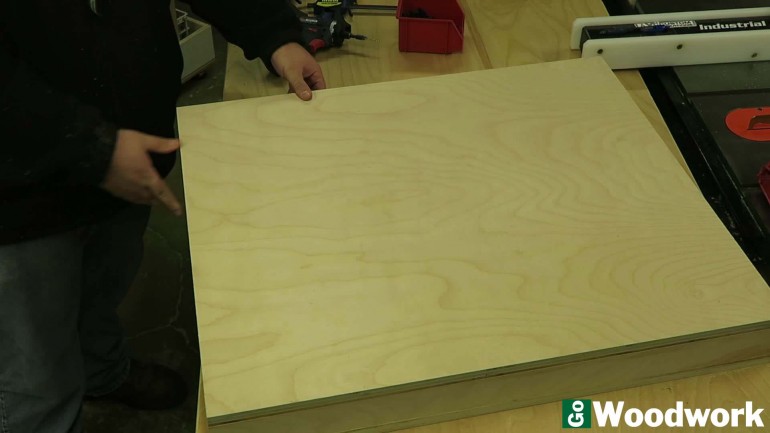
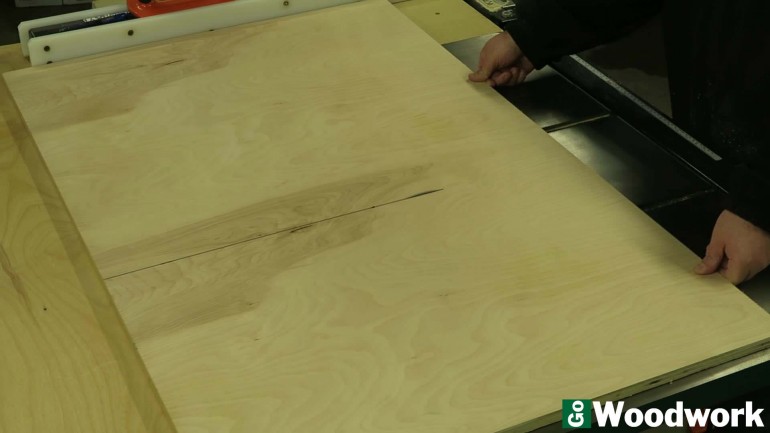
After breaking down the plywood sheets into more manageable sizes, I started ripping all of the pieces down at the table saw for the torsion box.
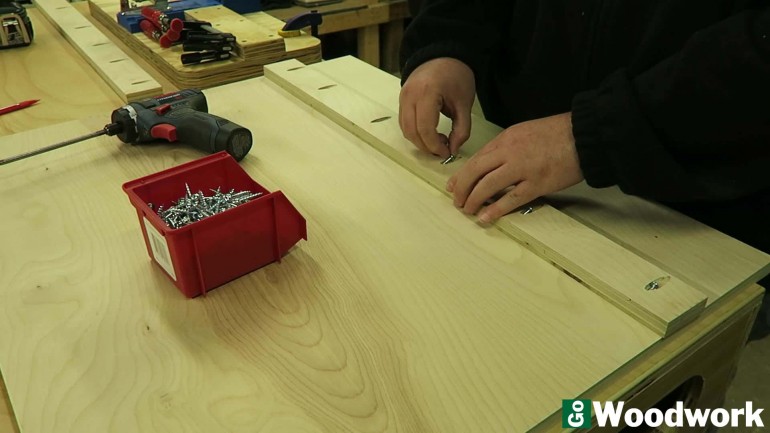
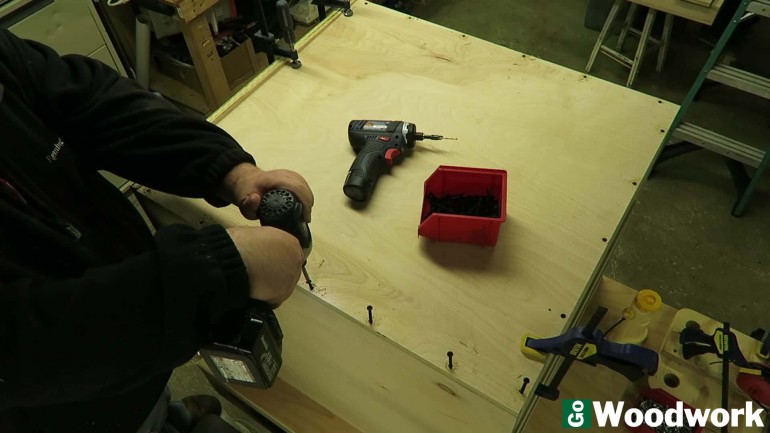
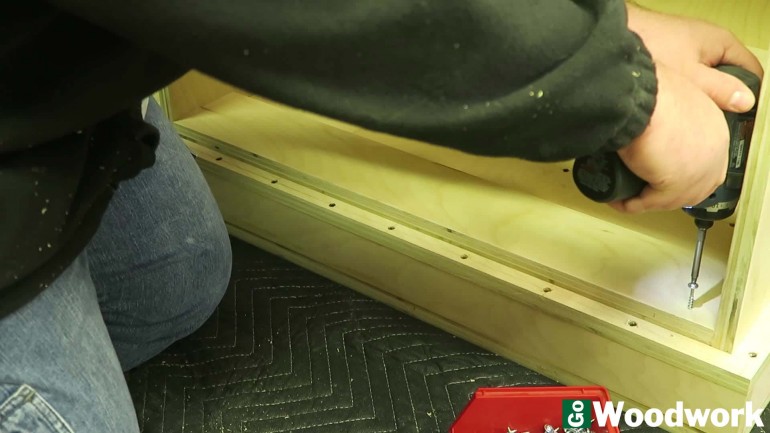
For the most part, pocket holes were used to hide fasteners and I drilled so many I managed to break a bit during the process.
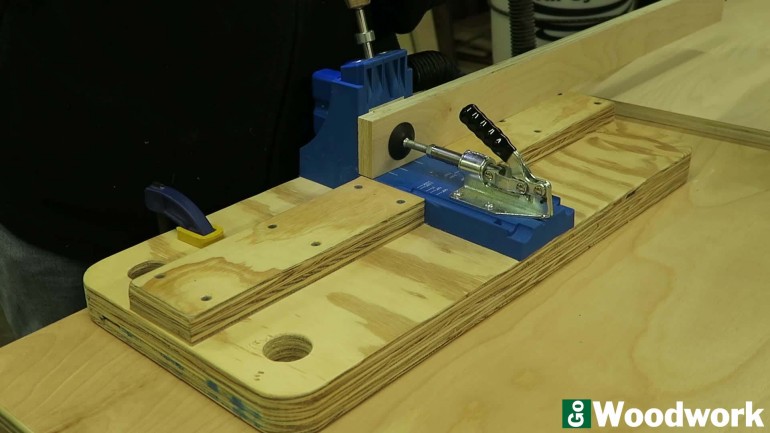
You can save a lot of time by “pre-loading” all of your pocket holes with the fastener before you apply the glue and clamps.
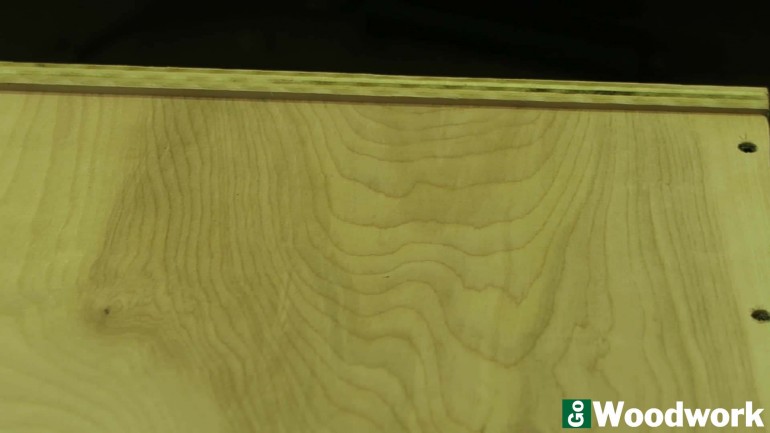
Just as in the Torsion Box Outfeed and Assembly Table, I used pocket holes on one side so the top is free of screws.
After the long center dividers were installed, the cross pieces were made to fit snugly. I had cut the plywood a couple days before this step so it had slightly bowed. Since this will all be hidden, there wasn’t an incentive to make it perfect because whether it is bowed or not, the torsion box will function just the same.

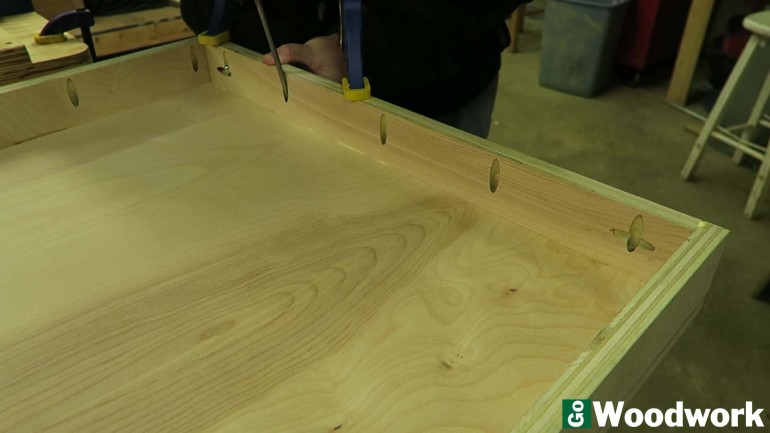
To make things easier, I marked the centers of each row inside of the torsion box before applying glue and and adding screws.
Rather than using the brad nailer and then clamps, I decided to just put screws into it because this is the bottom of the cabinet which will never be seen.
This is the second torsion box I’ve ever made and this one came out much better than the first. Nearly perfect all around.
The cabinet base is also made by 3/4″ plywood and attached using pocket holes and glue.
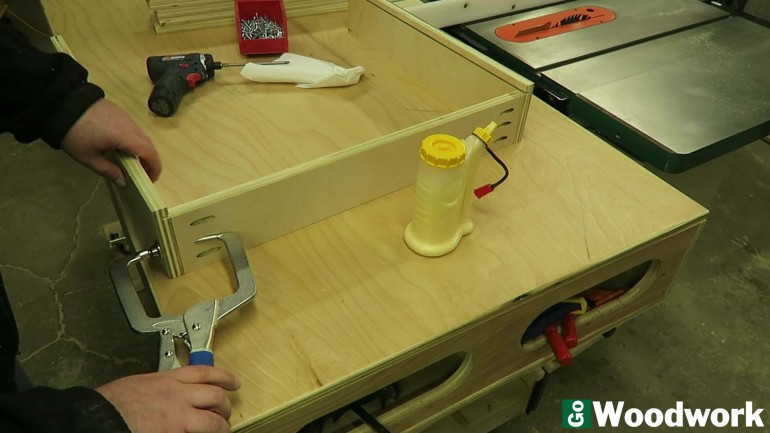
My Kreg face clamp was extremely handy to attach the top support slats. I designed the cabinet so the torsion box would sit on the vertical side pieces and those would set on the base. All the center supports do is keep the sides consistently spaced and for an easy way to attach the top.

Since the rear of the cabinet will be against the wall, the back is attached using screws and glue. This adds a ton of rigidity to the entire cabinet. I had first thought about using 1/4″ material for the back but the 3/4″ also adds some weight to help dampen vibrations from the CNC.
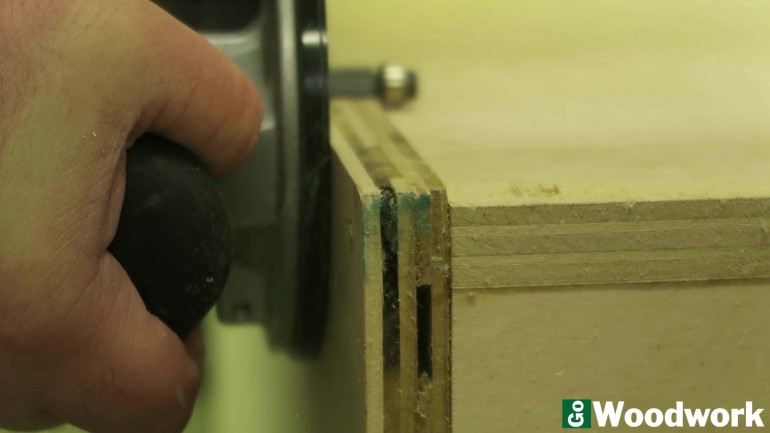
Some how I managed to cut the bottom piece about 1/4″ larger than it needed to be. Flush-cut router bit to the rescue!
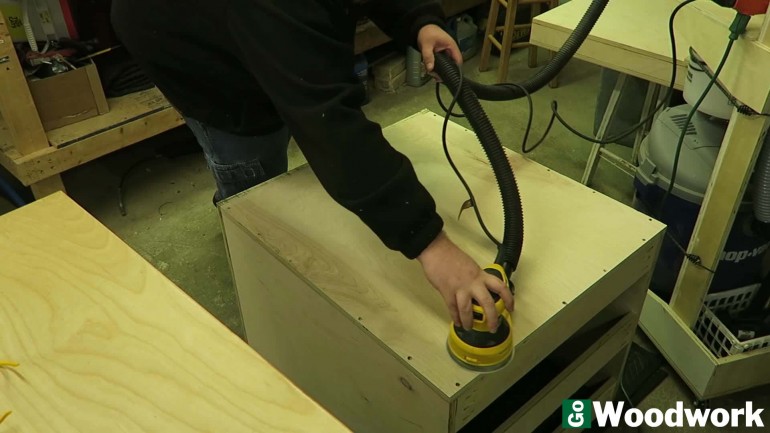
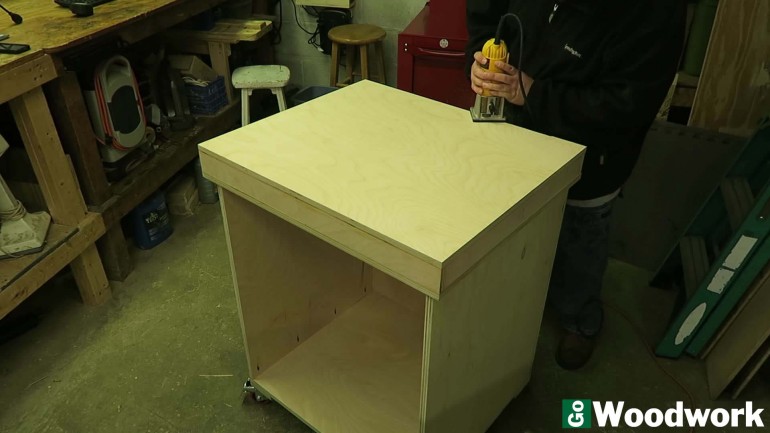
I knew sanding the cabinet would be easier now than later so I decided to take care of now.
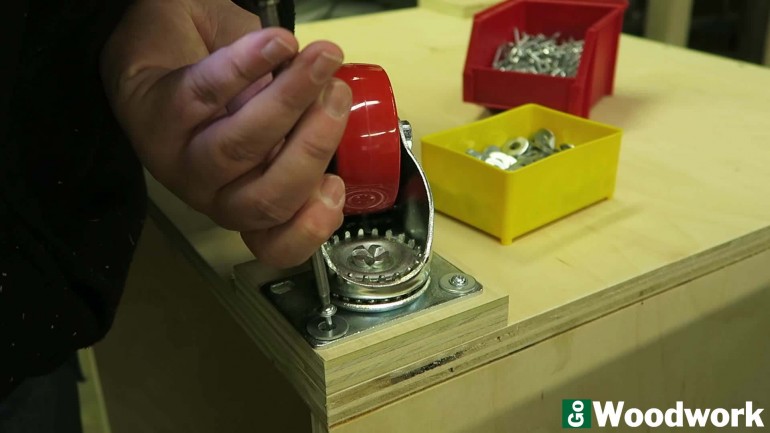
After flipping over the cabinet to attach the wheels, I was not satisfied to use only a 3/4″ screw given this cabinet will have around 300 pounds in it by the time it is loaded up. I added an additional square of plywood at all four corners with glue before attaching the wheels.
I used the 3″ swivel locking casters from the Home Depot (about $8 each). They’re very similar to those that Woodcraft and Rockler sells without the hefty price tag. Harbor Freight is good for some things but I tend to stray from their wheels even at a slightly increased cost.
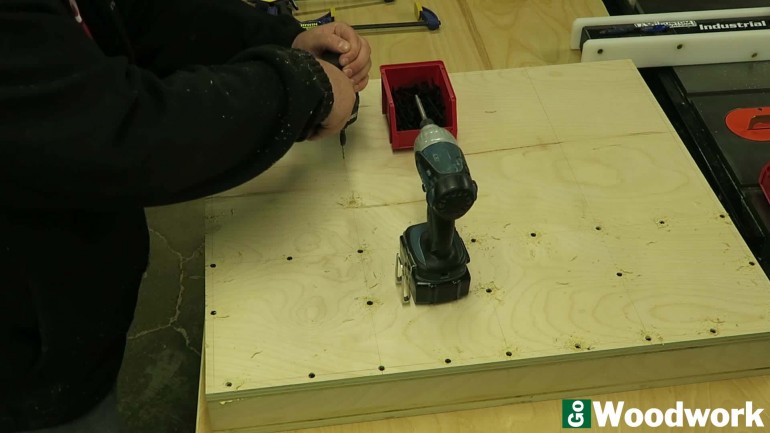
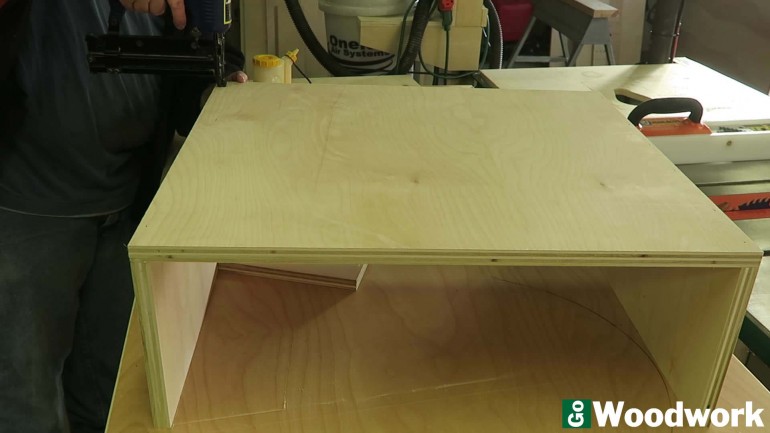
I flipped the cabinet on it’s top after putting down a moving blanket to protect it and attached the cabinet using screws. The three slats across the cabinet top gave plenty of places to screw into. In places I knew I could drive directly into the torsion box, I used 2 1/2″ screws instead of 1 1/4″.
I finished the cabinet top with a 1/4″ roundover and lots more sanding.
Next was to build drawers, also all out of 3/4″ plywood for the sides and 1/4″ plywood for the bottoms (except the bottom “heavy” drawer which is 3/4″ all around). I went back later and added some screws to this drawer because it will be close to 100 pounds by the time I add tools into it.
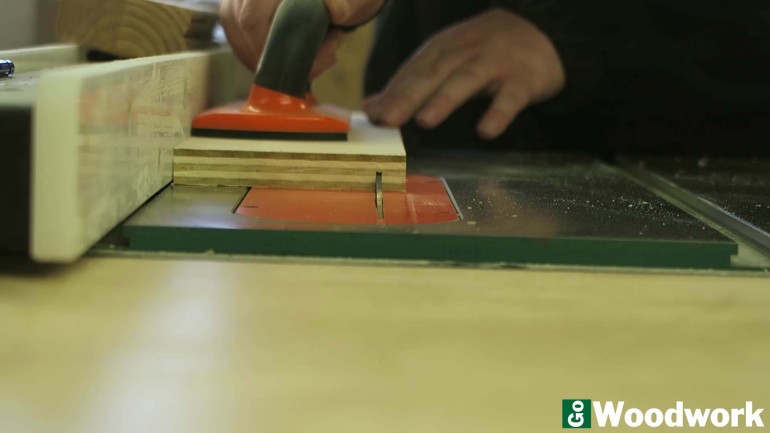
A dado was cut in all of the sides of the smaller drawers to accept the 1/4″ plywood. I simply ran the pieces across the blade several times moving the fence slightly. No need to setup a dado stack for this simple operation.
Like the cabinet, all of the drawers were assembled using pocket holes and glue. I find this to be more than strong enough considering what my drawers will have in them (router bits, sandpaper, etc.)
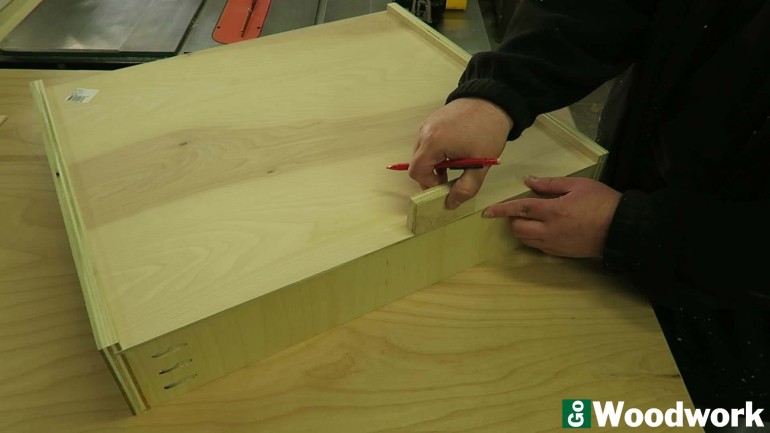
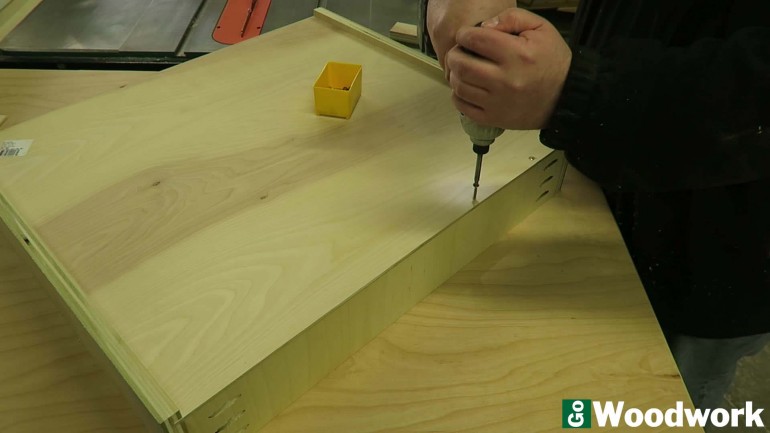
After cutting down the 1/4″ plywood to fit the drawers, I used a scrap piece of plywood to mark the center so there was no guessing where screws would need to go. I wouldn’t stand in these drawers but I believe they are more than strong enough for what I intend to use them for.
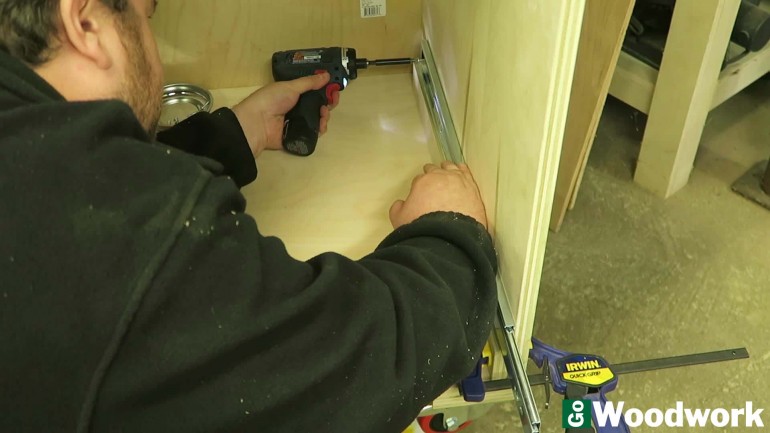
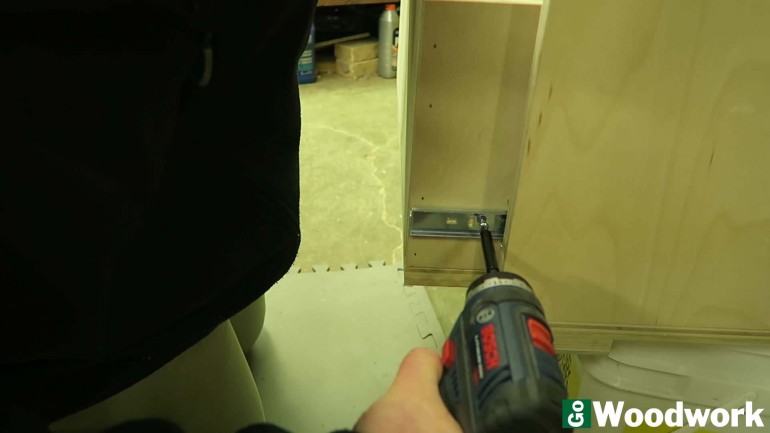
Installing the drawer slides was much easier than I ever imagined. Using the spacer method that Jay Bates used in his Miter Saw Station, I was able to get all of the drawer slides installed accurately.
The KV Economical Full Extension Drawer Slides I used were bought from Amazon for a total cost of about $50 for five pair. Compared to $16/pair at Home Depot, these were a bargain. The Amazon Vendor, Holdahl Company was extremely fast in shipping and I highly recommend them.
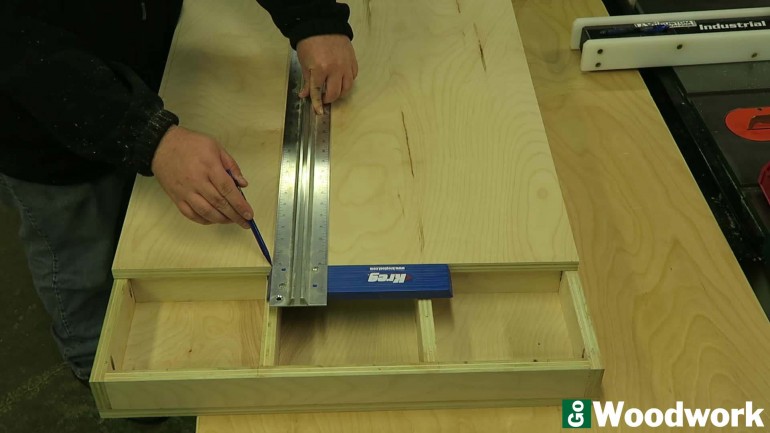
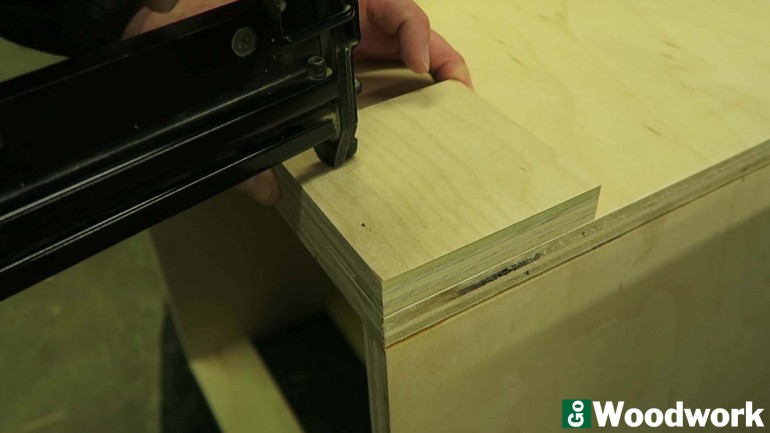
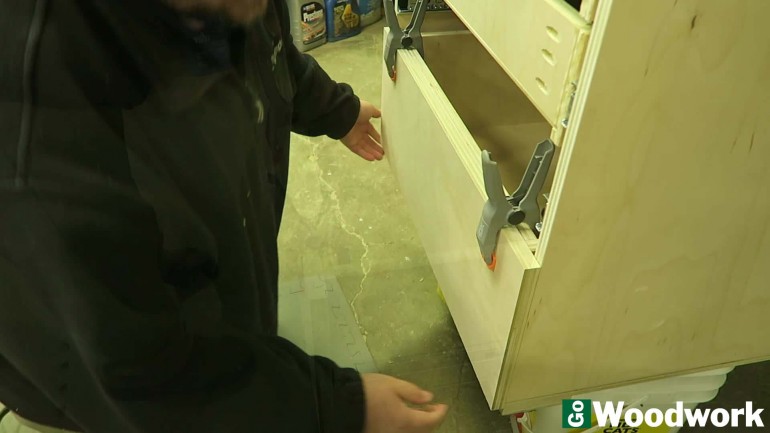
One of the final things left was to attach the false fronts. I spaced each drawer approximately 1/16″ and the ruler off my combination square was perfect for this.
I finished the cabinet by spraying water-based polyurethane varnish with my HVLP gun.
Overall I’m extremely pleased with how well this cabinet turned out and wish to thank you for making it this far into my article.