
Homemade Screwdriver
Okay I didn’t break out the forge but it’s still homemade, right?
After looking at some easy turning projects at various woodworking suppliers, I found that the screwdriver kits were very expensive given what they actually were. Of course, with about 30 seconds of extra work, you can get your own by busting apart a 6-in-1 screwdriver from the home center or even better a $1 one from Harbor Freight!
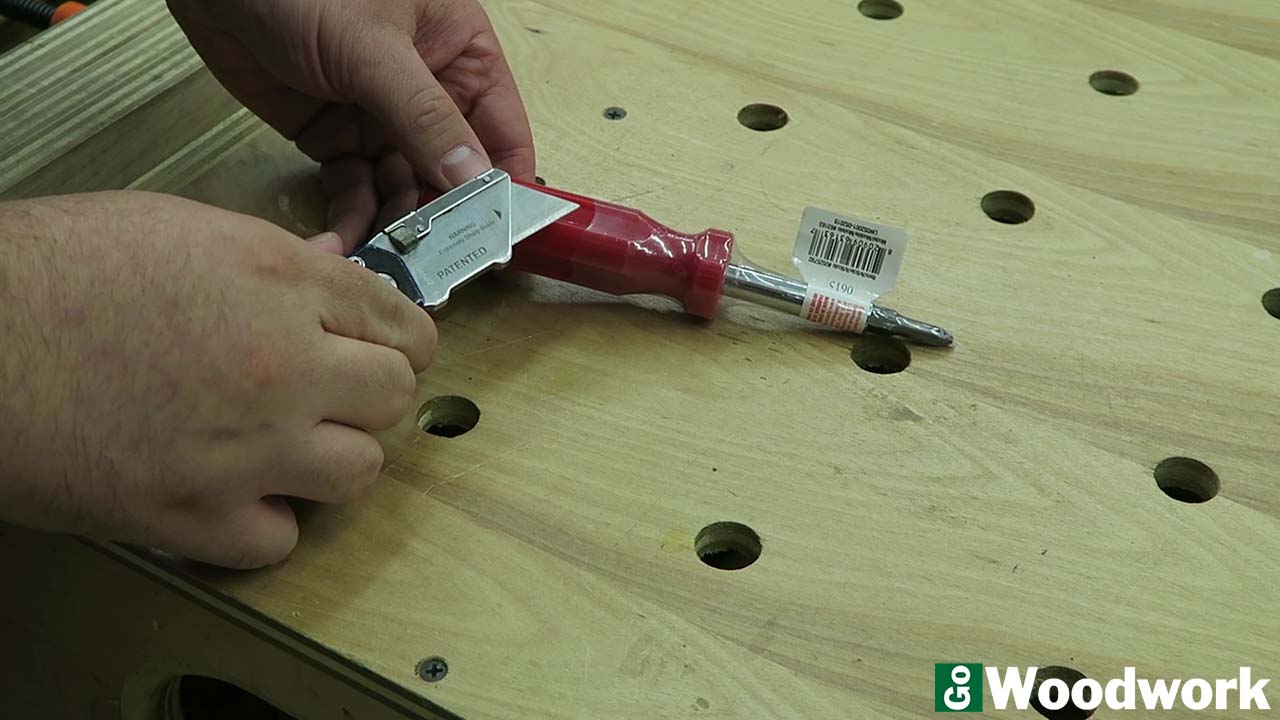
Despite the handles being very strong to being hammered on, the area around the metal insert is very fragile. Grab your dullest chisel and get to work but be sure your safety classes are on because all of the pieces went flying violently!
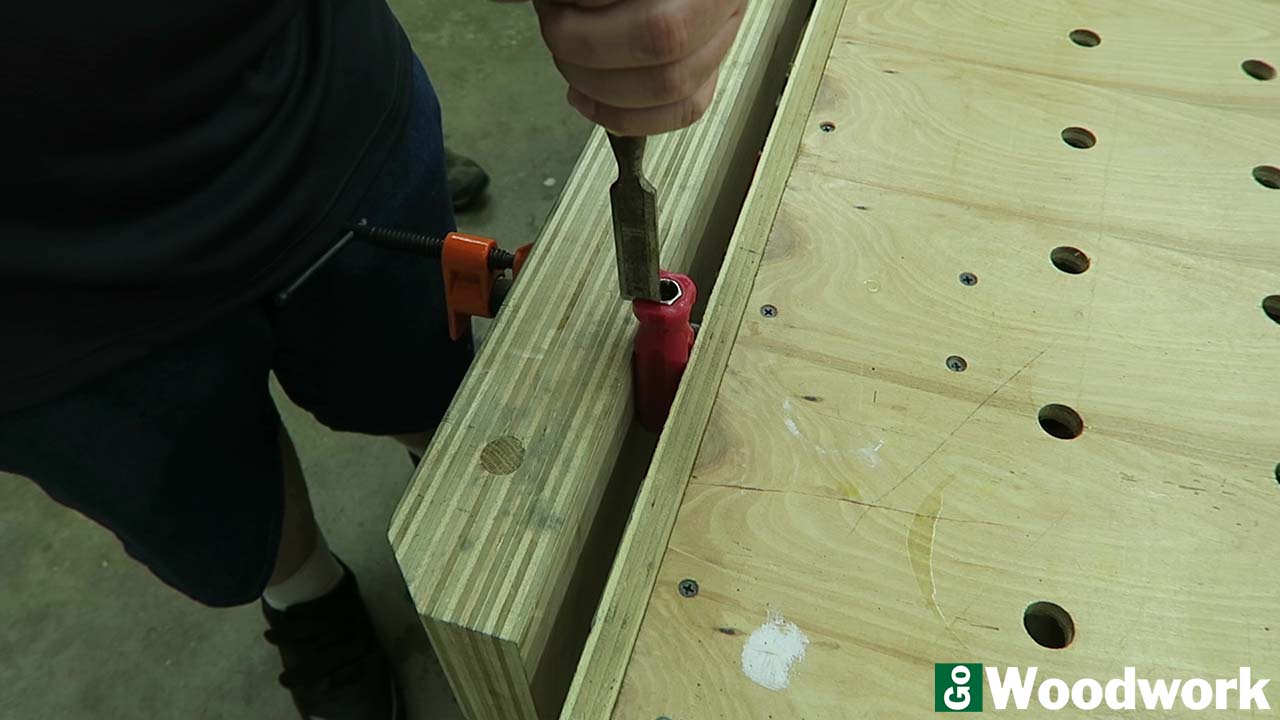
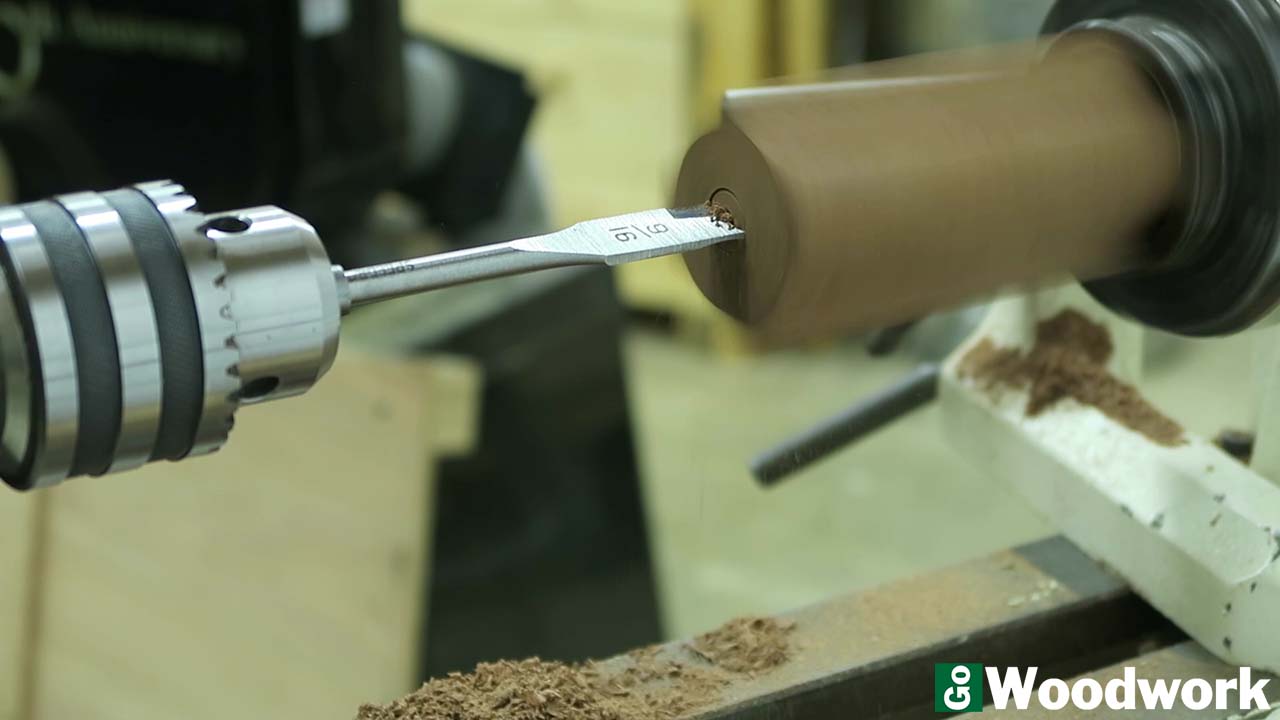
There are two holes to drill; the first accepts the metal insert and then a deeper hole for clearance of the actual bit. Chances are you’ll need to use a spade bit for the first hole because it’s over 1/2″ diameter.

I turned the blank round and began getting ready to put the ferrule on the end to help project it from blow-out. I’m using PEX crimp rings and they can be bought from Amazon (link) for much cheaper than the home center. A little CA glue is all that is needed to keep it in place because I made certain of a good friction fit.
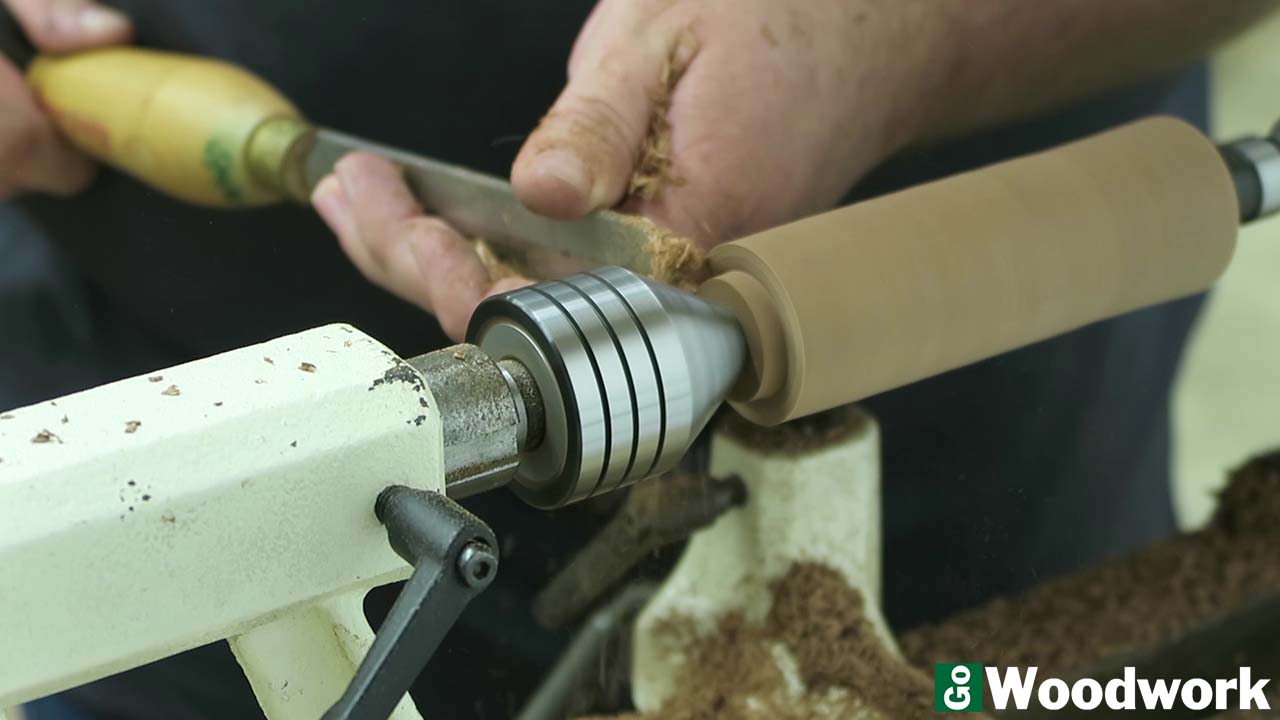

All that is left is to shape it to a comfortable grip. I wanted to keep things simple so a simple taper inwards is all that I wanted.
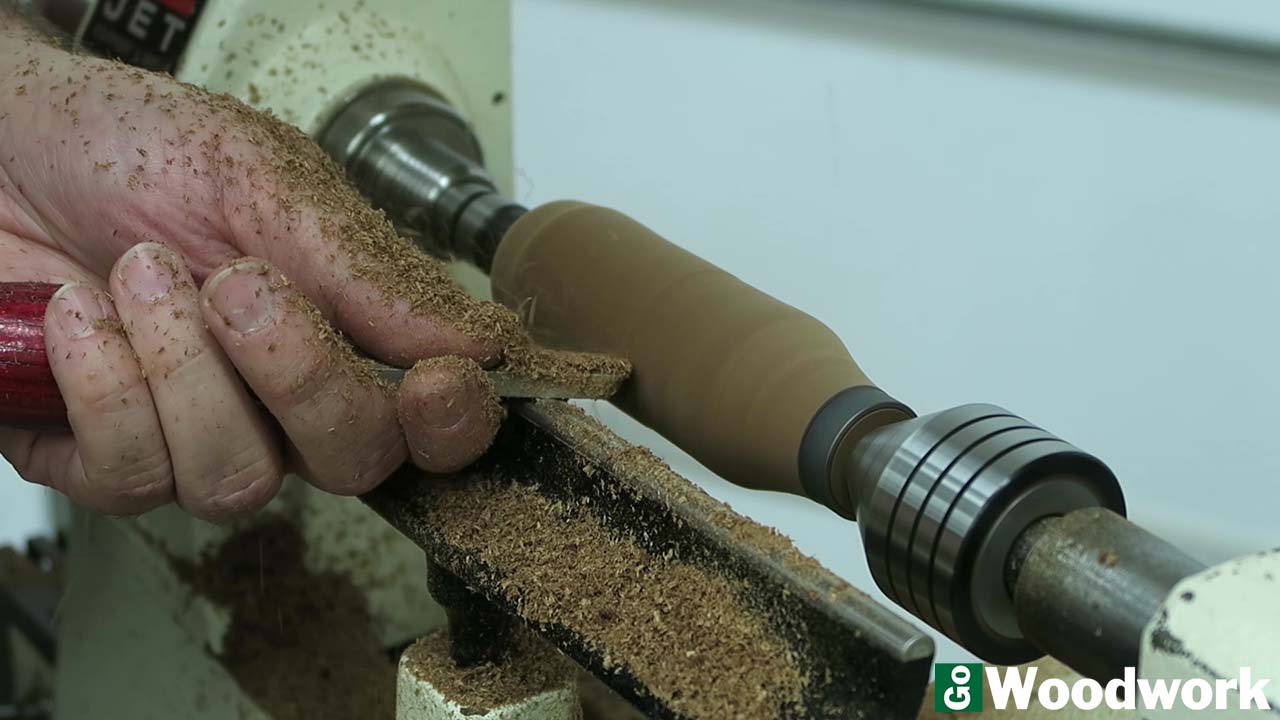
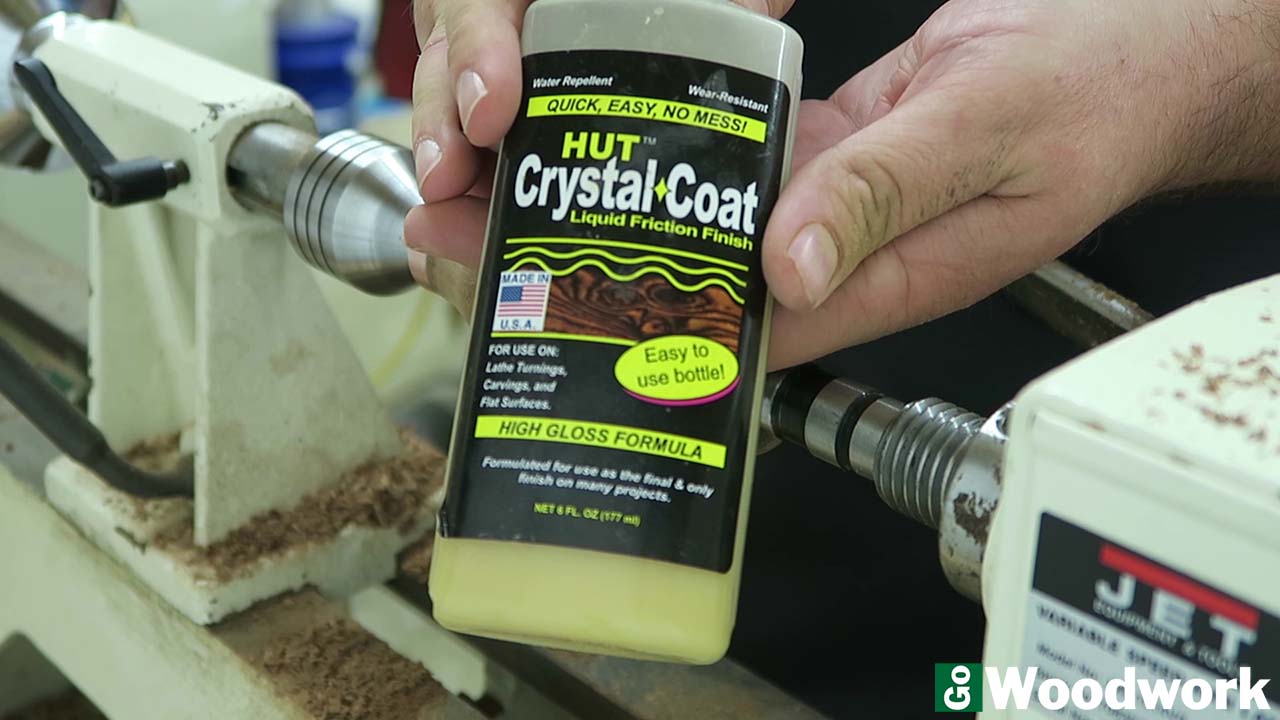
After sanding up to 600 grit, I applied two coats of HUT Crystal Coat. This known as a “friction polish” in that you apply it wet and then buff it dry. It contains mainly shellac and wax along with some chemicals to help it dry and remain stable.

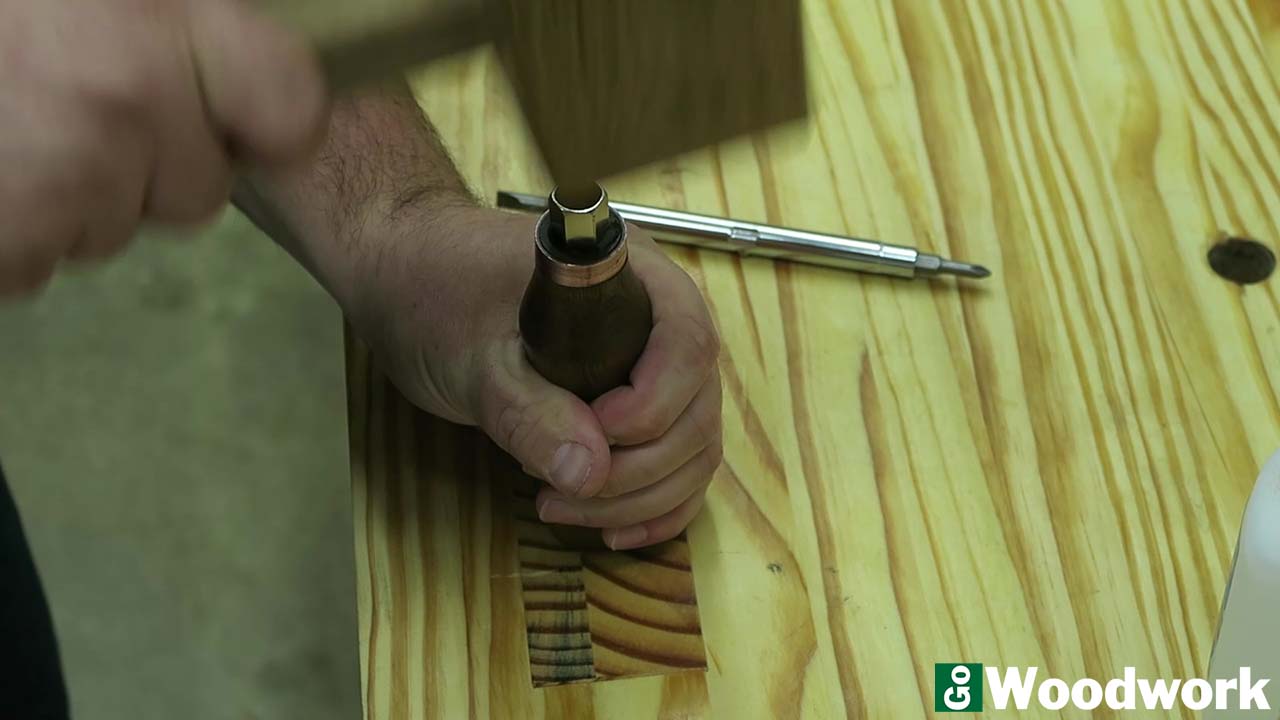
Finish off by pounding the metal piece into the handle with a mallet and a little CA glue. This too should be a good friction fit but the CA glue will help stabilize any cracking and the PEX ring ferrule will keep it sturdy for years to come.
Despite being only 6-in-1, this is my go to screwdriver for nearly anything in my shop. I’m planning on making several more of these to use around the house, my office, and to give as gifts!

