Smartphone Tripod Mount
I’ve been shooting photos and video with a Canon DSLR from 2008. While it does a great job (given it’s age), the internet has changed where everything is high resolution photos and high definition videos. Let’s not forget, in 2008 solid state hard drives were simply still a pipe-dream and 1 terabyte drives were said to “last a few years”.
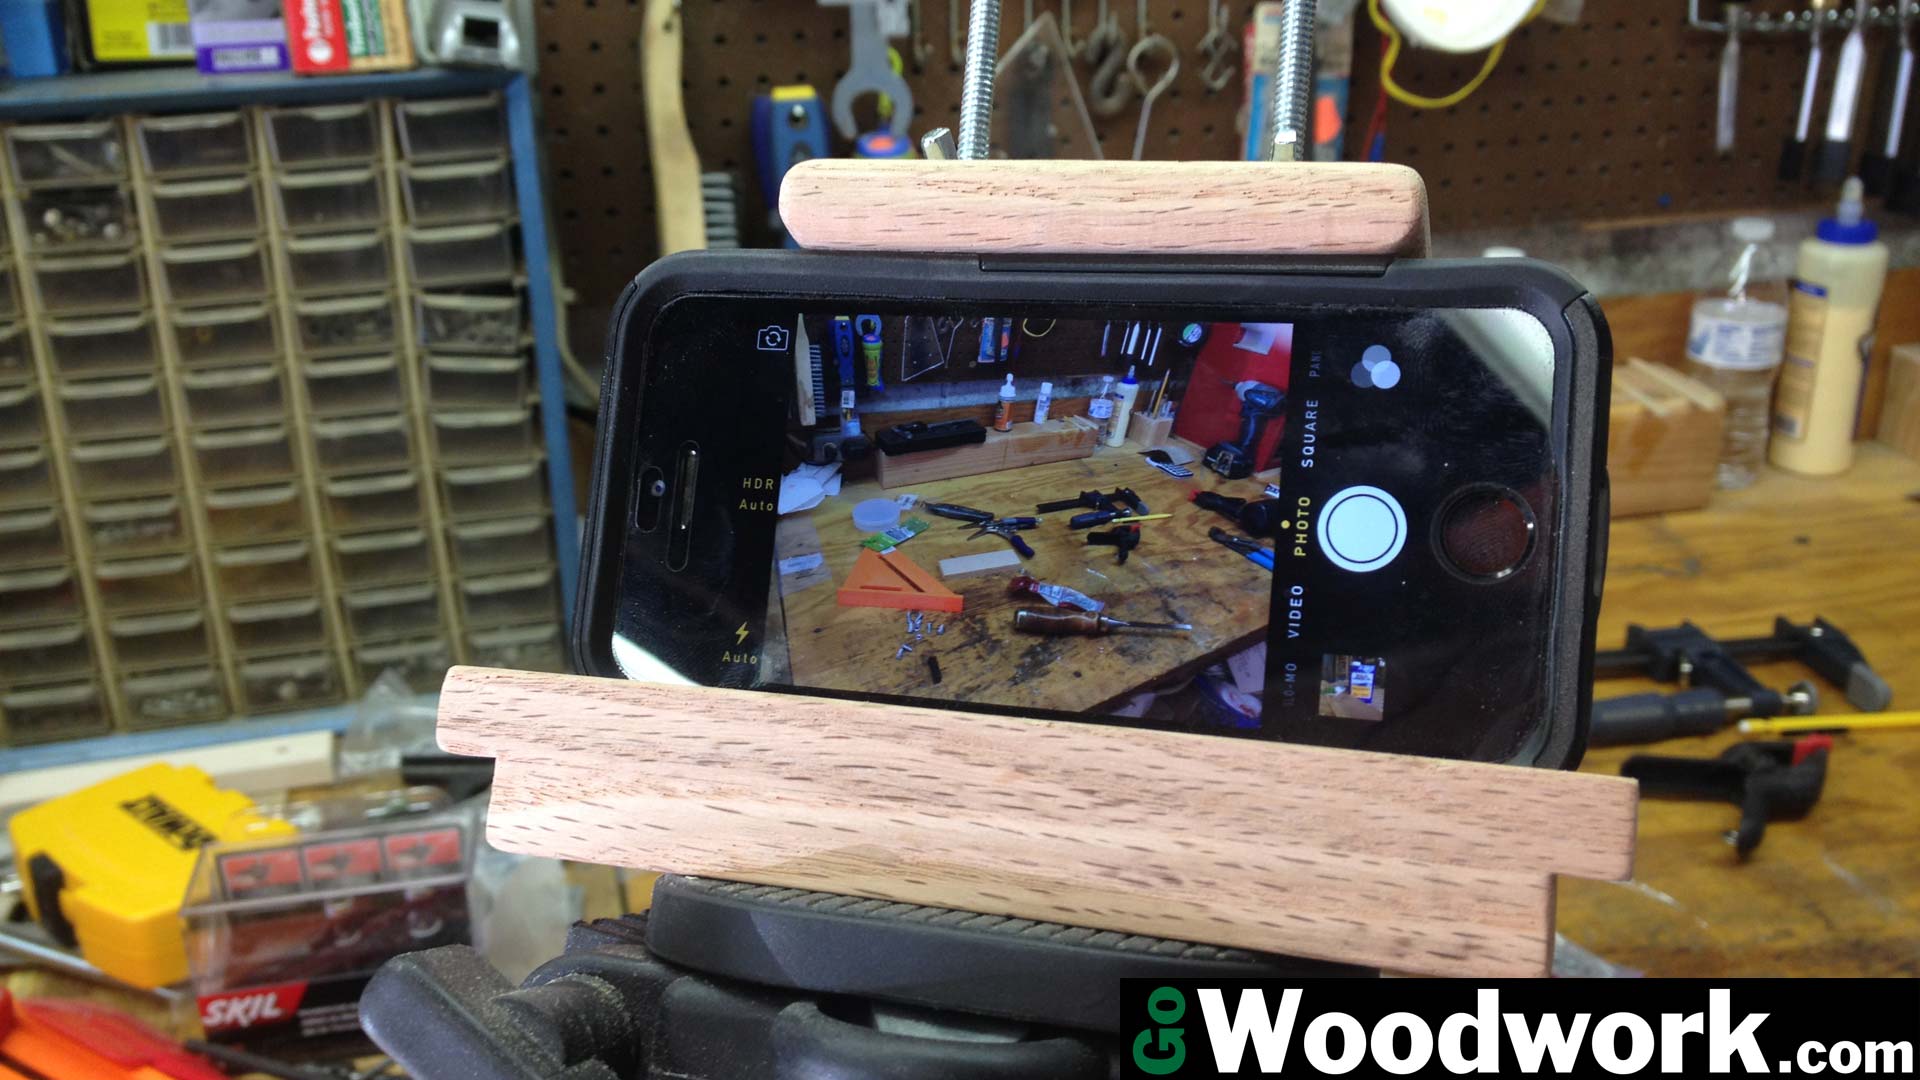
Rather than spend the money on a new camera, I decided to use my iPhone 5S instead. Besides the obvious advantages of shooting either 1080p at 30 frames per second, I can play around with slow motion at 120 frames per second. Combine that with my phone having 4 times the space of a single SD card that my Canon could accept and the choice became obvious.
This article was an after-the-fact idea so I don’t have actual build process photos or video.
The entire mount was made from 1/2″ oak but I’m sure any quality hardwood would work.
Whatever case you have on your phone is the one you’ll need to stick with since you’ll want to cut the slot to tightly fit it. A recess needs to be cut out to avoid the volume buttons from being pushed once you insert the device.
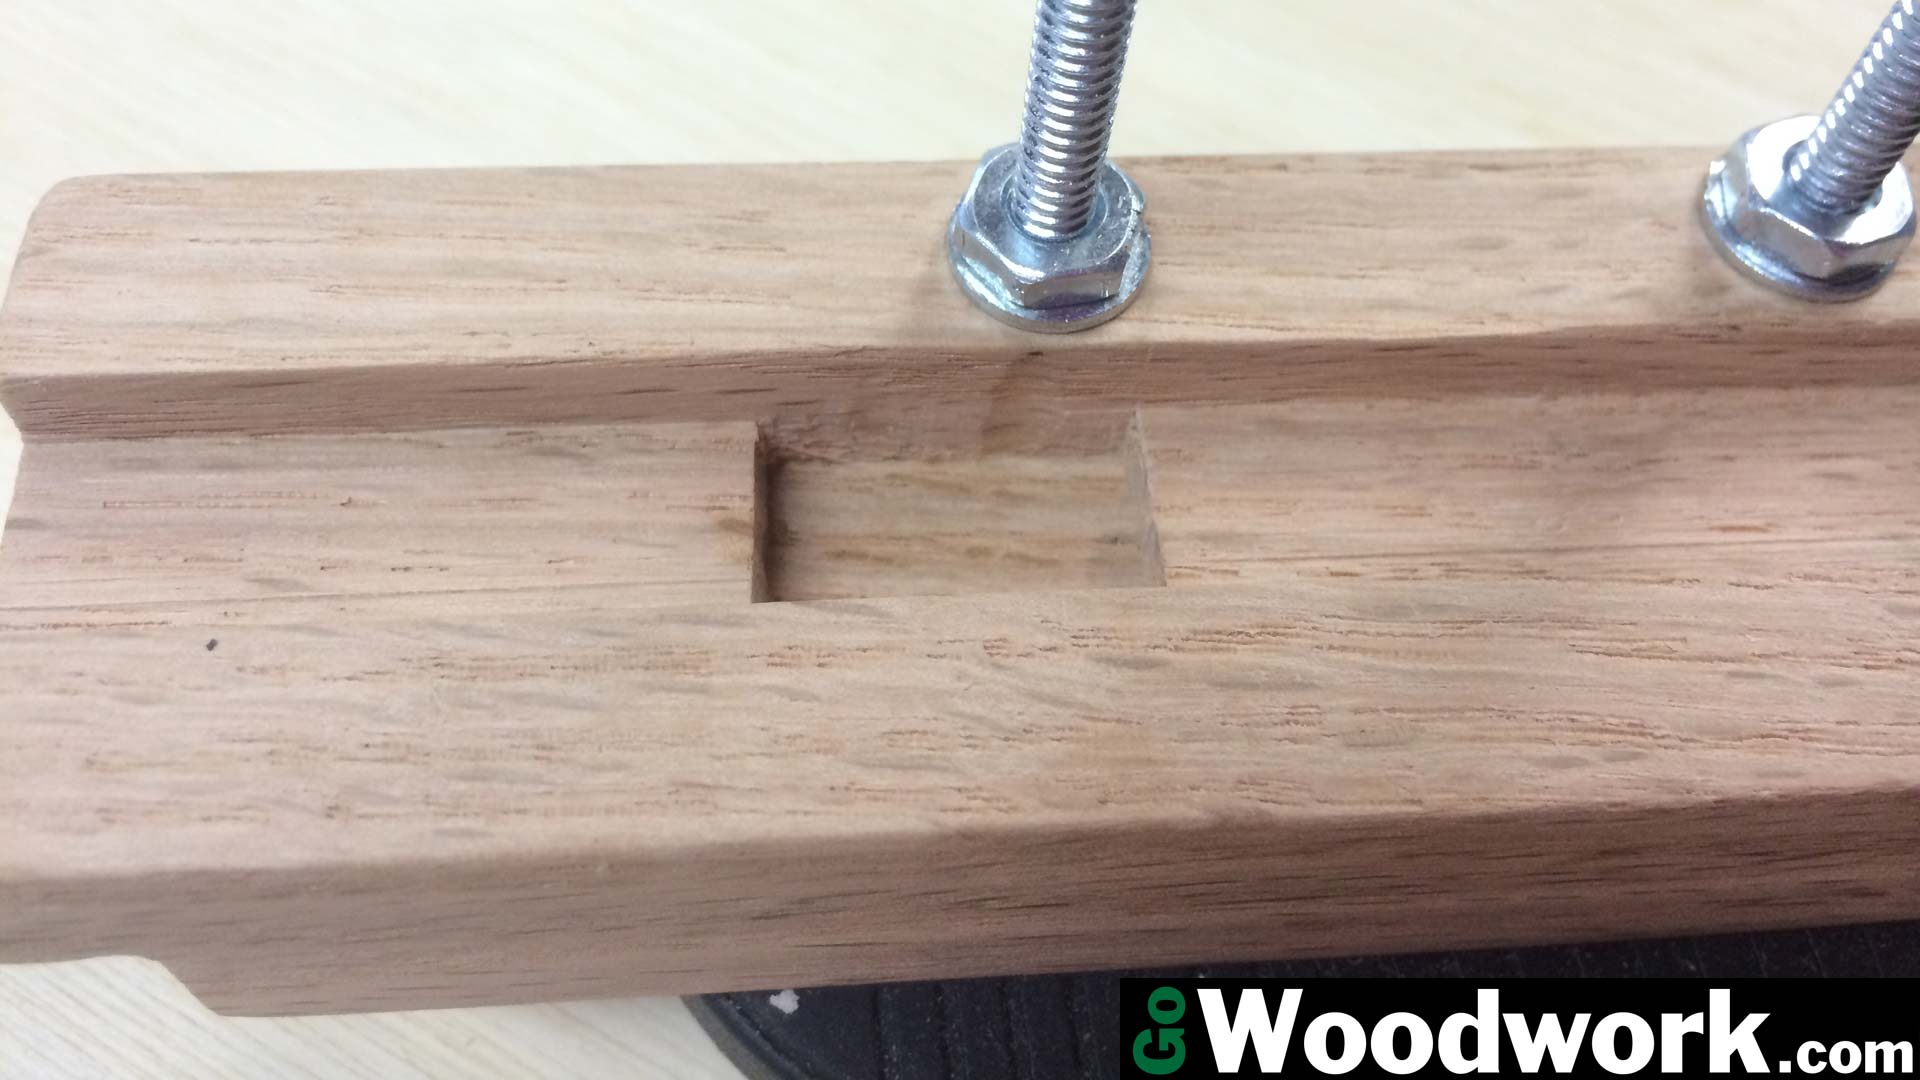
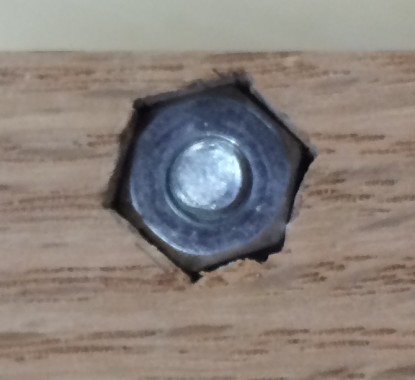
After cutting the recess, I glued the bottom piece on. This adds more thickness so that you can bury the 1/4-20 hex nut without risk of cutting into your groove.
Pre-drilling a 1/4″ hole and then using a hex nut to make a pattern, I carefully chiseled out the bottom so a nut would fit it and then glued it permanently in place. This photo is a bit messy because I forgot to clamp it immediately.

In a previous design, I made a “U” shape enclosure that basically wrapped around the sides and bottom of the device, this failed because of both the material choice as well as the lens had a wide enough angle that it picked up the slightest edge of the wood. It also muffled the microphone since it was covered by the wood on the end.
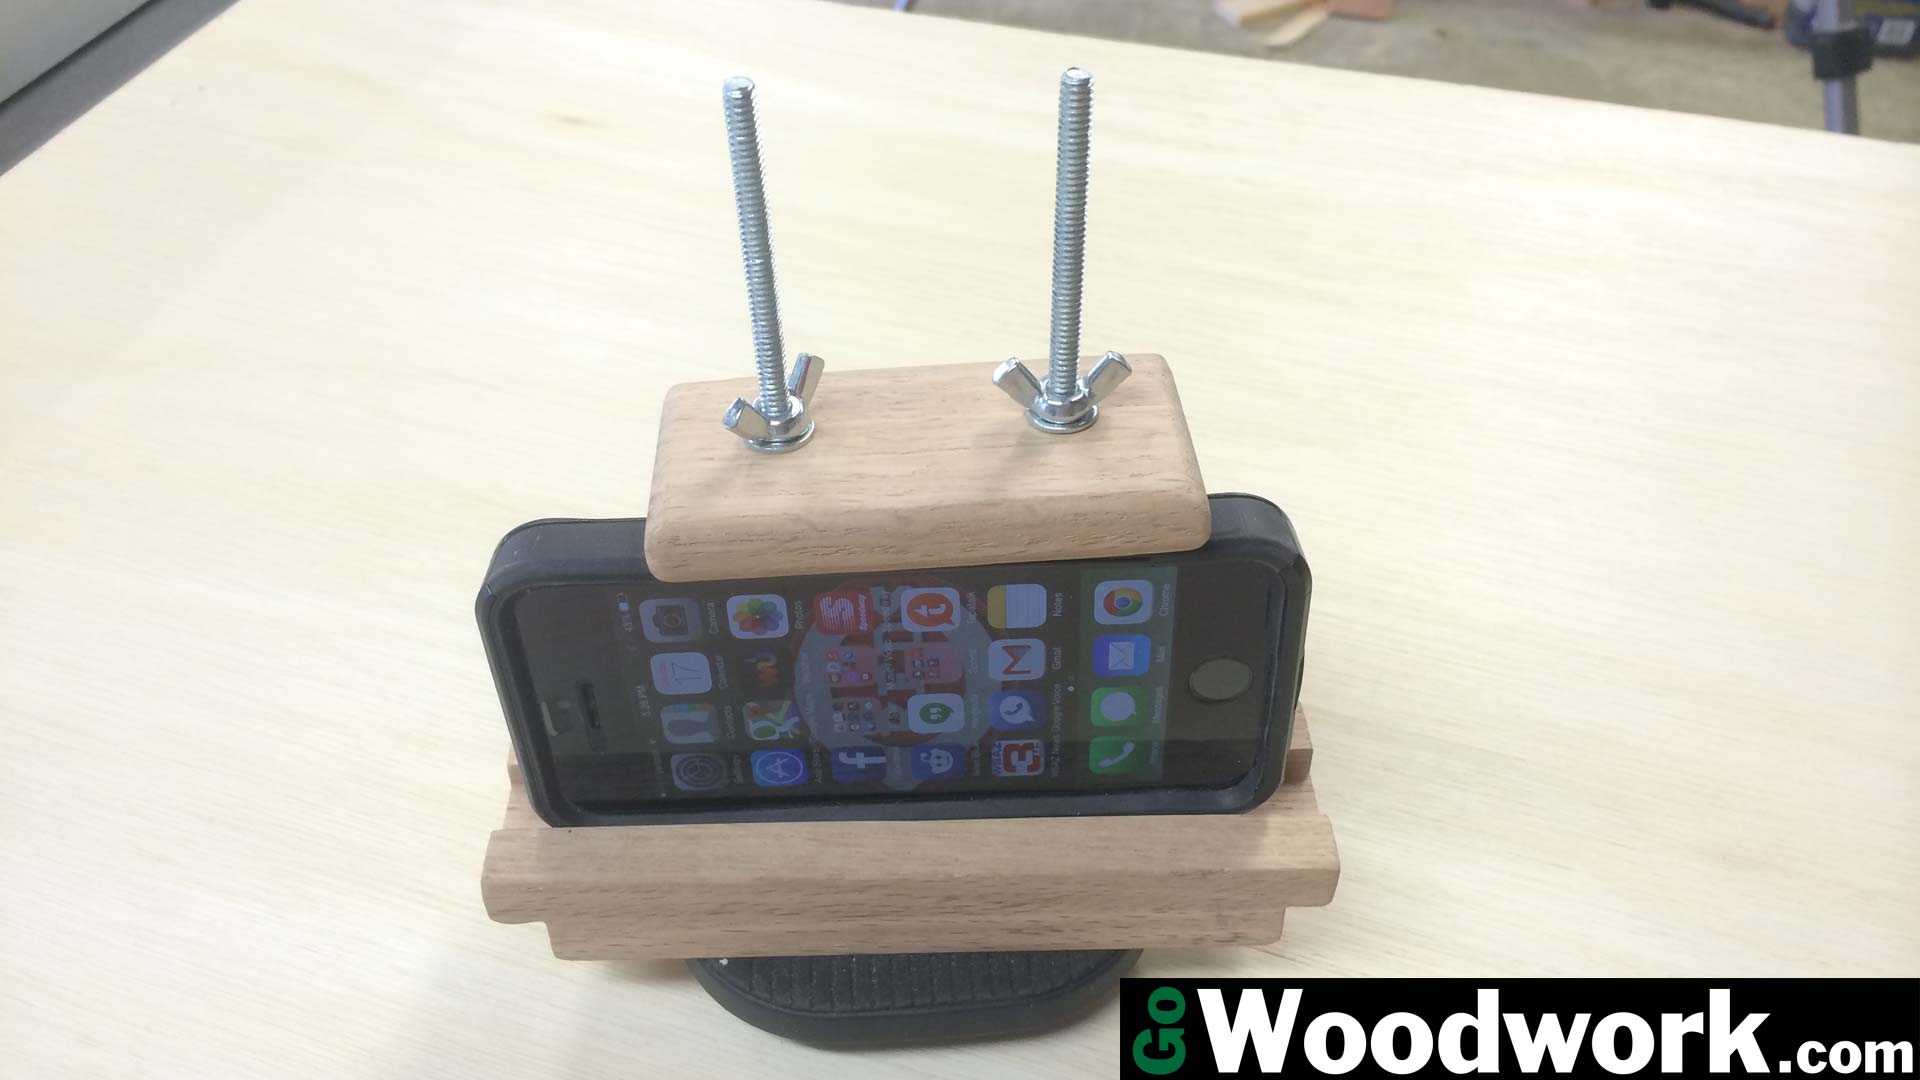
The new design incorporates a large wooden “domino” with two wing nuts. While I could have simply just sanded it smooth, I decided to round all the edges with my new router table. (What better way is there to learn than with shop projects?)
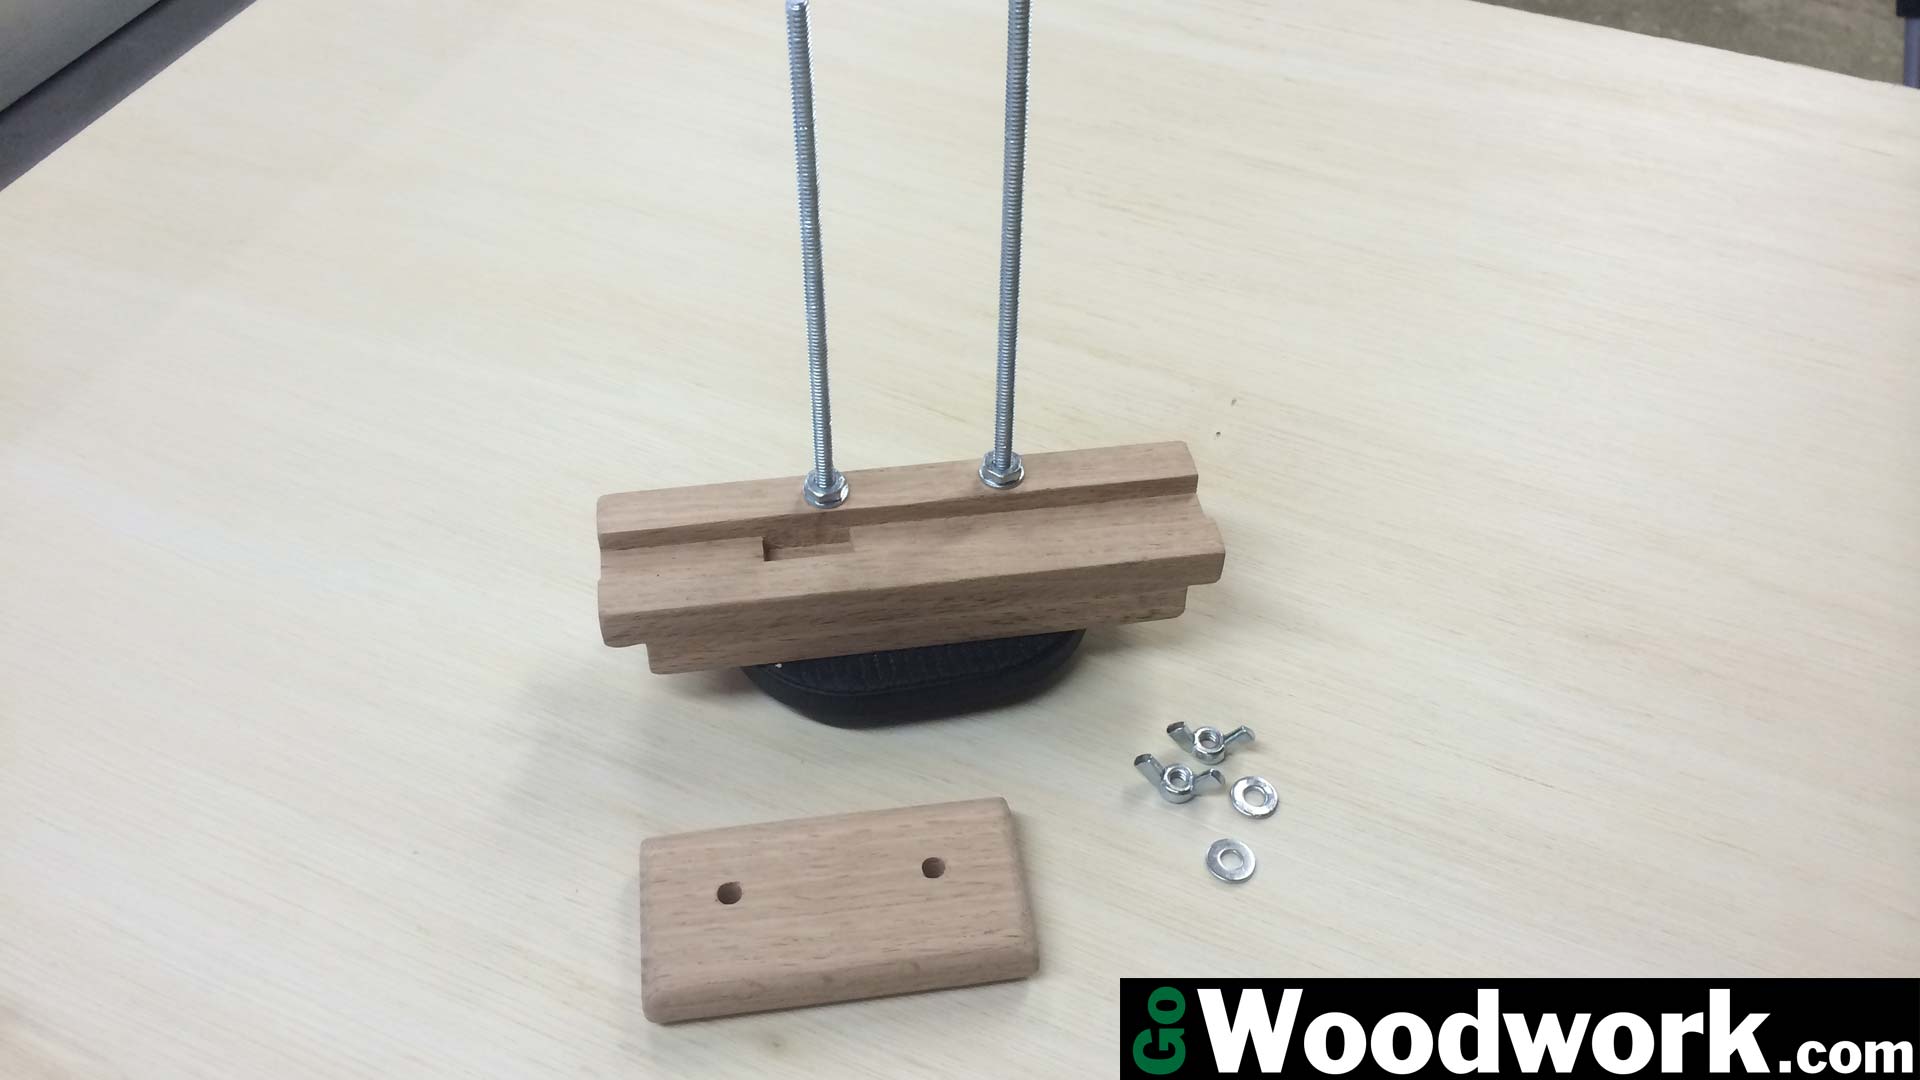
It is attached using 10-24 threaded rod, 6″ long with wing nuts. Two nuts jammed together are recessed into the bottom of the mount since it needs to sit flush on the tripod shoe.
It’s quite amazing how much torque can be applied to this mount with the two wing nuts. There’s more than enough pressure there to keep the camera firmly seated through any type of wear and tear (that otherwise wouldn’t break the tripod altogether!)
Total cost was about $3 since I had the scrap oak laying around. Threaded rod was $0.68 per section (check in the parts drawers), $1.53 for a pack of washers and I found a bag of 10-24 machine nuts and screws on the junk table at Lowe’s for $0.50.
Of course there are fancier solutions, but this was so simple there was no reason to buy it when I could make it instead.