Pocket Hole Workbench For Kids
My oldest son (6) has been wanting a workbench for some time and I decided it was time to make one just in time for Christmas. My goal was to make this a single sheet project and use my Kreg pocket hole jig as much as I could. In all, only a brad nailer, and four screws were used that were not pocket holes.
I’ve included a SketchUp file with a cutting diagram at the bottom of this article.
Materials:
- 4′ x 8′ plywood
- 4′ x 2′ pegboard
- 1 box 1 1/4″ coarse pocket hole screws
- 4 – #8 pan head screws, 1″
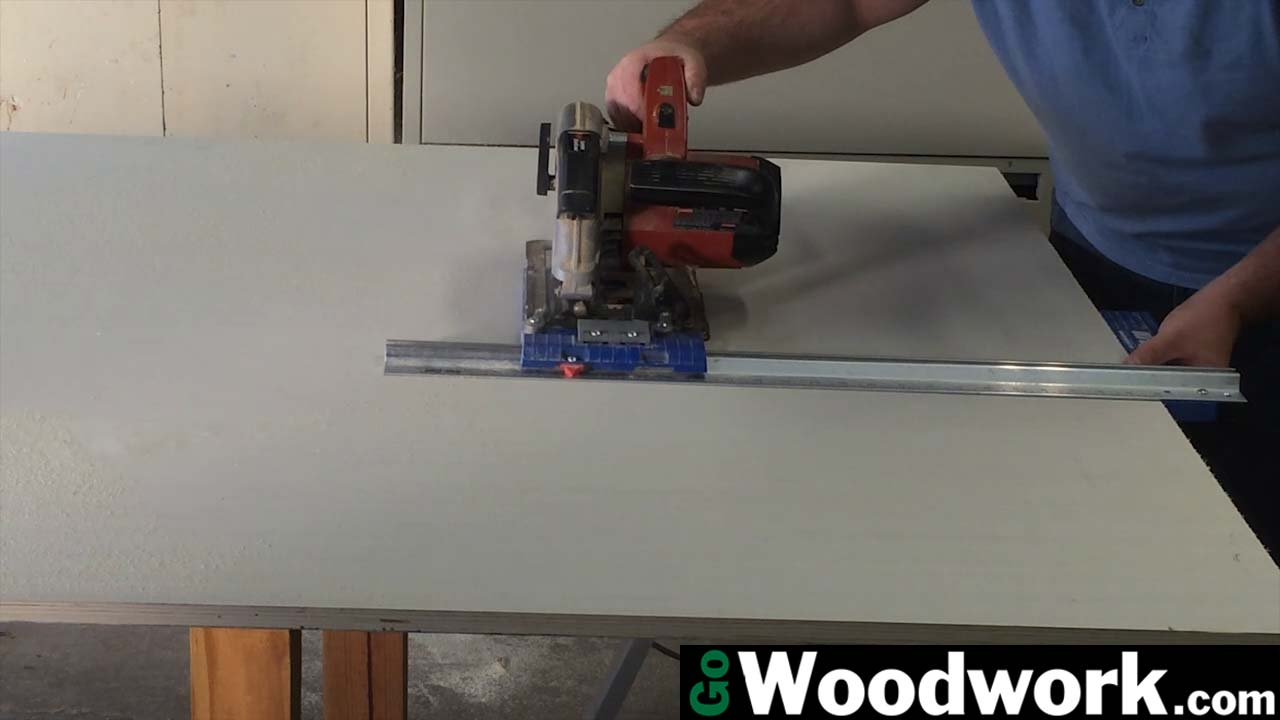
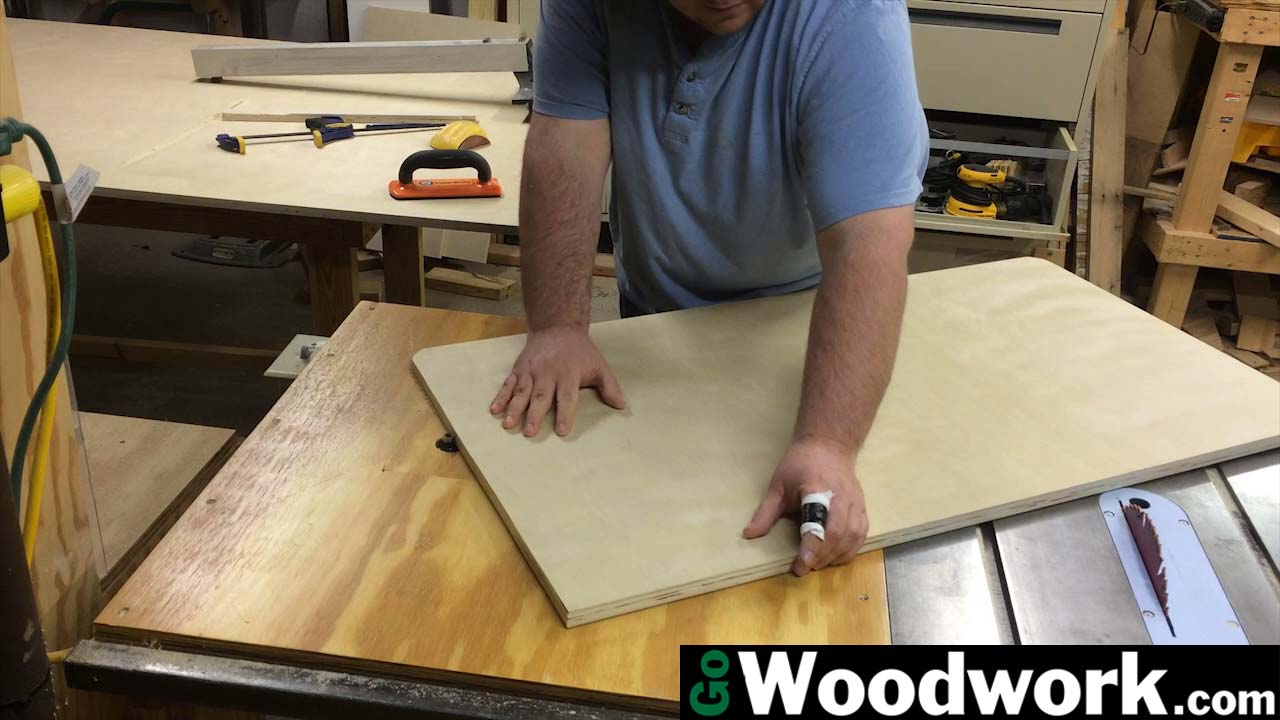
To make the table saw cuts more manageable, I used my Kreg Rip-Cut to remove the two pieces for the bench top and shelf.
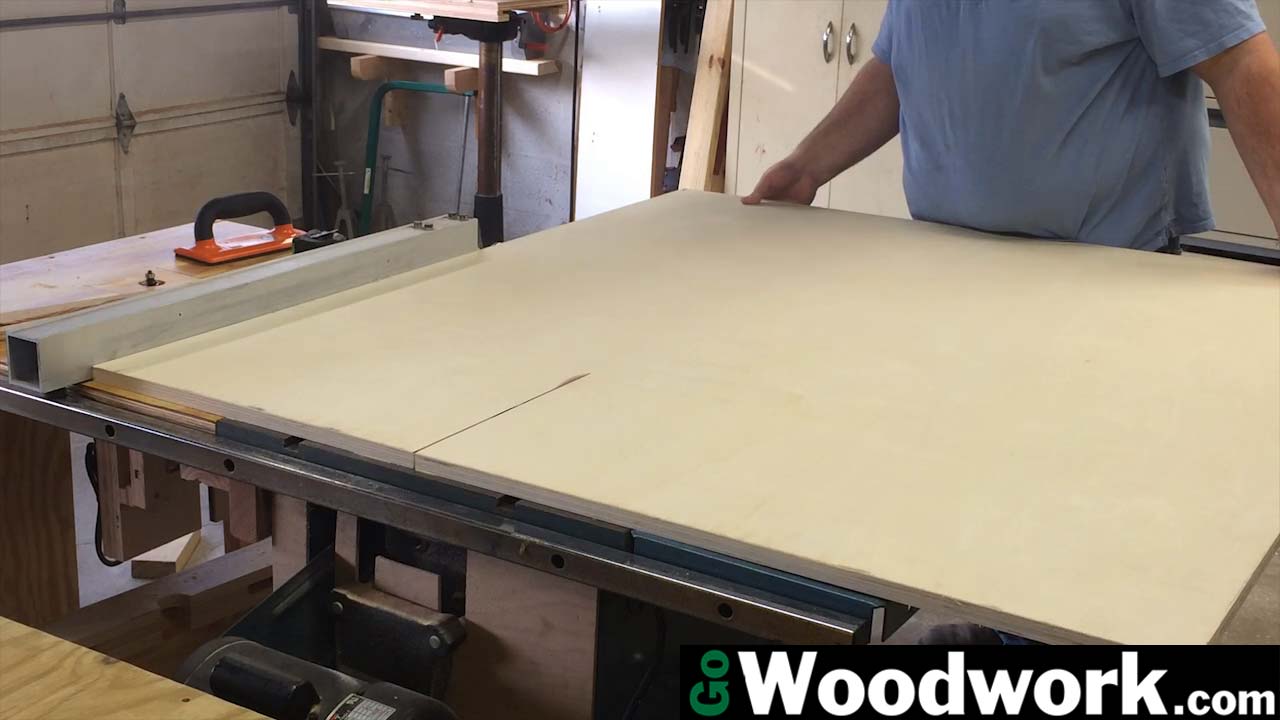
I batched out all of the other strips according to my cut-list (which is available below). If you don’t mind considerably more work, you can have have about 1/3 sheet plywood leftover by optimizing your cuts instead of ripping them all like I did.

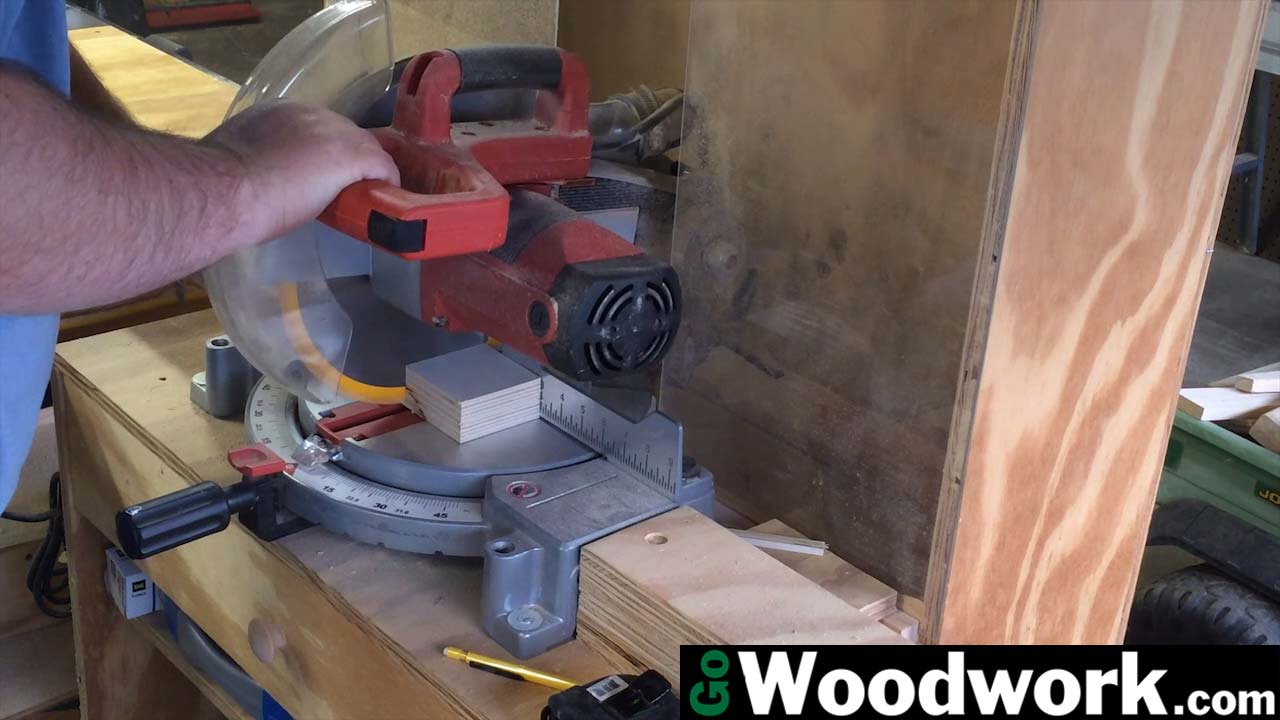
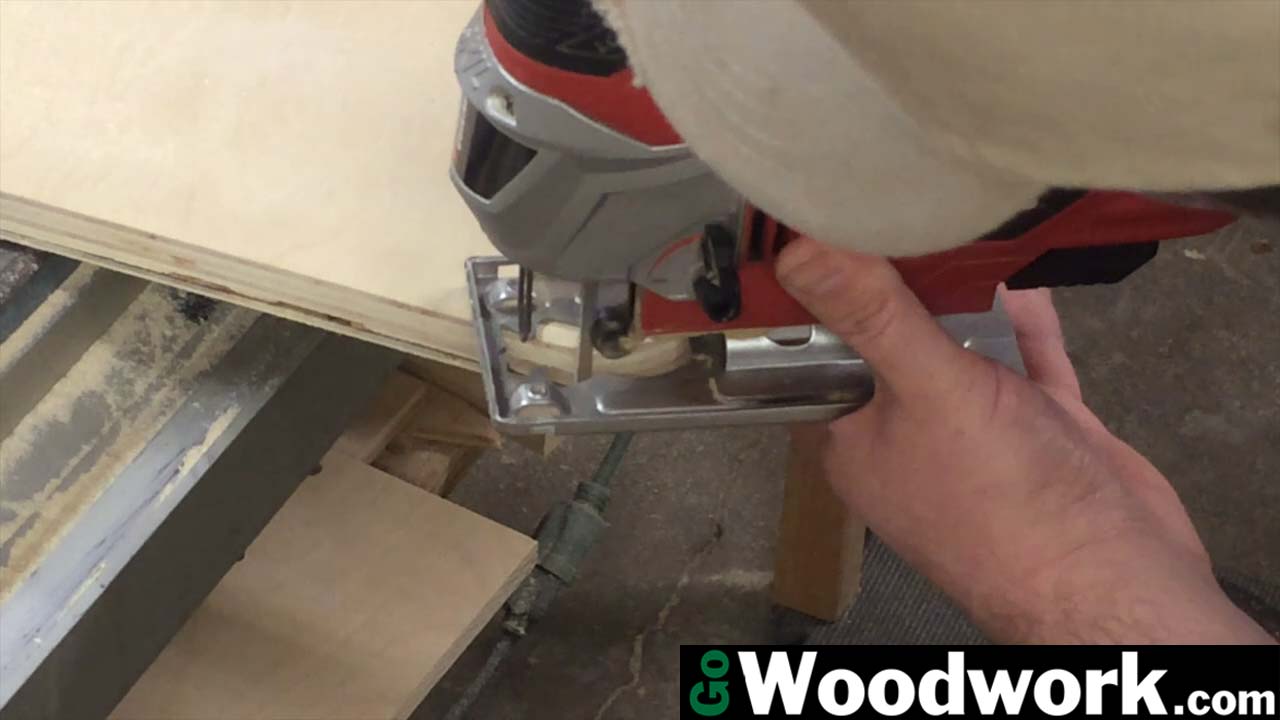
I cut all pieces to length at the miter saw.
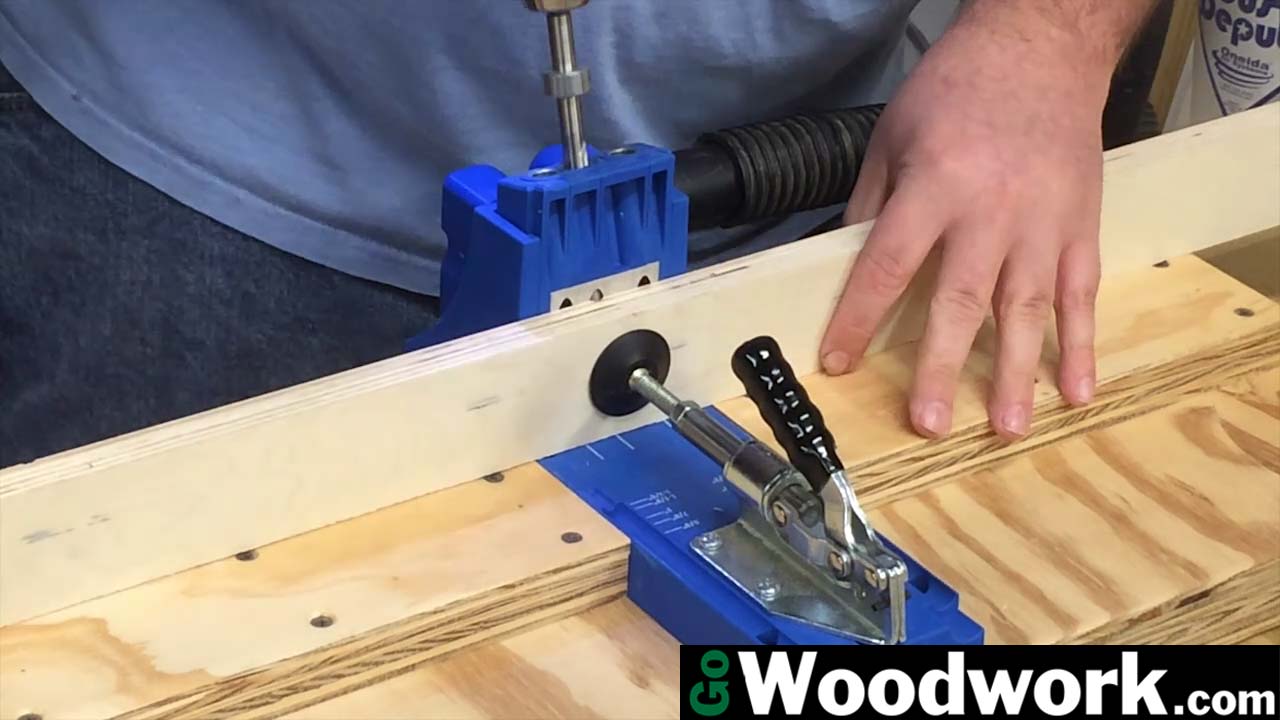
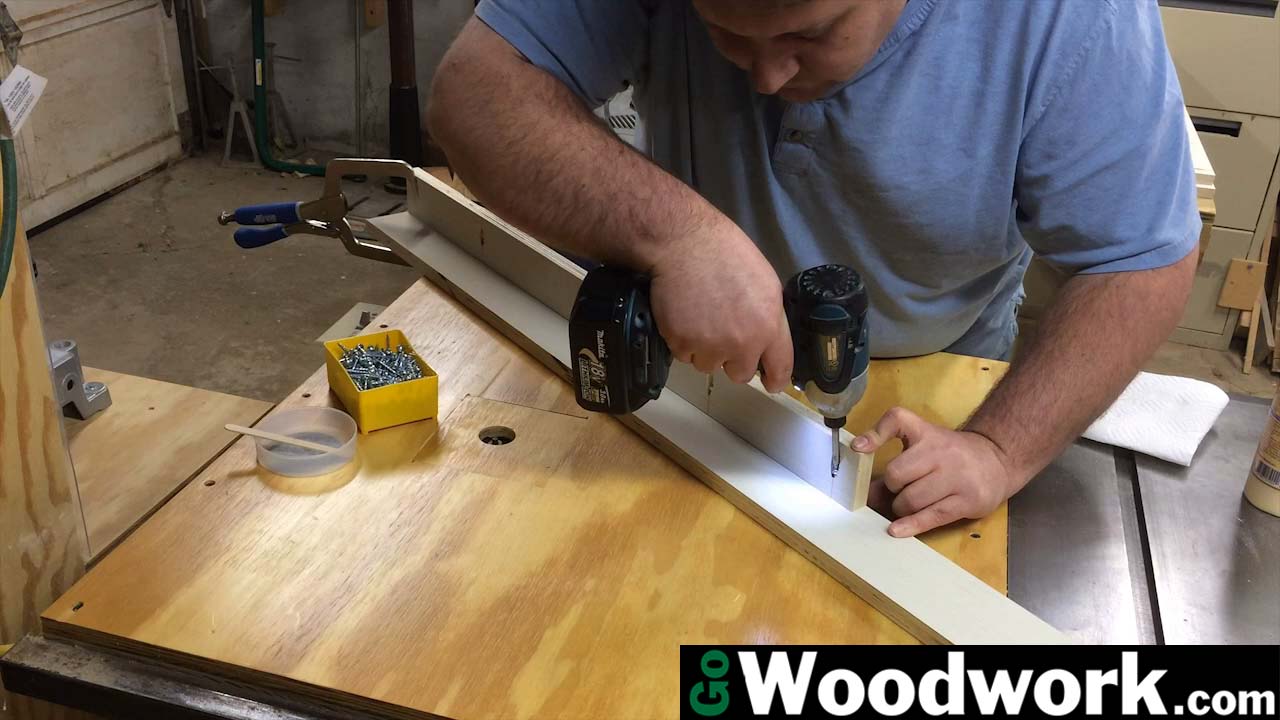
After marking out all of my locations for pocket holes, I drilled them………and drilled them……..and drilled some more. In all, here are a total of 52 pocket holes in this project.
Attach the 2 1/4″ legs to all four 3″ legs using glue and pocket hole screws. The Kreg Right-Angle clamp is an invaluable tool in getting things lined up quickly. A normal “F” clamp also does great but the Kreg one really shines here.
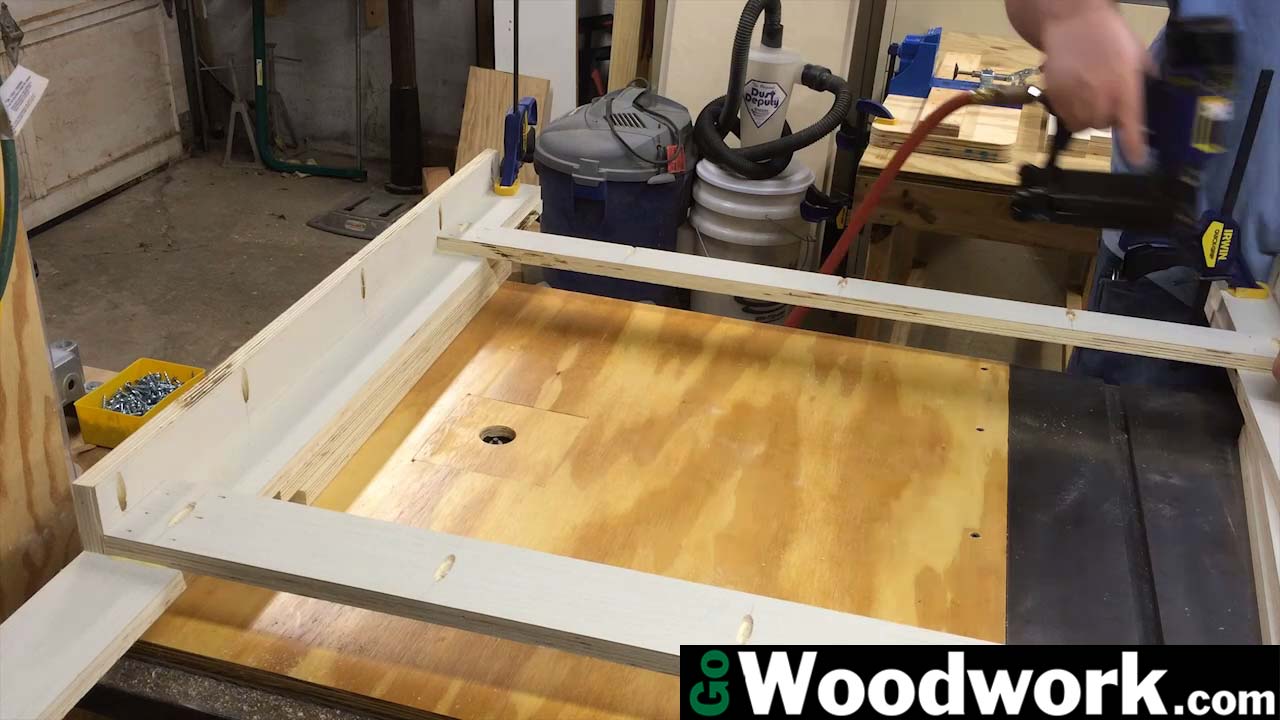
Connect the legs with the horizontal stretchers. Make sure the pocket hole screws are facing up so the bench top and shelf can be attached later. Glue and brads for these joints.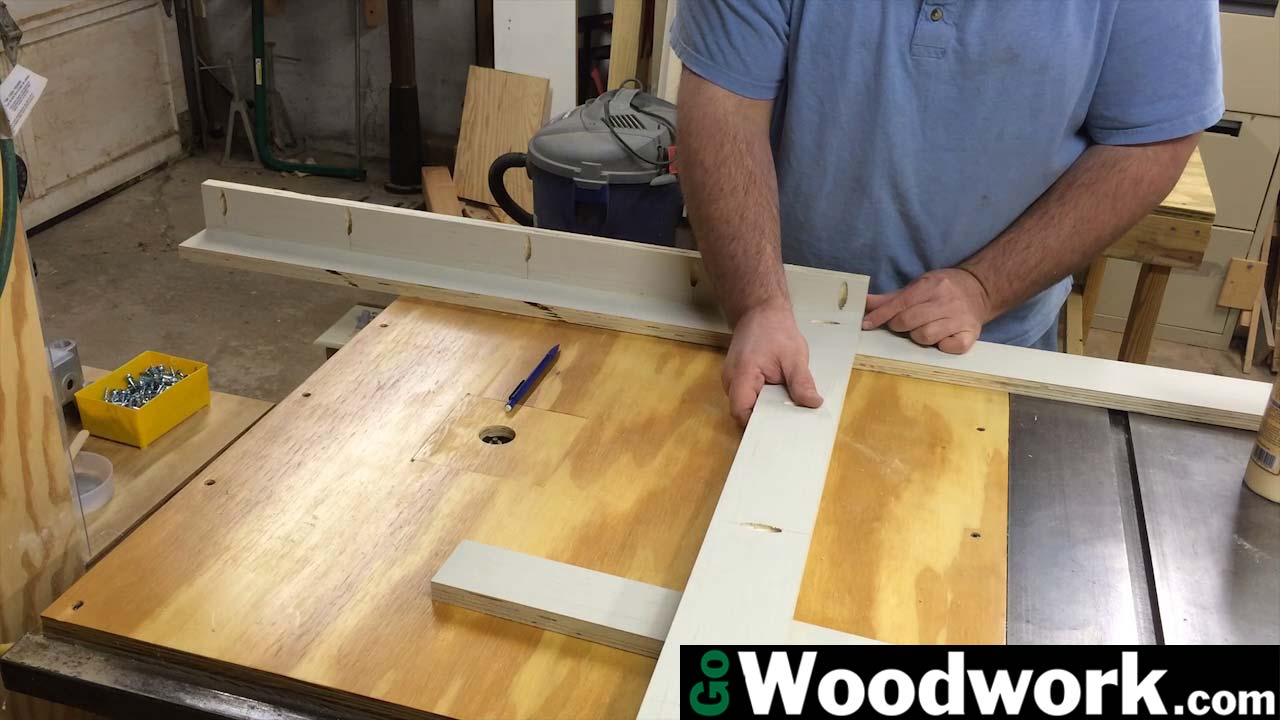
Spacer blocks were made to ensure all four attachment points for the shelf were identical.
Repeat for the front half of the bench
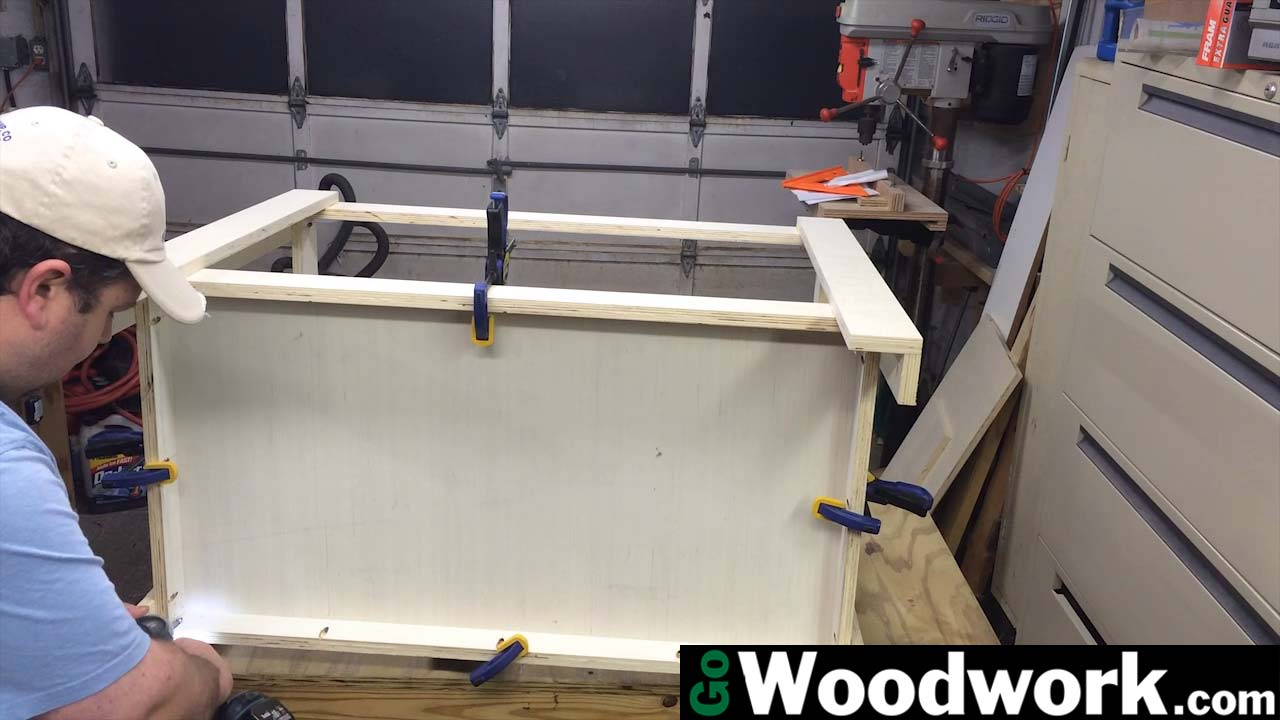
Connect the bench together using glue and brads.
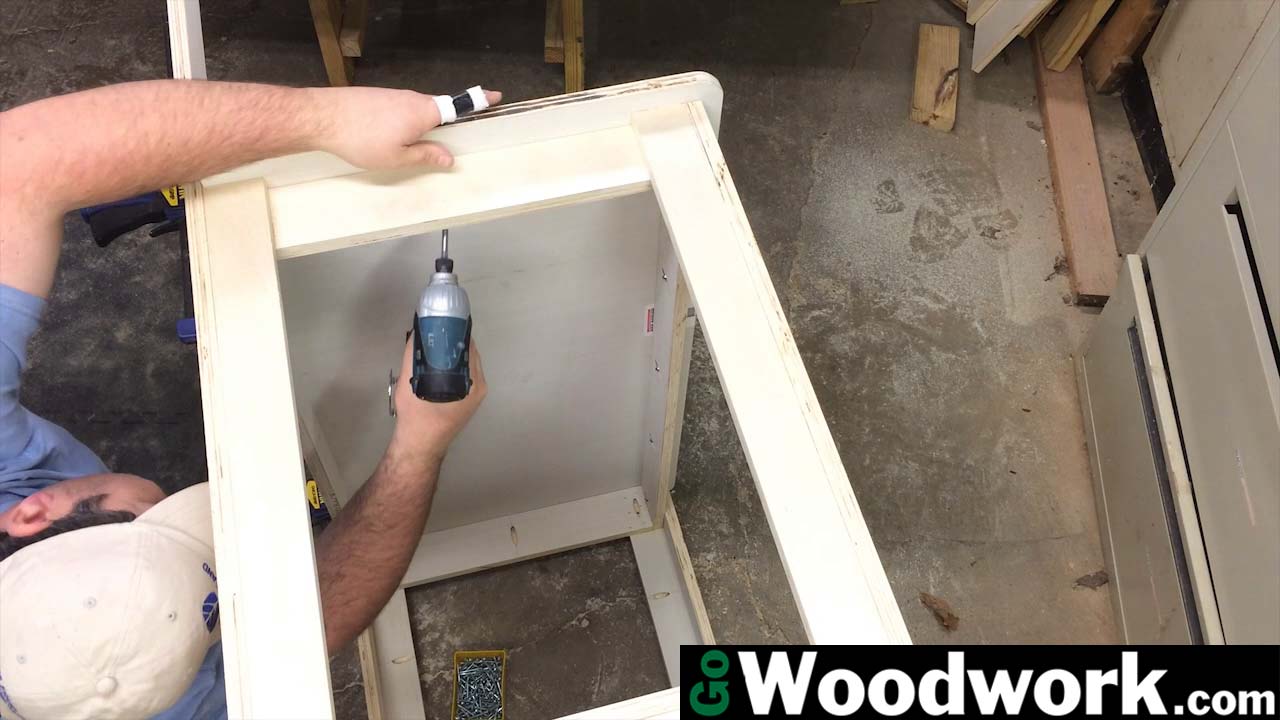
Insert the shelf through the opening in the end and clamp down. Flip the bench over and attach with pocket hole screws.
The top has an overhang so something can be clamped to the surface. This is especially important since nearly anything he decides to work on will need clamped. The edges were rounded over at the router table and sanded before attaching with pocket hole screws.

All edges of the bench were sanded too
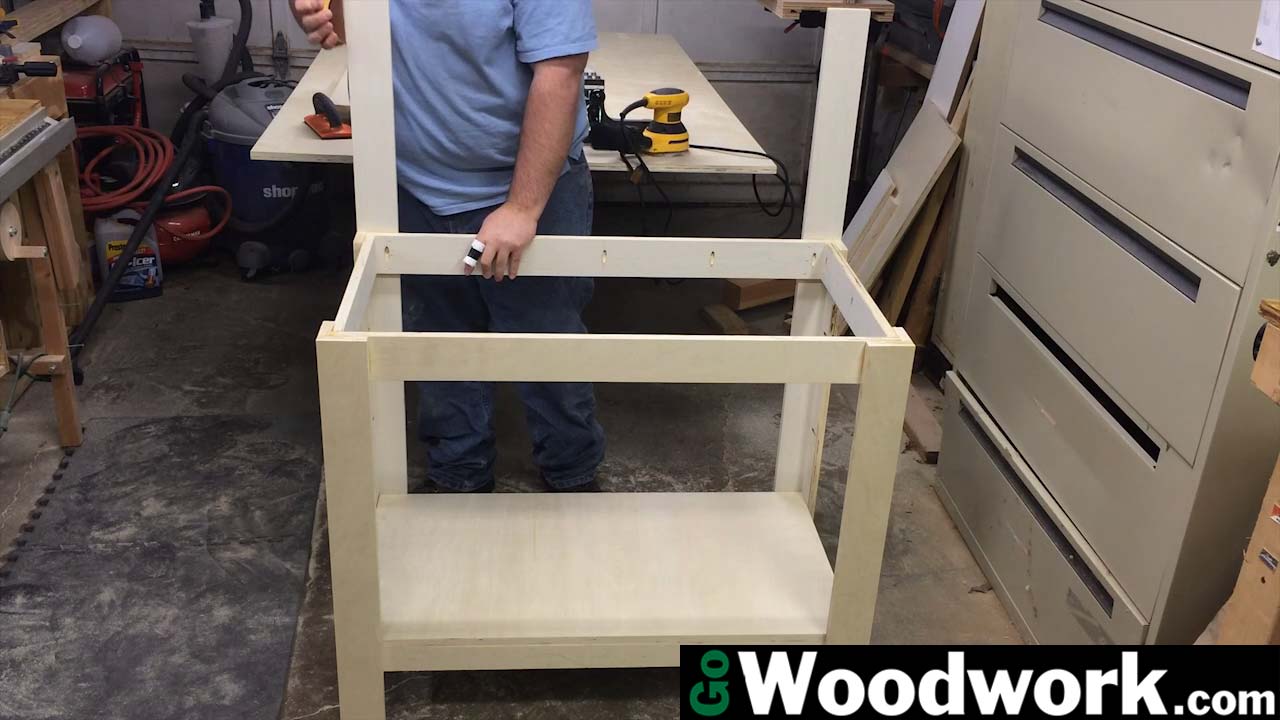
Attach the top with pocket hole screws
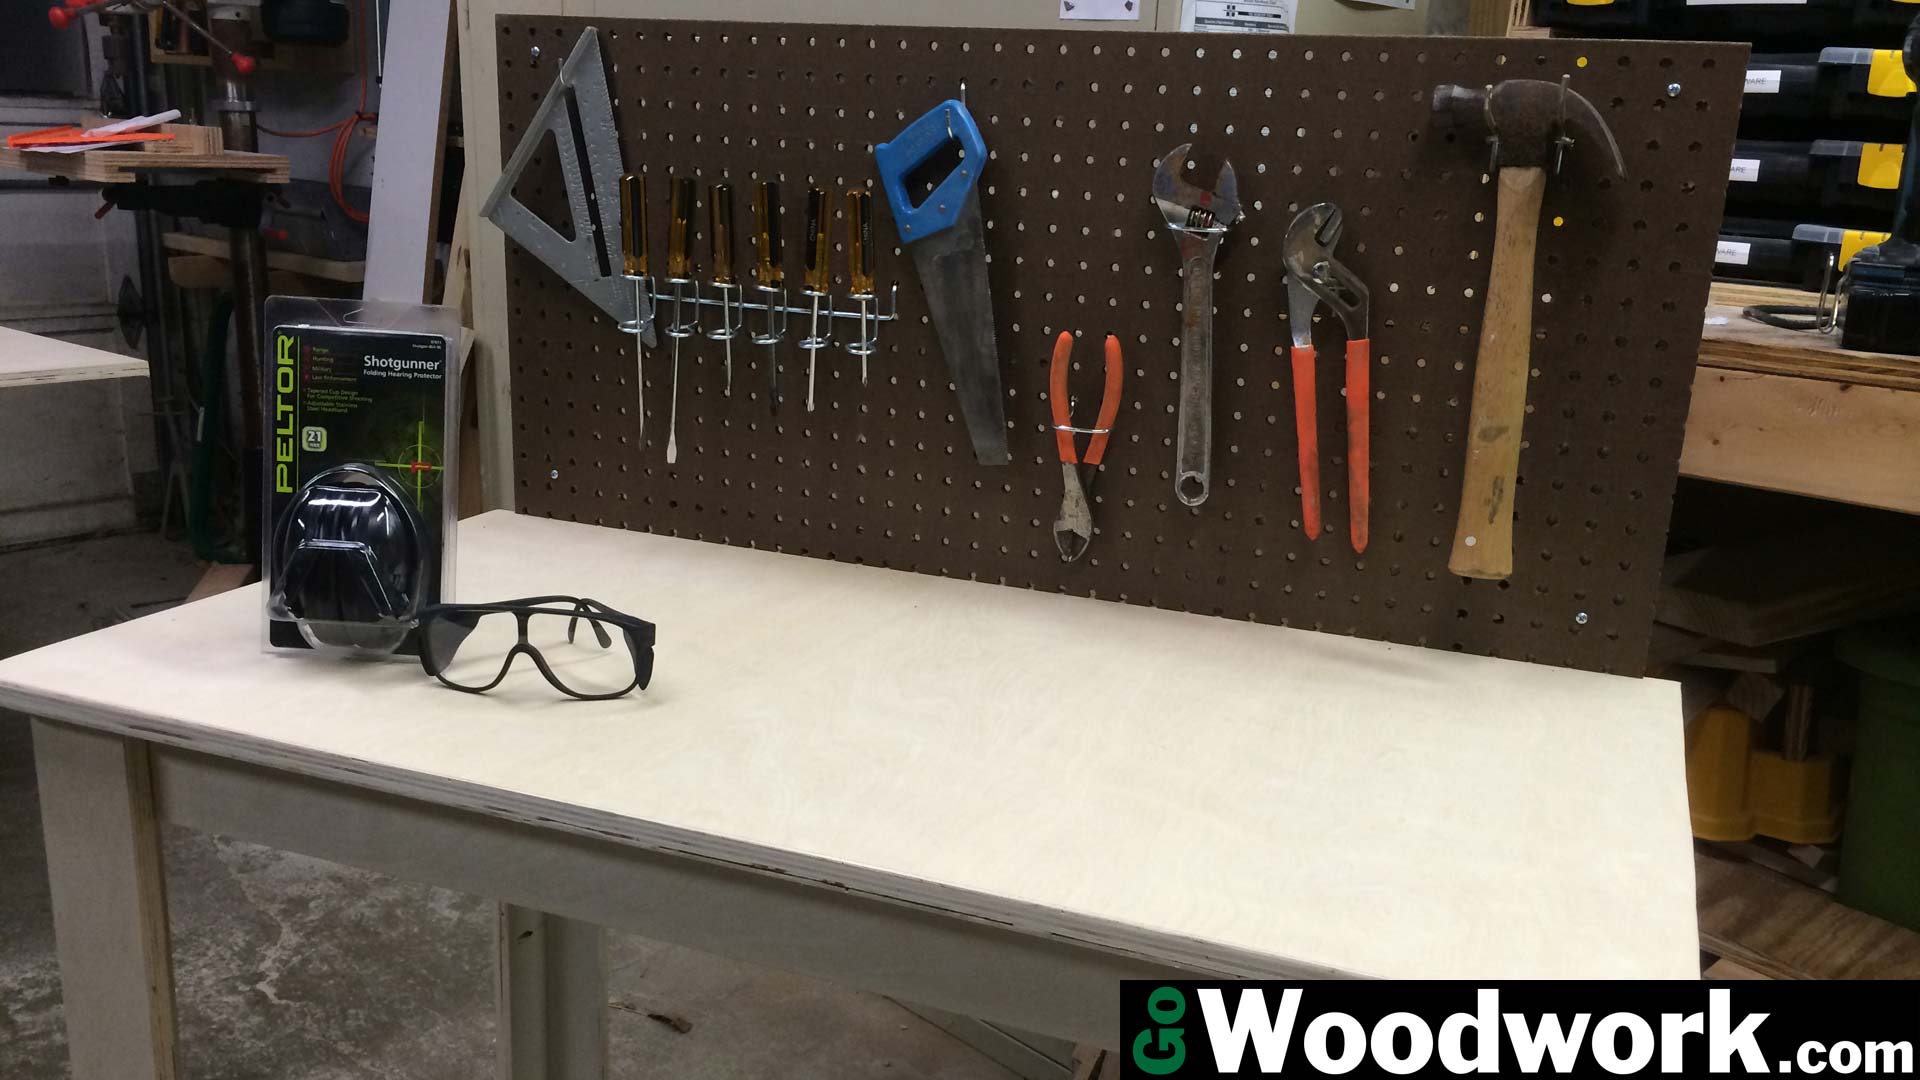
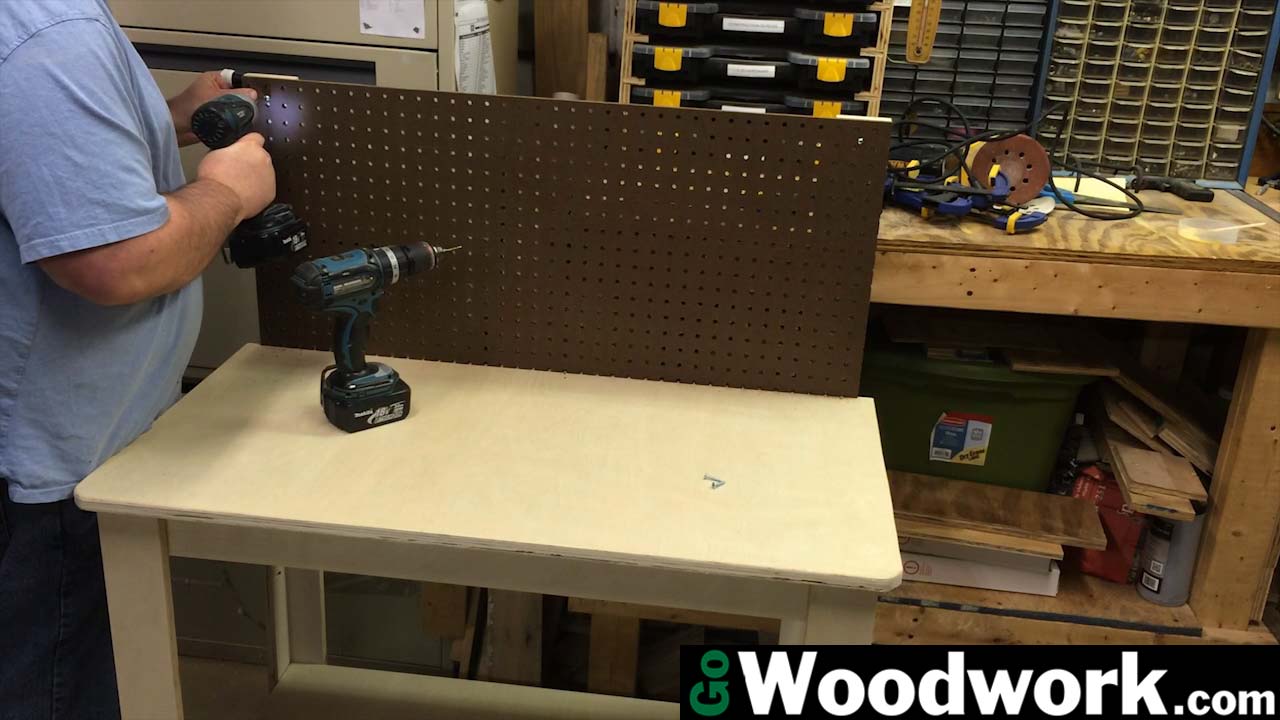
Cut and mount the pegboard.

I will give my son the option of whether he wants it painted or stained. He loves going to the hardware store so it will be a treat to pick out the colors and apply the finish.