Easy to Make Diagonal Measuring Jig
When building any type of a frame it needs to be square and the simplest way of doing that is measuring the diagonals and turning your parallelogram into a rectangle. I build many of my Super Easy Workbenches to sell on Craigslist so I frequently need to square both frames. The only problem is once the diagonals get around 50+”, the tape measure is further skewed off from the corner resulting in inaccuracy or the hook coming off the corner altogether.
Frustration took it’s course and I Googled to find something to help this and nearly everyone out there had the idea to cut a slot into the end of your tape measure to let it “reference” off from the corner more easily. Nearly every measuring tape out there has a slot on the end of it made to hook into a nail so why not utilize that instead of possibly marring the end of your wood with a hack job?
Hardwood works best for this since we’re working with such small pieces. Plywood may be an option but it should be something quality like Baltic Birtch so the screw will holdup over time.
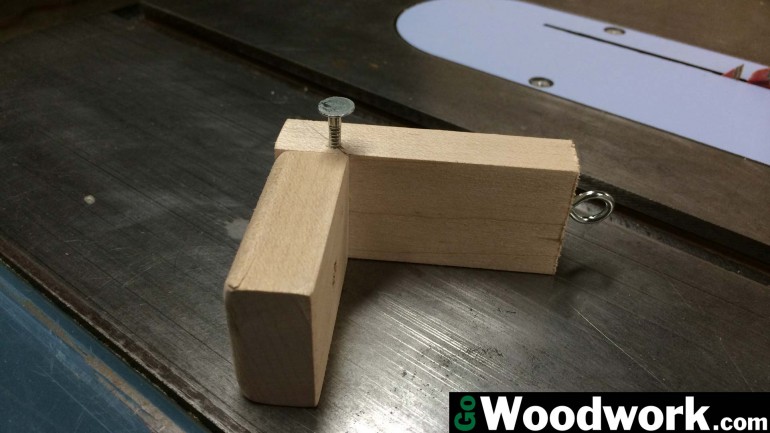
Cut two pieces, one of which should be longer by the thickness of the first.
Examples:
- one 2″ piece and one 3″ piece if your wood thickness is 1″.
- one 2″ piece and one 2 3/4″ piece if your wood thickness is 3/4″
Align the pieces so they form a “L” shape then clamp and pre-drill for two screws. If you’re using hardwood, don’t forget to use fine thread screws!
Use a speed square to find the diagonal of the corner and then pre-drill a hole for a roofing nail. Use just a big enough pilot hole so that the nail is held in place but not so small you risk in bending the nail or splitting the wood.
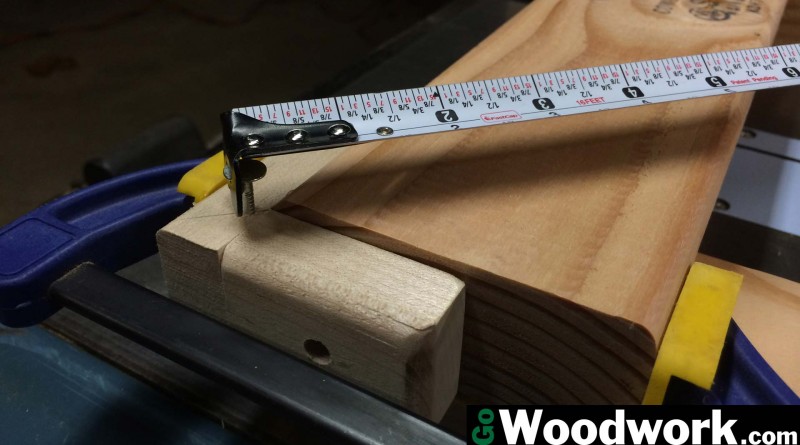
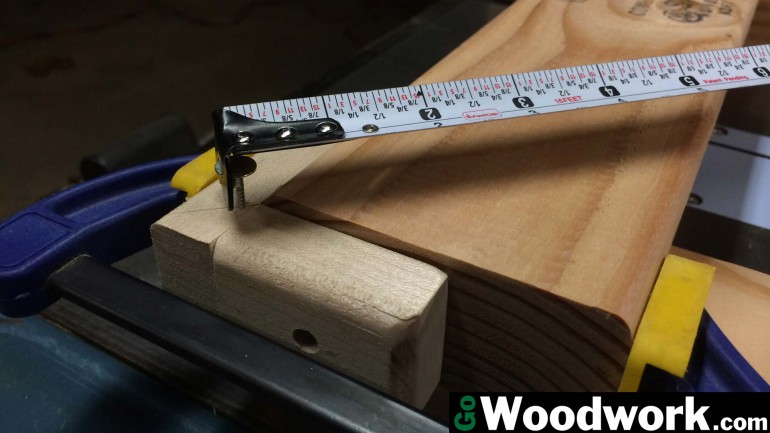
To use the jig, simply attach it to the corner of the side you wish to measure. Since the distance from the corner of where your nail is located can vary if you make a pair, I suggest simply moving the jig to the opposite side when measuring.
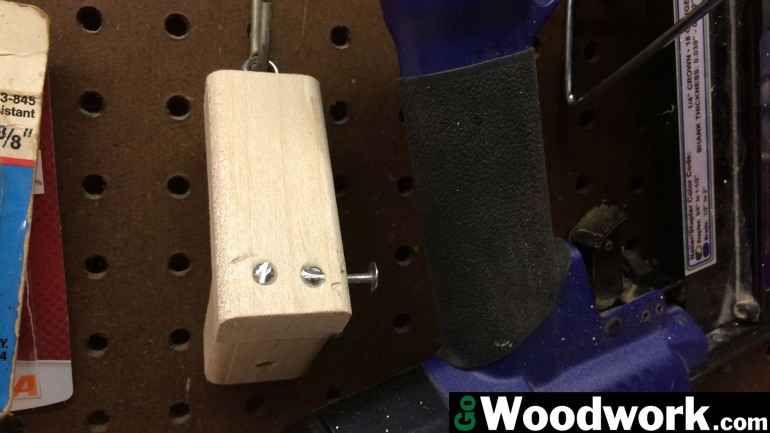
Add an eye hook for easy storage


